
17 Honey Brown Balayage Ideas: Rich, Dimensional Styles That Feel Effortless
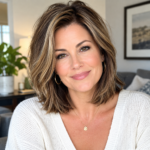
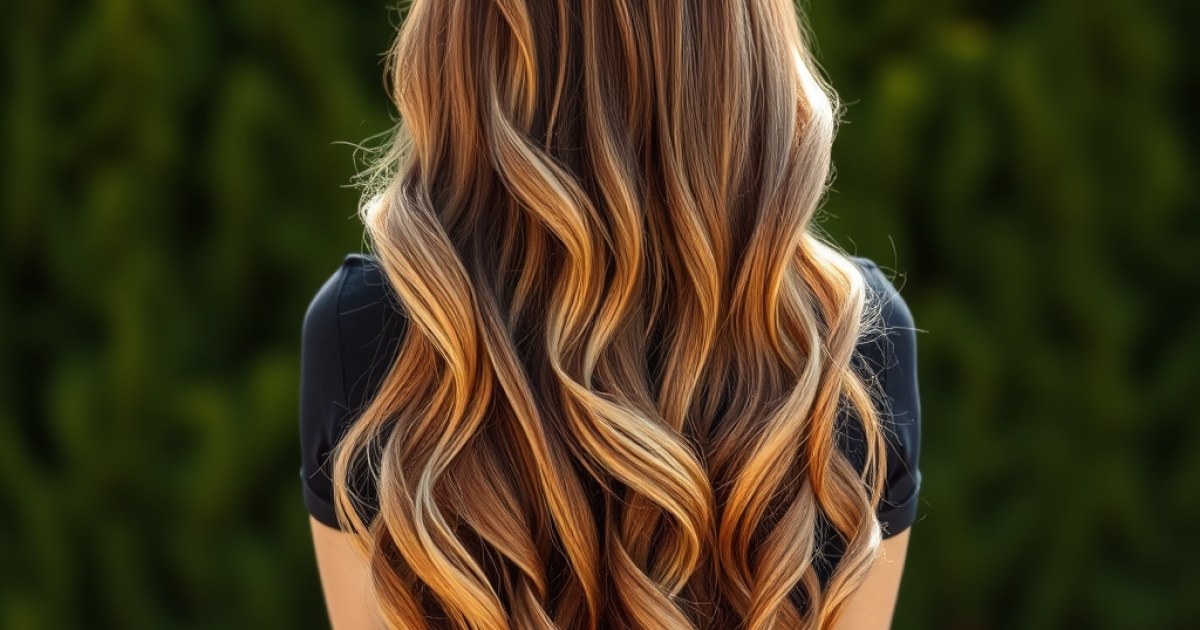
Honey brown balayage is the sweet spot between soft caramel and bright blonde — warm, golden-brown ribbons painted through deeper brown for dimension that looks sun-kissed, not stripey. The trick most people miss: honey only looks expensive when the base underneath it stays rich, and when the lightener stops one or two shades before blonde.
That single rule — warm highlight, deep base, soft grow-out — is what separates a color that still looks good at week ten from one that goes brassy by week three. Get the tone and placement right and you can stretch appointments to four or five months without anyone noticing.
Below are 17 specific ways to wear honey brown balayage, from face-framing money pieces to low-maintenance root smudges, plus the technique notes, tone choices, and aftercare that make each one actually work on medium to dark brown hair.
Quick Picks: Find Your Honey Brown Match
- Sunlit Ribbons That Catch the Light — best if you want maximum shine and movement with minimal upkeep.
- Money Pieces That Brighten Your Face — best for anyone who pulls hair back often or wants a quick brightening effect.
- Honey Over Chocolate for Rich Contrast — best for deep espresso or dark brown bases craving warmth and depth.
- Subtle Honey for Office-Friendly Polish — best if you need something professional that grows out invisibly.
1. Sunlit Ribbons That Catch the Light
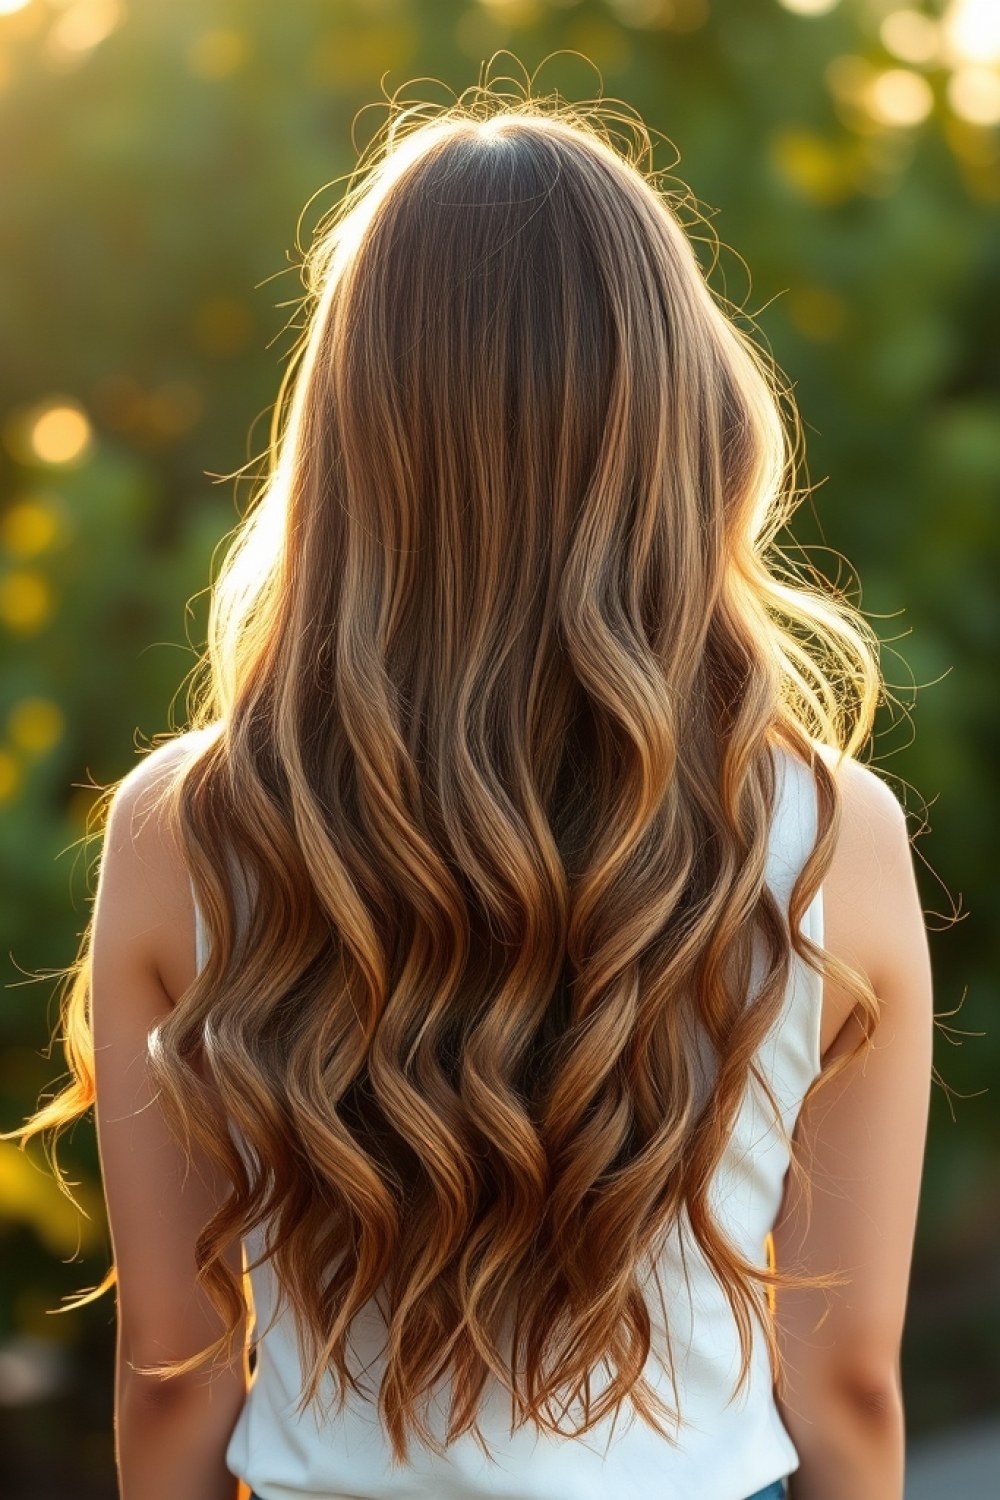
Best for: Anyone with medium to dark brown hair who wants dimension without an obvious “I got my hair done” look.
Ask your colorist to paint fine, scattered ribbons two shades lighter than your base, concentrating them where light naturally hits—crown and face frame. This creates a halo effect that moves when you do.
Keep the weave irregular so there’s no striping.
Try this: Bring a photo of brushed-out curls in direct sunlight to your consultation—your colorist can map ribbons to mimic exactly where the light lands.
2. Root Smudge for Grown-Out Ease
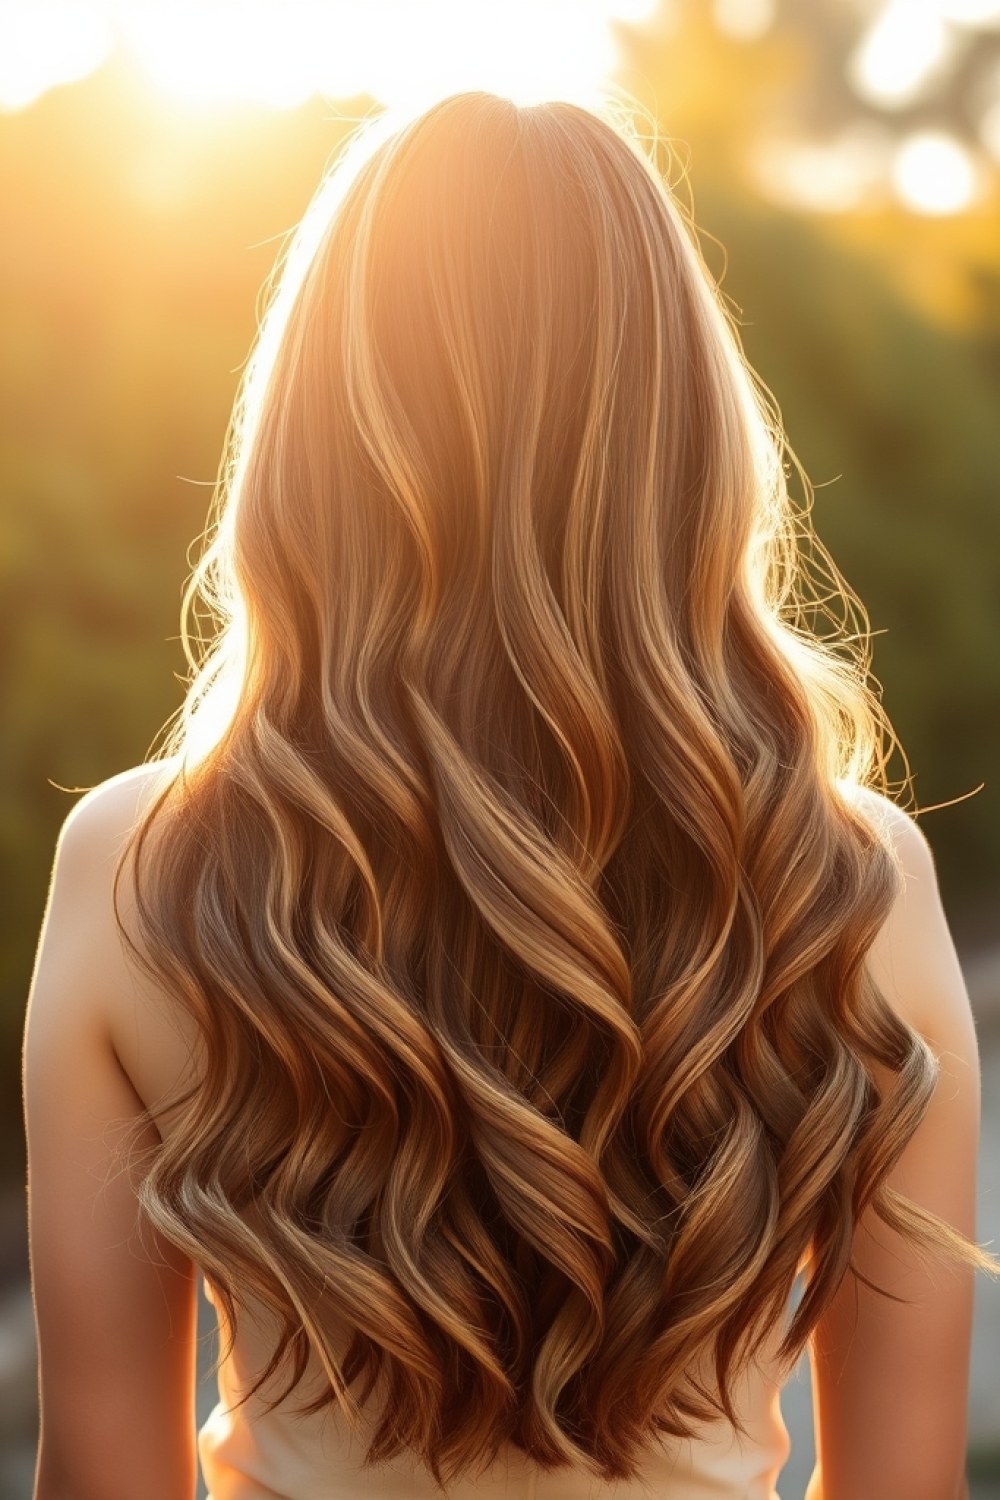
Best for: Busy women who can’t (or won’t) sit in a salon chair every six weeks.
A shadow root in your natural brown melts into the honey, so regrowth looks intentional for 3–4 months. Ask for a demi-permanent smudge one shade darker than your base, applied in a diffused V at the part.
It’s the difference between “roots” and “rooted.”
Try this: Request the smudge be feathered—not a solid band—so the transition reads as shadow, not a stripe down your part.
3. Money Pieces That Brighten Your Face
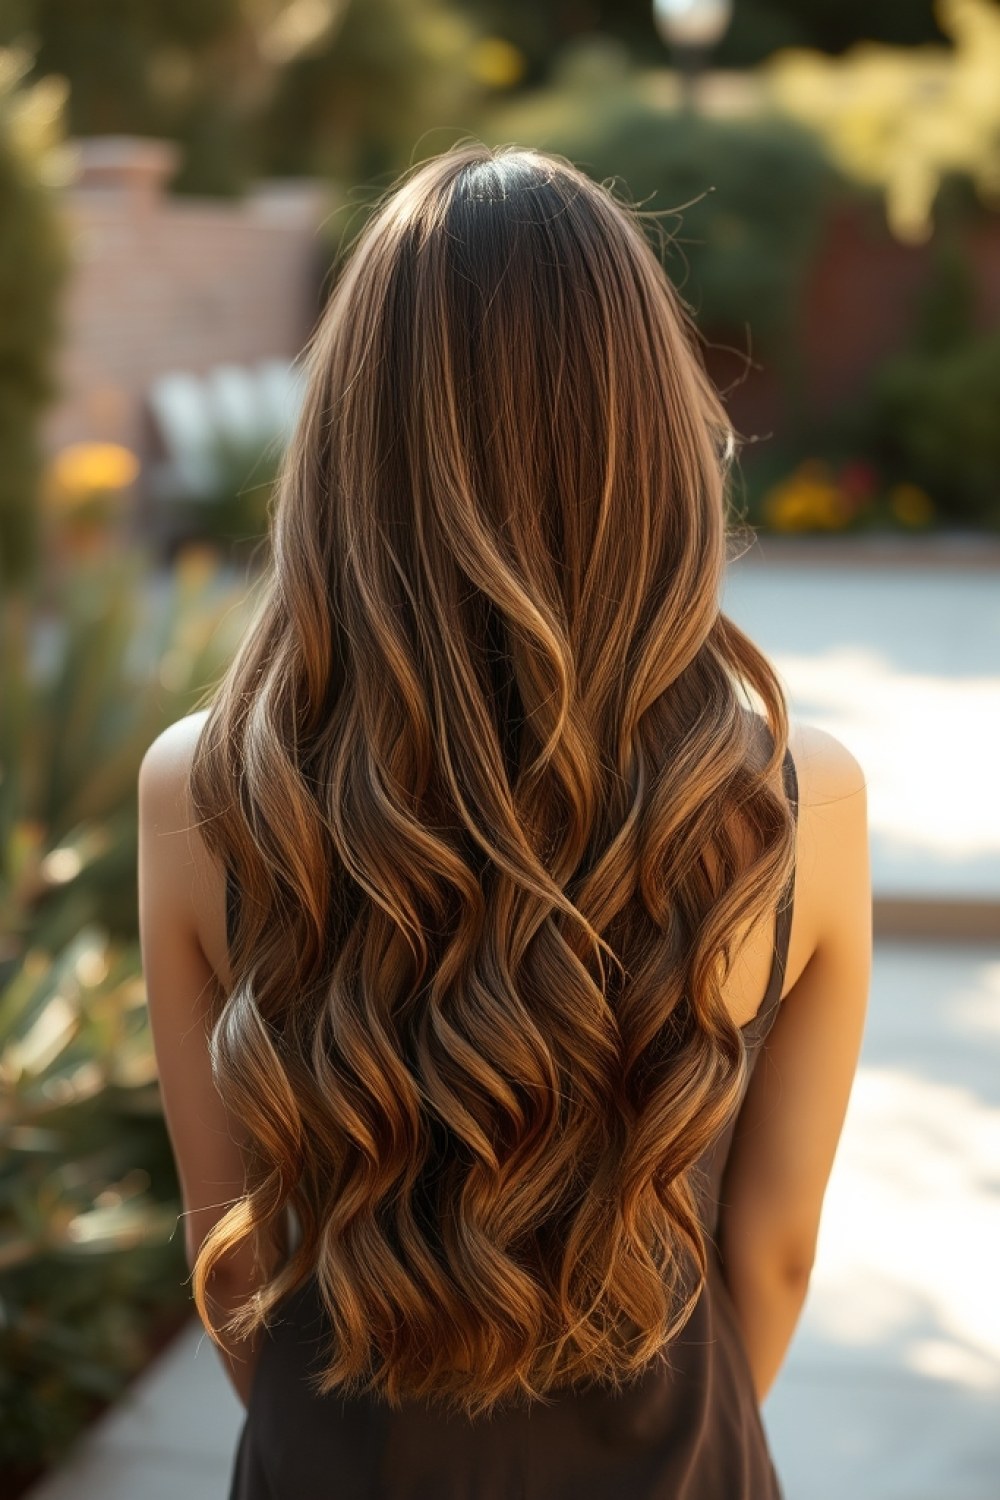
Best for: First-timers testing honey balayage before committing to a full head of highlights.
Two face-framing sections painted a brighter honey gold draw light to your eyes and cheekbones. Keep them soft-edged—no harsh lines—so they blend when pulled back into a ponytail.
This is the single best way to test balayage before committing all-over.
Try this: Ask for the brightest pieces to start at your jawline, not the root—it lifts the face without looking like grown-out highlights.
4. Honey Over Chocolate for Rich Contrast

Best for: Dark chocolate brown bases that want drama without going full blonde.
If your base is a dark chocolate brown, honey balayage creates a bold but wearable contrast. The key is keeping the honey warm (golden, not ashy) so it complements rather than clashes.
Cool-toned honey on warm brown can turn muddy—always confirm the tone family at consultation.
Try this: Style with a middle part and loose waves to show off the dimension. A 1.25-inch curling iron gives you soft bends, not tight spirals.
5. Low-Maintenance Grown-Out Glow

Best for: Women who want color that looks better the longer it grows out.
Balayage is inherently low-maintenance, but you can stretch it further by asking for fewer, thicker ribbons placed underneath. As it grows, the color softens into an ombré effect.
That means no harsh line of demarcation—just a gradual fade.
Try this: Refresh with a gloss at home between appointments to keep brassiness away. A purple-based gloss every 3–4 weeks keeps honey tones from turning orange.
6. Ribbon Placement for Movement
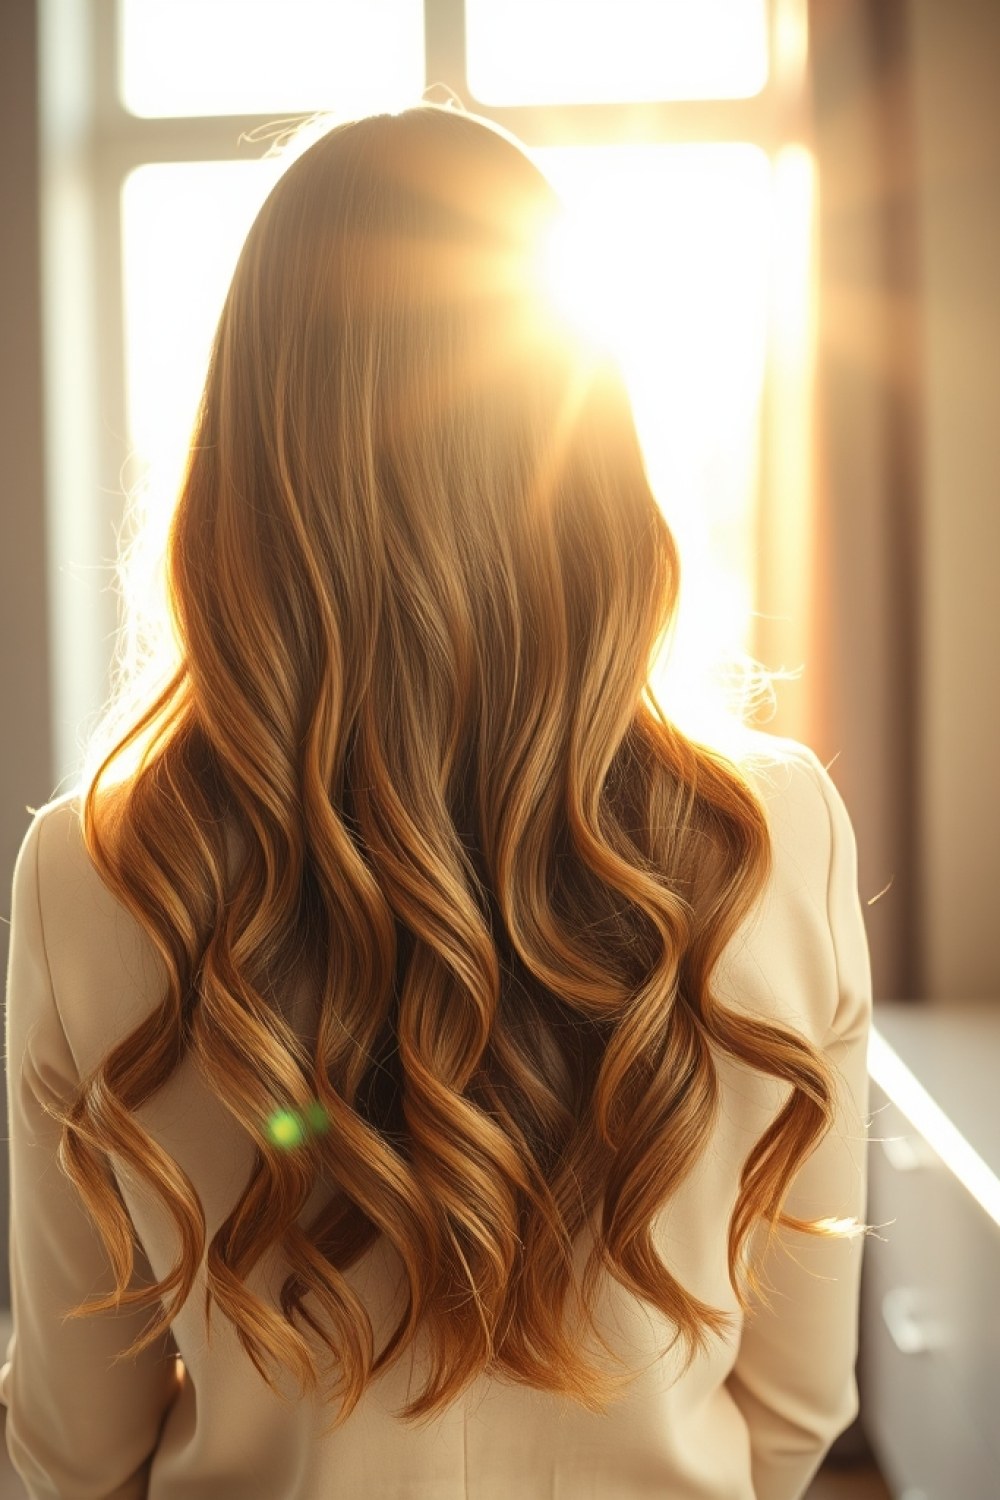
Best for: Fine to medium hair that falls flat and needs visual lift.
Instead of painting horizontally, your colorist should paint diagonal and vertical ribbons that follow the hair’s fall. This makes the color dance when you move.
Ask for ‘surface painting’ on top and ‘teased weaving’ underneath for depth.
Try this: Show your colorist how you wear your part—side, middle, or zigzag—so ribbons are placed where they’ll actually be seen.
7. The Perfect Honey Tone for Warm Skin
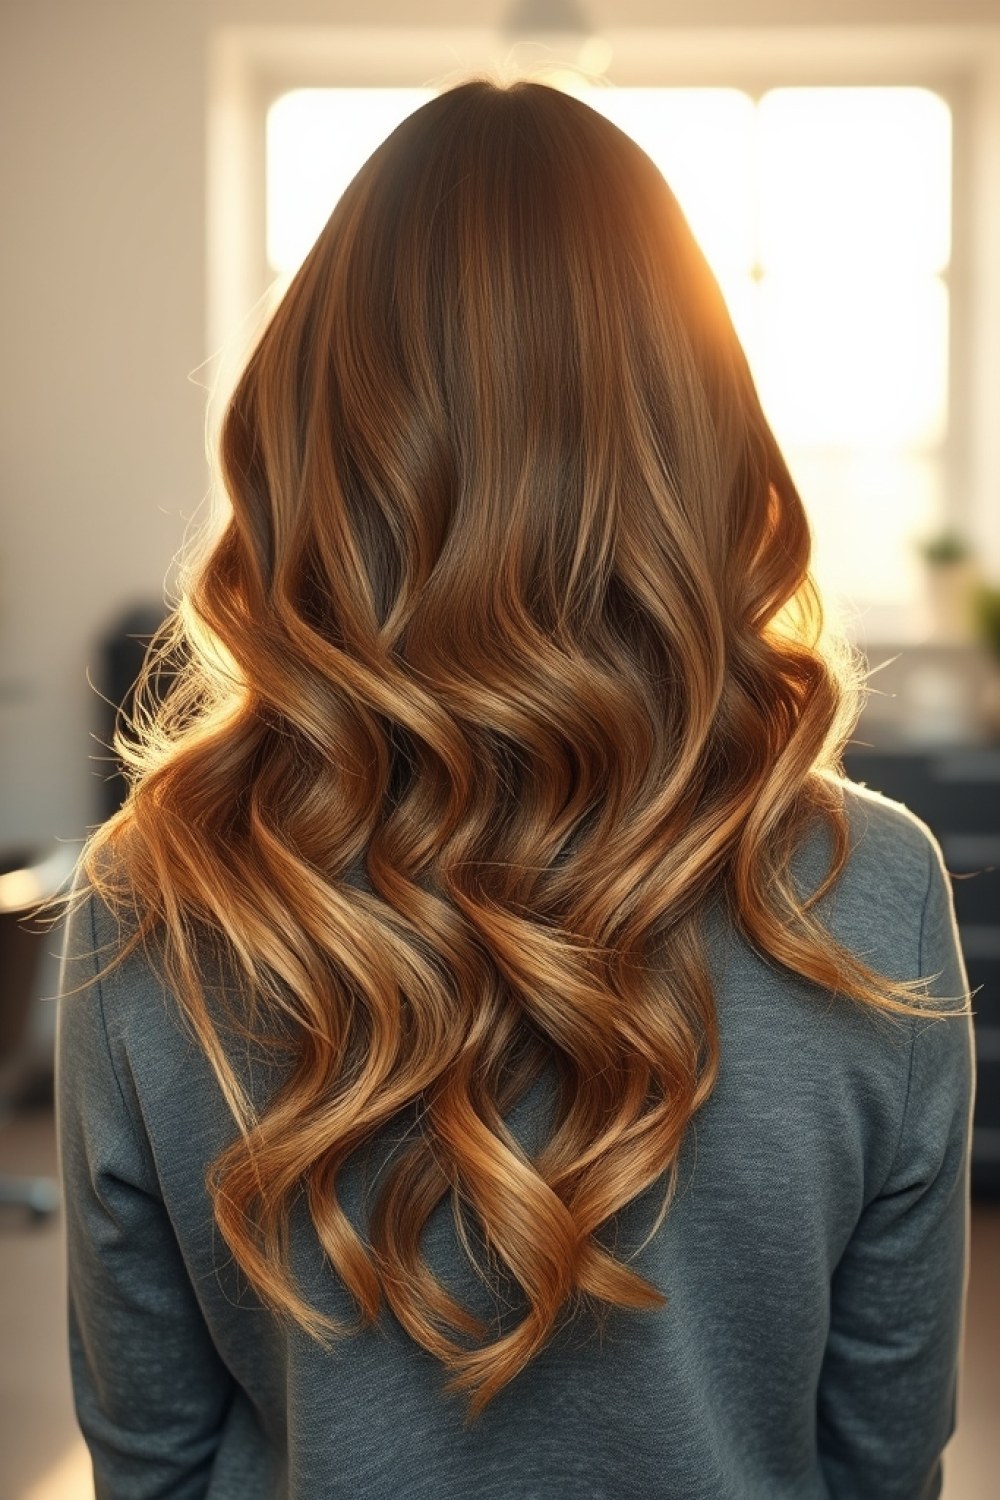
Best for: Anyone whose skin throws golden, peachy, or olive undertones.
Warm skin comes alive next to golden, caramel, and copper-honey shades—they echo what’s already there. Cool, ashy, or violet-based toners are the enemy here; they fight your undertone and can read muddy or grey.
Try this: Ask your colorist for a gloss in “golden apricot” or “butterscotch” to refresh mid-lengths and ends every 6–8 weeks. It amps up warmth without tipping orange, and it doubles as a shine treatment.
8. Cooling It Down for Ash Brown Bases

Best for: Natural brunettes with ashy, cool, or neutral-brown roots.
On a cool base, golden honey can flash brassy fast. Choose a honey that leans neutral—”beige honey” over “golden honey”—so the contrast stays soft and expensive-looking instead of yellow.
Try this: Request a toner with a hint of ash, or ask your stylist to mix a drop of ash into the honey formula. It keeps the dimension sophisticated and stops the ends from going warm-over-warm.
9. Beachy Waves That Show Off Dimension
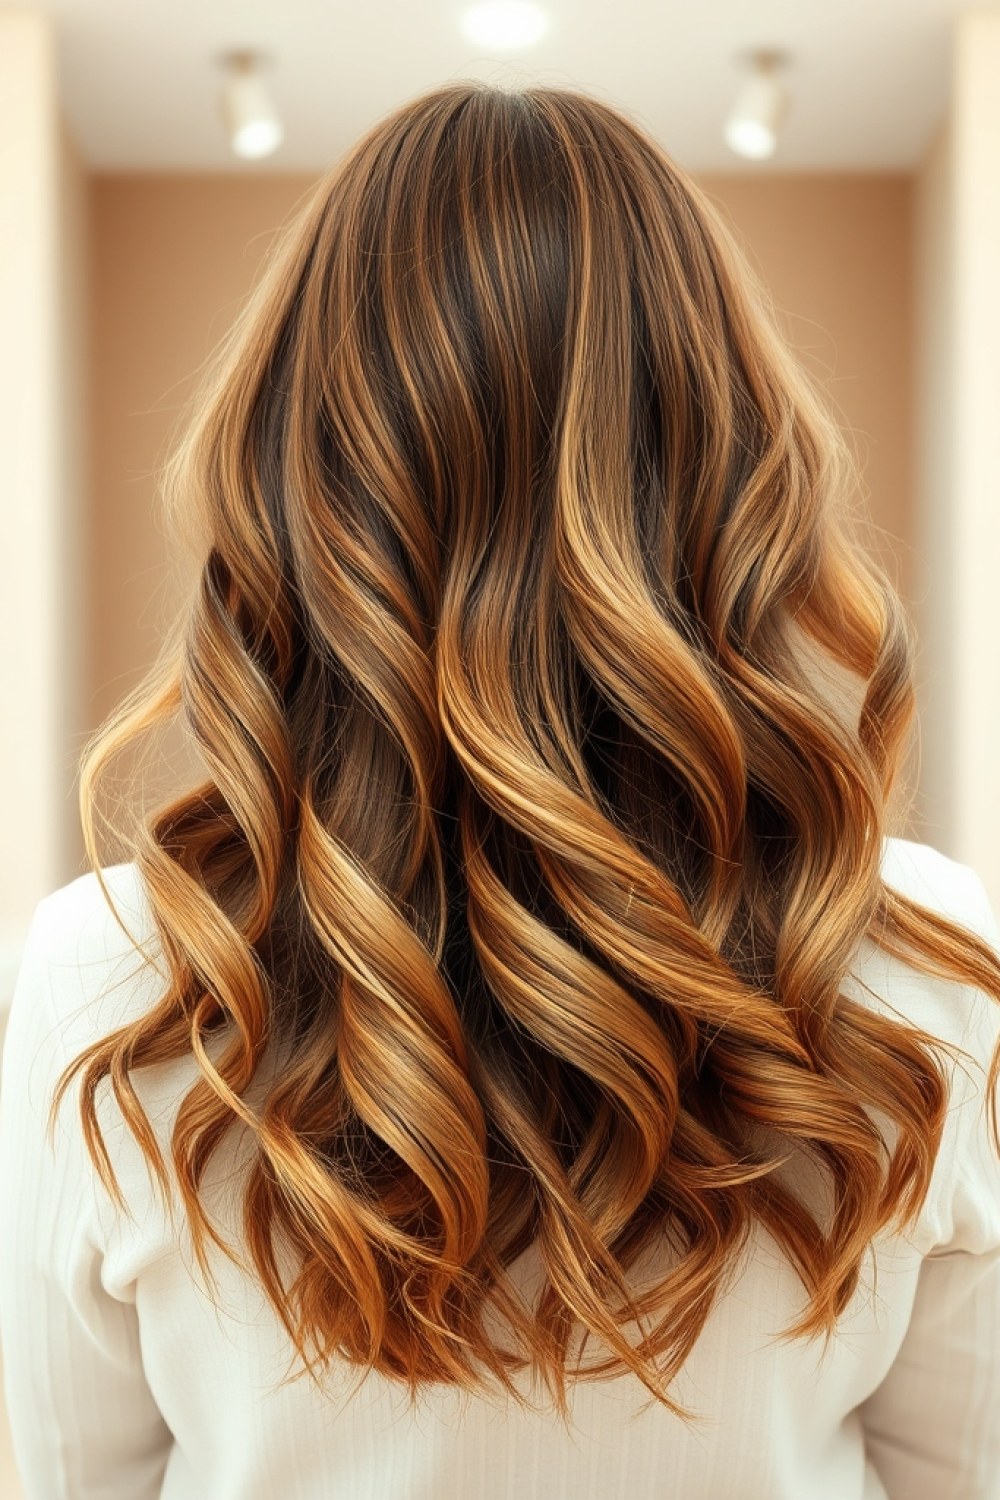
Best for: Showing off every ribbon of color without a salon visit.
Honey balayage needs movement to look its best. Waves separate the painted strands so the light catches each tone, turning flat color into something multi-dimensional and lived-in.
Try this: Wrap 1-inch sections around a 1.25-inch curling iron, alternating the direction of each wrap, then shake out with a texture spray. Skip the flat iron—sleek styling flattens the dimension and can make balayage look stripey.
10. Subtle Honey for Office-Friendly Polish

Best for: Conservative workplaces or anyone easing into color for the first time.
A “baby balayage” is the move: just a few fine ribbons around the face and crown, one shade lighter than your base. It reads as natural highlights rather than a full color change, so it always looks appropriate.
Try this: Pair it with a smooth blowout using a round brush and a light smoothing serum. The polish comes from the finish, not the amount of color, so keep the placement minimal and the styling clean.
11. Bold Honey for a Statement Look
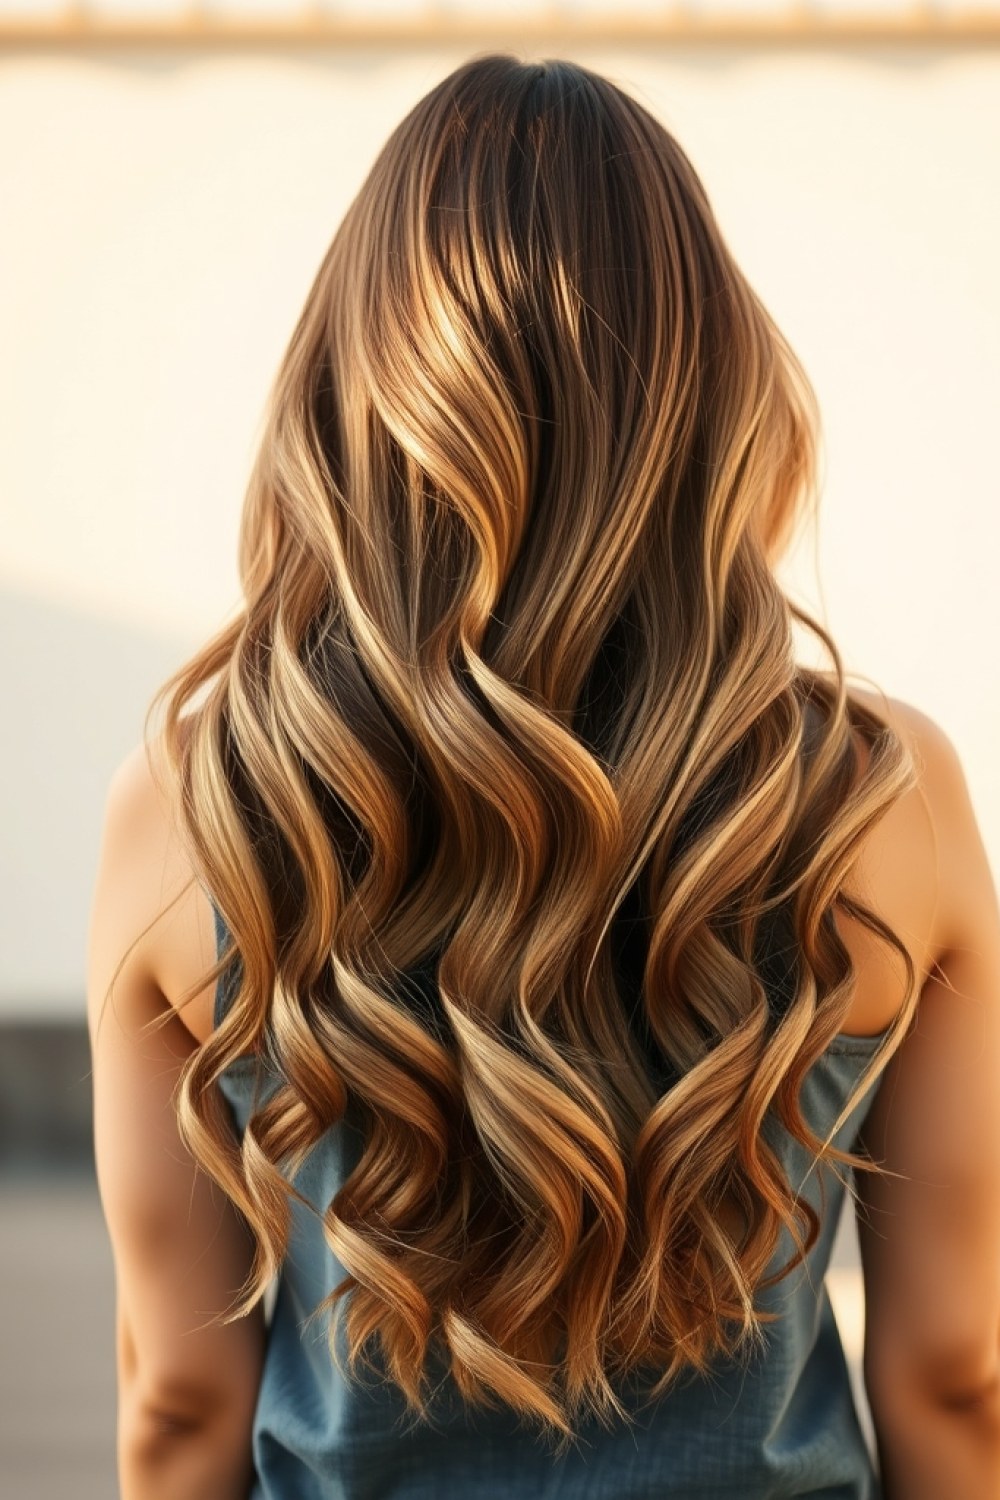
Best for: Thick, wavy hair that can carry real contrast.
Go higher-contrast here: ribbons 3–4 shades lighter than a deeper base create a dramatic, sun-drenched effect. The intensity works because the hair has enough volume and texture to break up the color.
Try this: Keep the toner warm and glossy for maximum shine and impact. Ask for saturation through the mid-lengths and ends, and let the deeper base anchor the whole look.
12. Honey Balayage on Short Hair
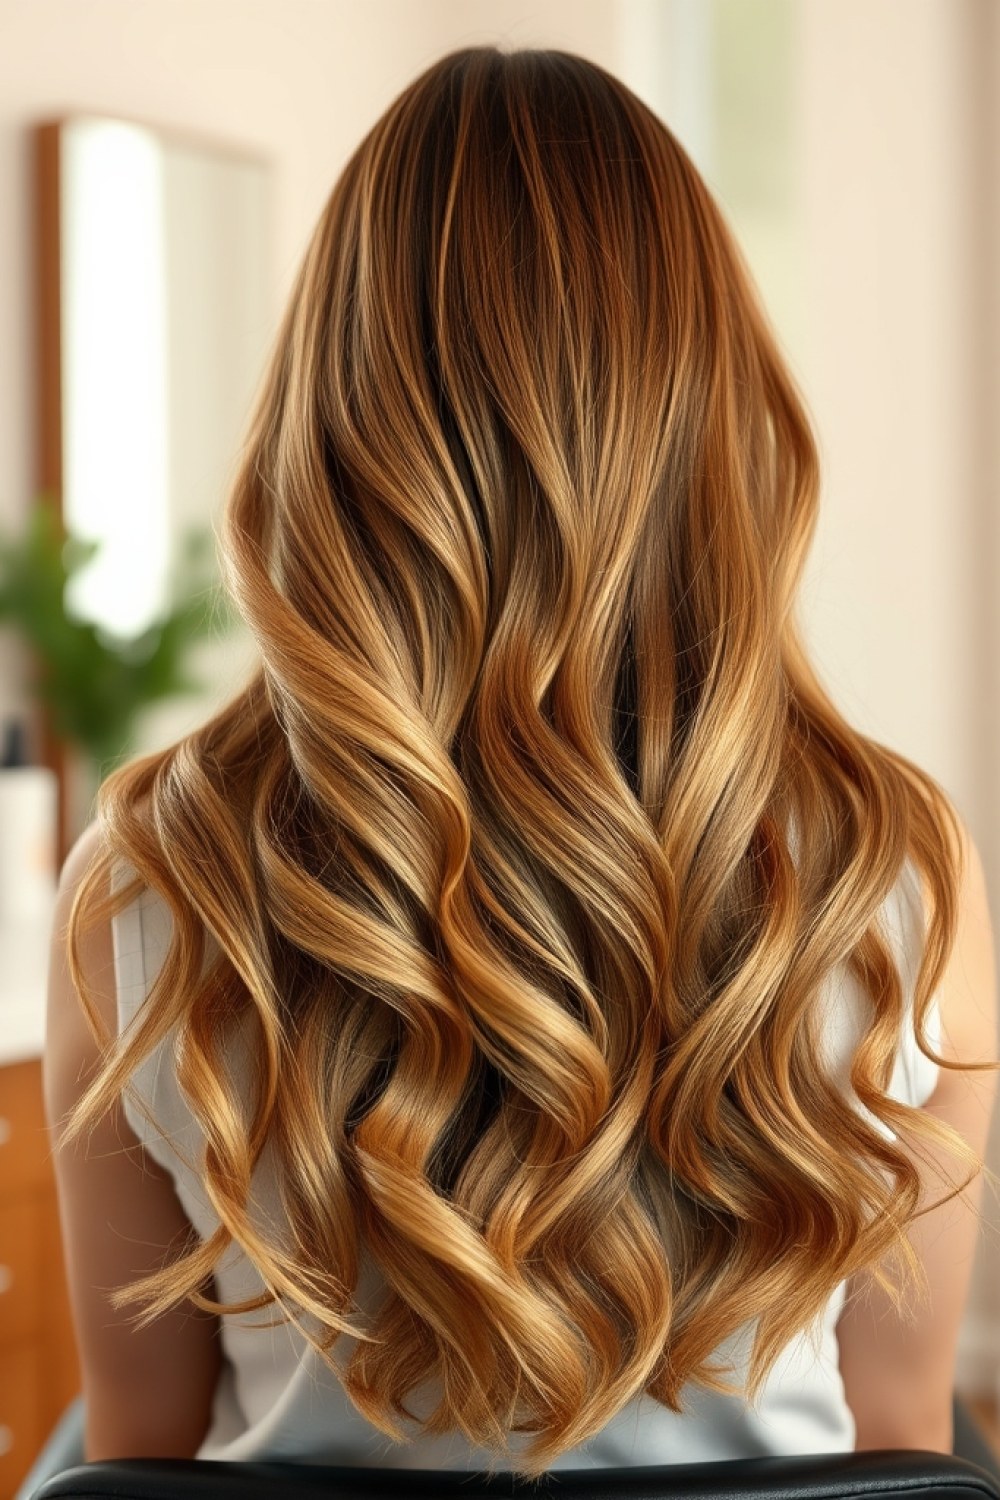
Best for: Bobs and lobs that need dimension without bulk.
Short hair looks stunning in honey balayage—you just scale down the placement. Micro-fine ribbons painted close to the root keep it delicate, while heavy saturation at the ends can create a bulky “helmet” effect.
Try this: Ask for a root smudge to soften the grow-out, then style with a texturizing spray and a little bend from a flat iron. The soft root keeps short cuts looking lived-in and modern.
13. Curly Girl Approved Honey Highlights
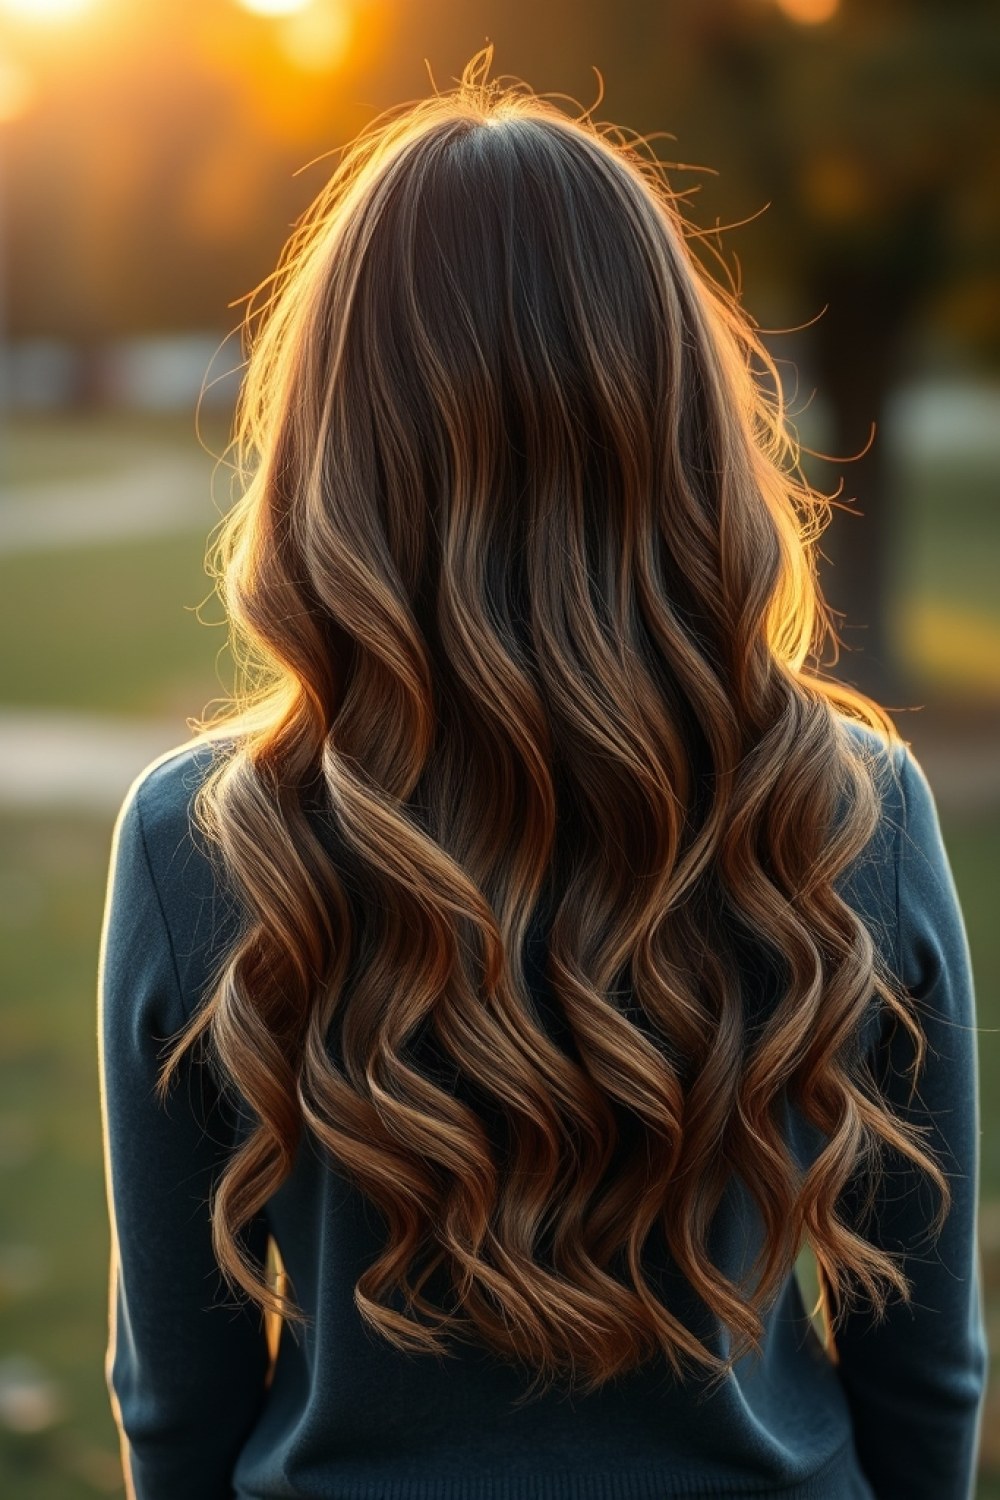
Best for: Type 2C–4A curlies who want honey dimension without losing their spiral.
Curly hair has to be cut and painted dry so your colorist sees the true shape. Painting on wet hair can’t follow the curl pattern, and you end up with splotchy patches that only show up after styling.
Try this: Ask for dry-painting that follows each natural spiral, then finish with a hydrating curl cream to seal in moisture.
14. Honey Balayage for Fine Hair
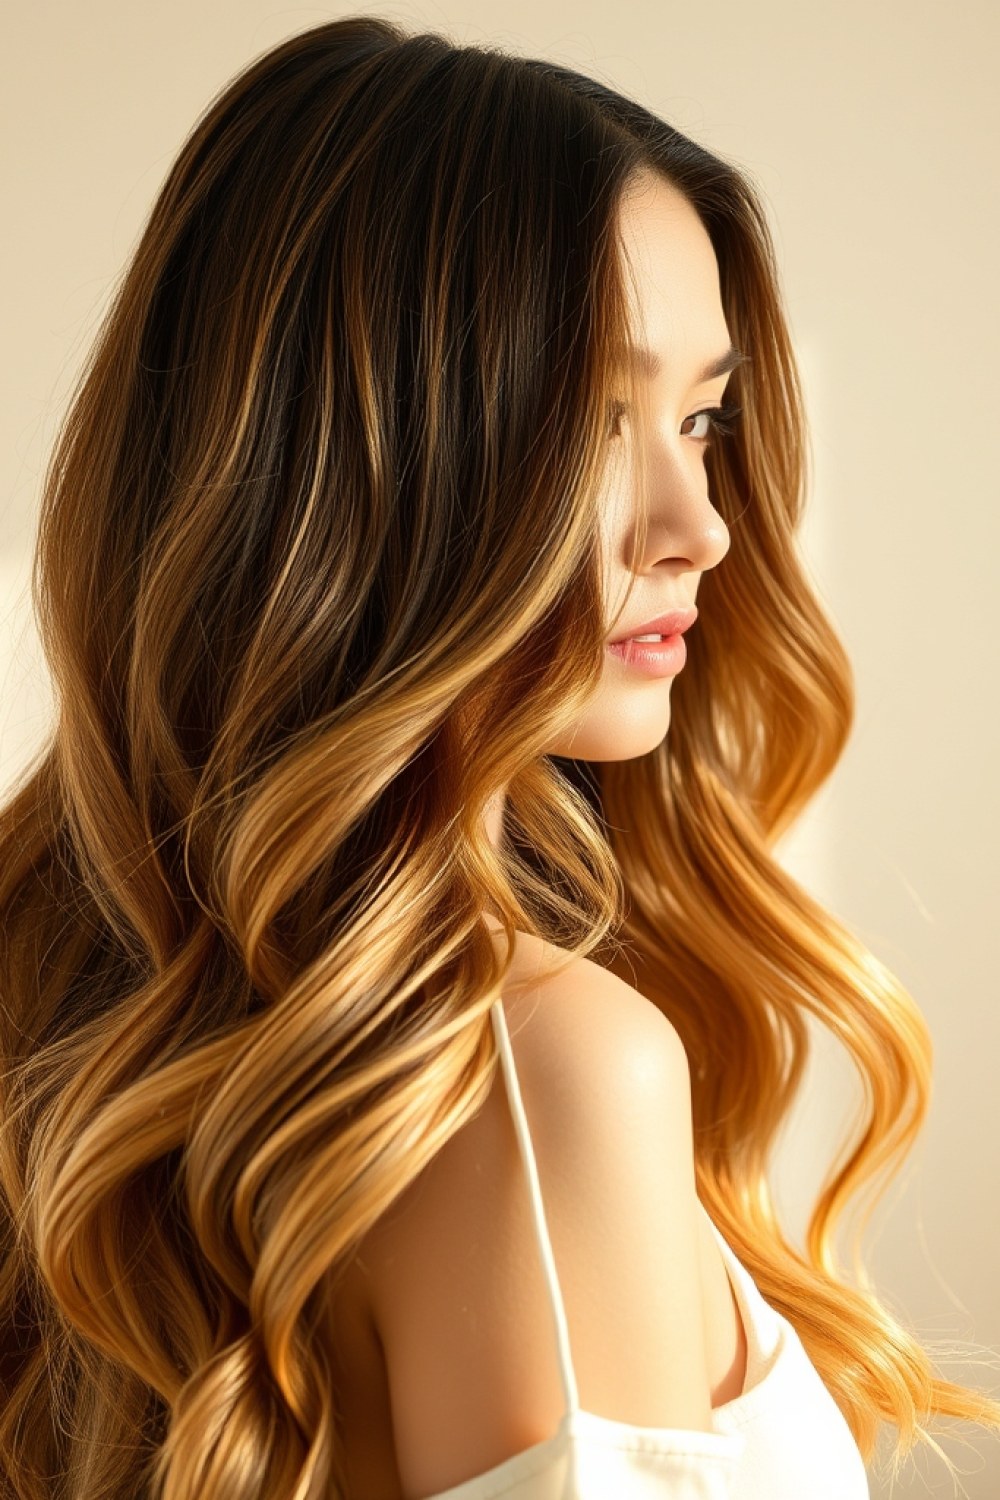
Best for: Fine or thinning hair that needs dimension without bulk.
Fine hair can absolutely handle balayage, but thin ribbons placed around the face and along the part do the heavy lifting. Heavy saturation flattens fine strands and shows every grow-out line within weeks.
Try this: Pair a root smudge with a clear gloss — it fakes density at the crown and adds mirror shine without adding weight.
15. The Gloss That Keeps Honey Shiny
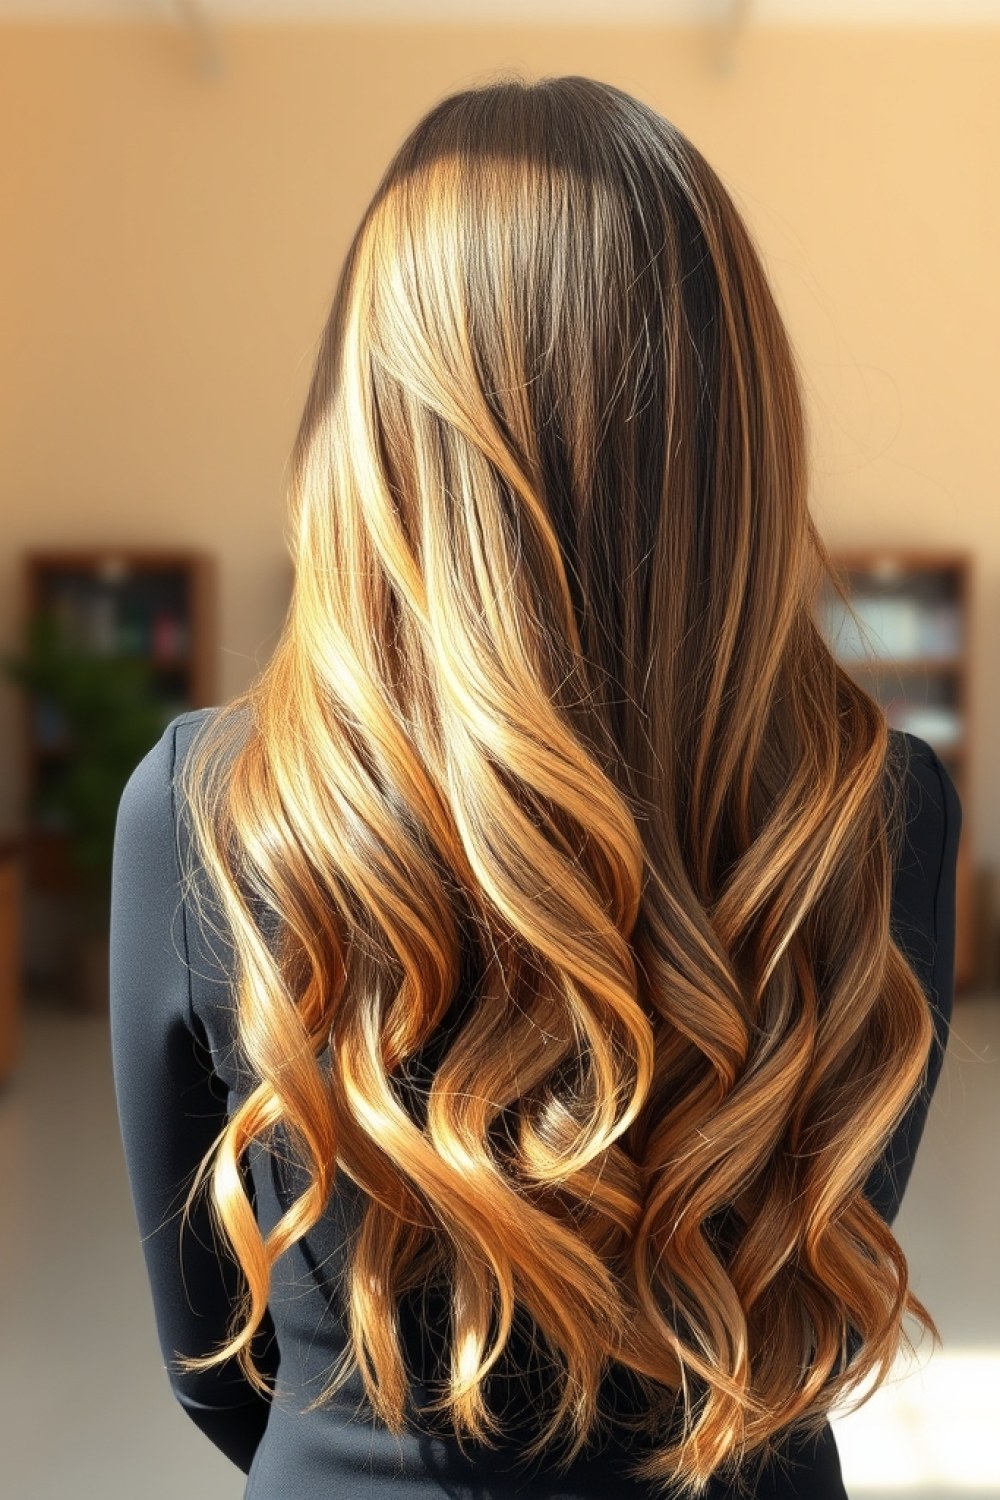
Best for: Anyone whose honey tones have gone dull or brassy between color appointments.
A gloss every 6–8 weeks keeps that fresh-from-the-chair shine alive. Ask your colorist for a honey glaze — a demi-permanent gloss in a warm golden tone that refreshes color and seals the cuticle in one step.
Try this: Book the gloss as a 20-minute add-on during your regular trim so you never lose momentum on maintenance.
16. Honey Balayage with a Shadow Root

Best for: Dark brown bases that want honey to really pop — and a softer grow-out.
A shadow root sits one shade darker than your base at the crown and part, creating depth that makes the honey pieces read brighter. It also blurs the line where your natural color meets the lightened strands.
Try this: Request a root melt instead of a hard root — it blends seamlessly into the balayage with zero demarcation.
17. Seasonal Honey: Summer to Fall Transition
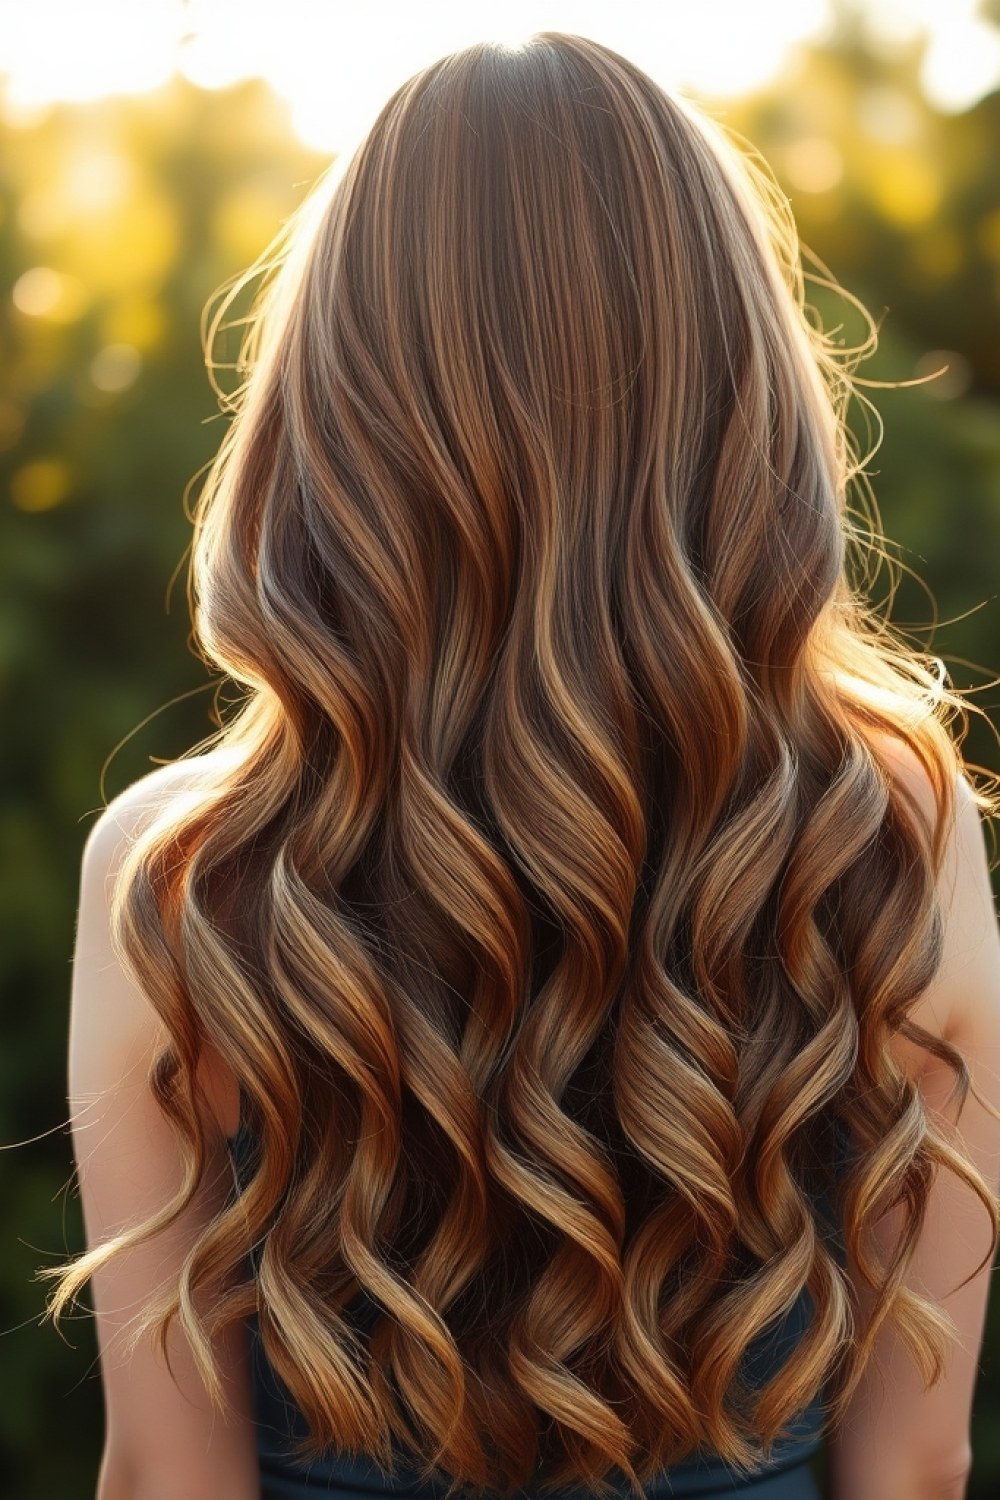
Best for: Anyone who wants their honey color to feel current as the seasons shift.
Summer honey is brighter and more golden; fall honey runs a touch deeper with caramel undertones that flatter warmer skin and darker wardrobes. You don’t need a full redo to make the switch.
Try this: Ask your colorist to weave warm chestnut lowlights through the mid-lengths — it deepens the tone while keeping your existing honey ribbons intact.
Frequently Asked Questions
How do I maintain honey brown balayage between salon visits?
Stick to a sulfate-free shampoo and a color-safe conditioner, and rinse with cool water—heat is what pulls honey tones out fastest. Once a week, swap your conditioner for a toning gloss or honey-shade mask to knock back brass and keep that golden ribbon looking fresh. Always use heat protectant before your blow dryer or flat iron; unprotected heat dulls the shine that makes balayage worth it.
Will honey brown balayage look good on my dark brown hair?
Absolutely—honey balayage was practically made for dark brown bases. The contrast between a deep root and warm golden ribbons is exactly what creates that expensive, dimensional look. Ask for a root smudge so your dark base melts into the honey instead of forming a hard line, and pick a honey tone that matches your skin’s undertone: warm caramel-honey for golden complexions, softer beige-honey if you’re cooler.
How often do I need to get my honey balayage touched up?
Most people can stretch 3–4 months between full balayage appointments thanks to the soft grow-out. A quick gloss every 6–8 weeks refreshes tone and shine without re-lightening anything. If you’re covering a lot of gray or want to push noticeably lighter, budget for more frequent visits—your colorist can tell you at the consultation.
Choosing Your Honey Shade Based on Maintenance Level
Your maintenance comfort decides your shade as much as your skin tone does. If you want the lowest-effort grow-out, ask for a root smudge with fine, face-framing ribbons—the dark base carries the regrowth so you can coast four months between appointments. Ready for a bigger transformation? Go higher-contrast: brighter honey pieces placed through the mid-lengths and ends, finished with a gloss to seal in shine. That version is stunning but asks for a gloss top-up every 6–8 weeks to stay luminous.
Whichever route you take, bring three or four inspiration photos to your consultation and ask your colorist to tailor the tone to your skin and natural base—the same formula lands differently on everyone. Honey brown balayage is forgiving, flattering, and endlessly adaptable, so have fun with it.