
28 Winter Highlights for Brown Hair to Warm Up Your Look

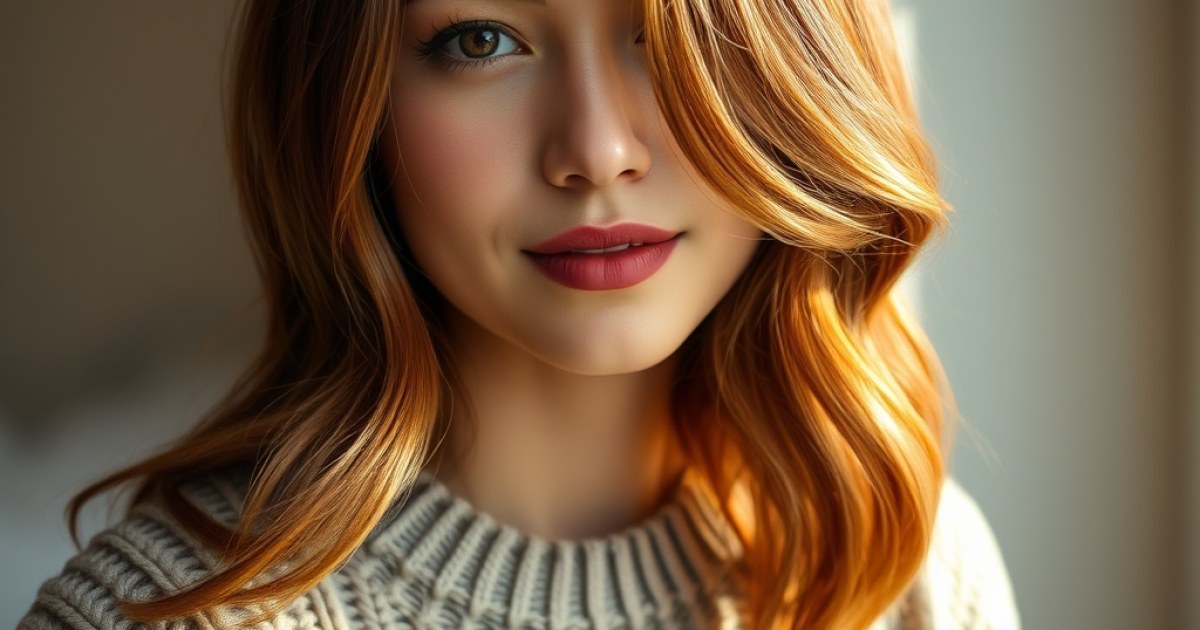
Ever notice how brown hair can look a little flat against a gray January sky? You’re not imagining it — cool, low light drains warmth from brown strands, and indoor heating can leave even healthy hair looking dull by February. The fix isn’t a full color overhaul; it’s strategic highlights that reflect light back into your base.
Whether your brown is a light mousse, a mid-tone chestnut, or a deep espresso, there’s a placement and palette that will flatter your depth and undertone — and most of these grow out gracefully, so you’re not living at the salon. You’ll also find the exact words to say to your colorist, realistic upkeep timelines, and which ideas work over a box dye at home.
Below are 28 winter highlights for brown hair, from caramel ribbon lights to dark chocolate with amber tips. Skim the Quick Picks if you want a fast starting point, then read the fuller breakdowns to match a shade to your base, budget, and how often you’re willing to touch up.
Quick Picks: Where to Start
- Caramel Ribbon Lights (#1) — best for medium to dark brown hair that wants maximum shine with minimal maintenance.
- Chestnut Melt (#2) — best for light brown or mousse shades that need depth at the roots and softness through the ends.
- Cinnamon Money Piece (#4) — best for anyone wanting a visible, low-commitment change around the face only.
- Chocolate Cherry Gloss (#9) — best for dark espresso browns craving a rich, almost-red warmth with zero lightening.
1. Caramel Ribbon Lights
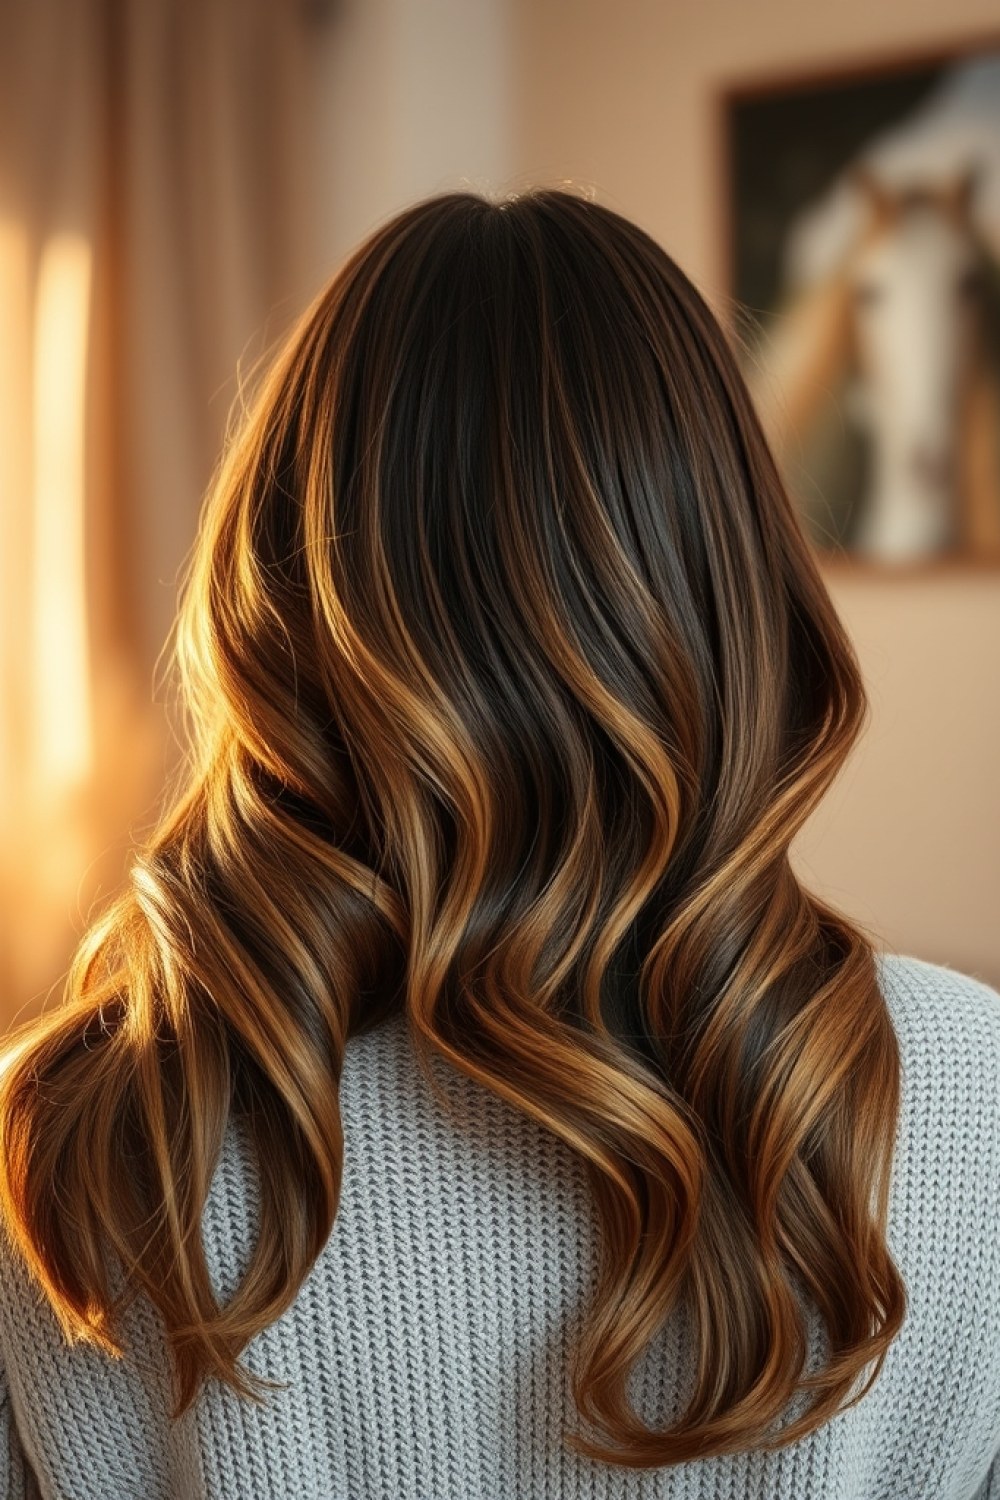
Caramel ribbon lights are the winter warmer that never misses. Your colorist hand-paints fine caramel strokes about two shades lighter than your base — and the key word is fine. Think ribbons, not stripes.
What makes it work is the weave. Those delicate strokes catch light as you move, so medium and dark browns suddenly look dimensional instead of flat under gray winter skies. If you’re highlight-shy but want a real change, this is your gateway shade — noticeable, never stark.
Ask specifically for babylights rather than chunky foils, so regrowth stays soft and you can stretch appointments to 12 weeks. Bring a photo of ribbons, not blocks, so your colorist paints the right weight. One tip: book a gloss on the same day to seal shine, because caramel fades fastest at the crown.
2. Chestnut Melt
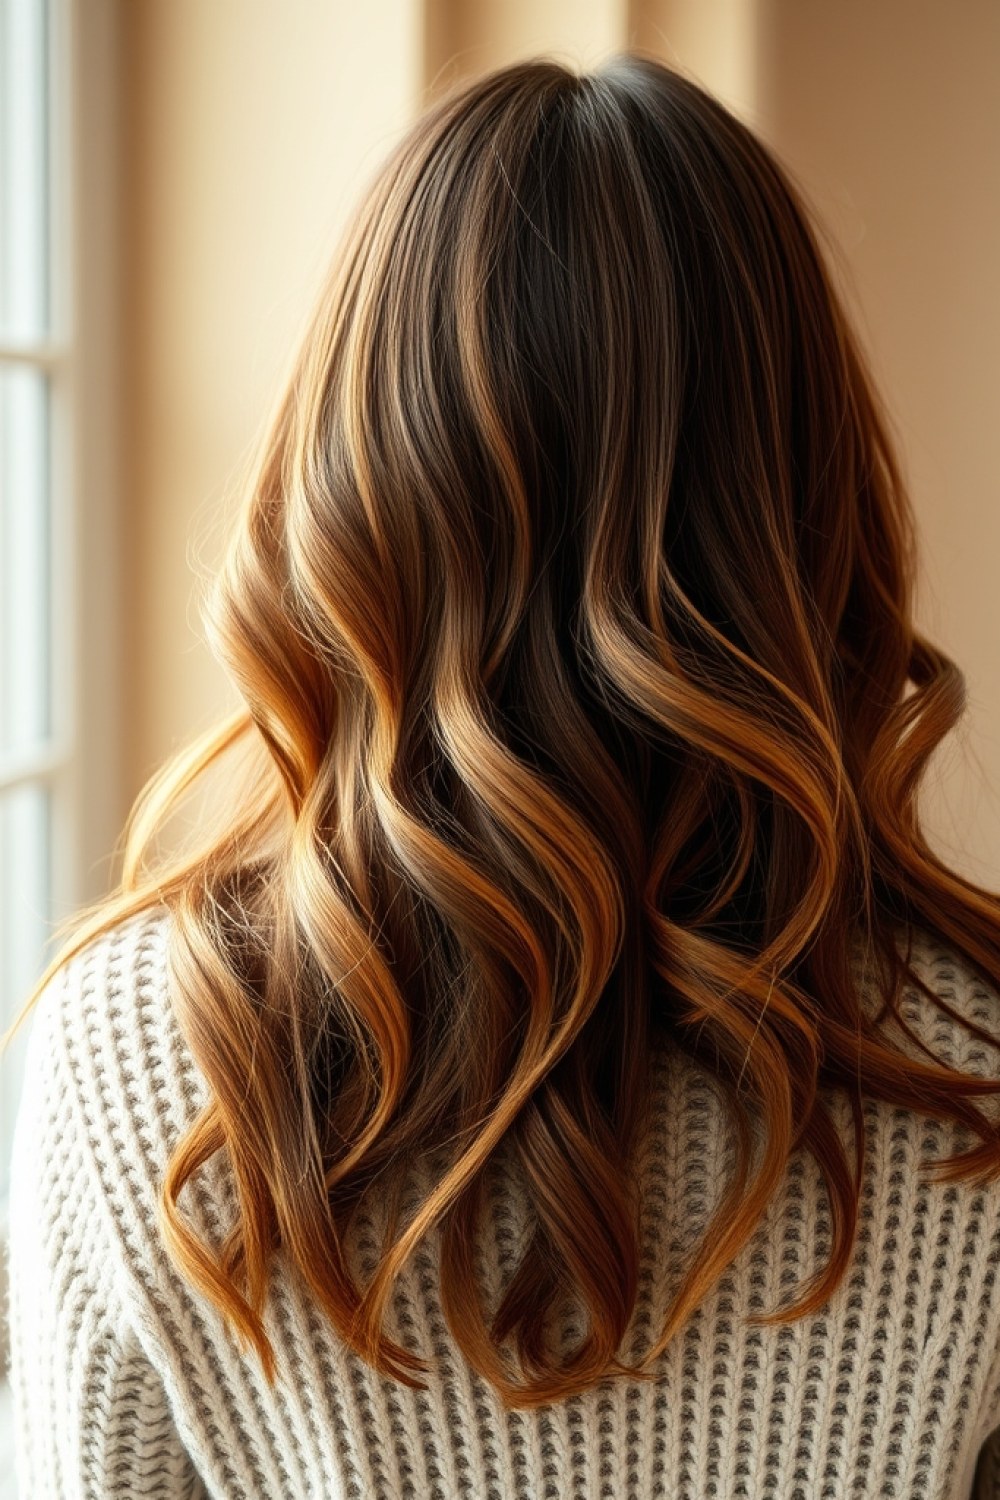
A chestnut melt is a face-framing gradient — your medium brown stays put at the root, then melts into warm chestnut through the mid-lengths and ends. No harsh lines, no obvious grow-out, just a soft glow exactly where the light hits.
This one belongs on level 5–6 brown. Go lighter and the chestnut turns brassy; go darker and it disappears. It’s ideal if you want warmth without a full color change, and it flatters nearly every skin tone because the tone stays in the red-brown family rather than edging orange.
The melt fades before regrowth ever shows, which is the genius of it. Refresh the ends with a gloss every six weeks to keep the chestnut rich. Ask for a demi-permanent gloss — it adds shine and tone without lifting your base.
3. Honey Almond Balayage
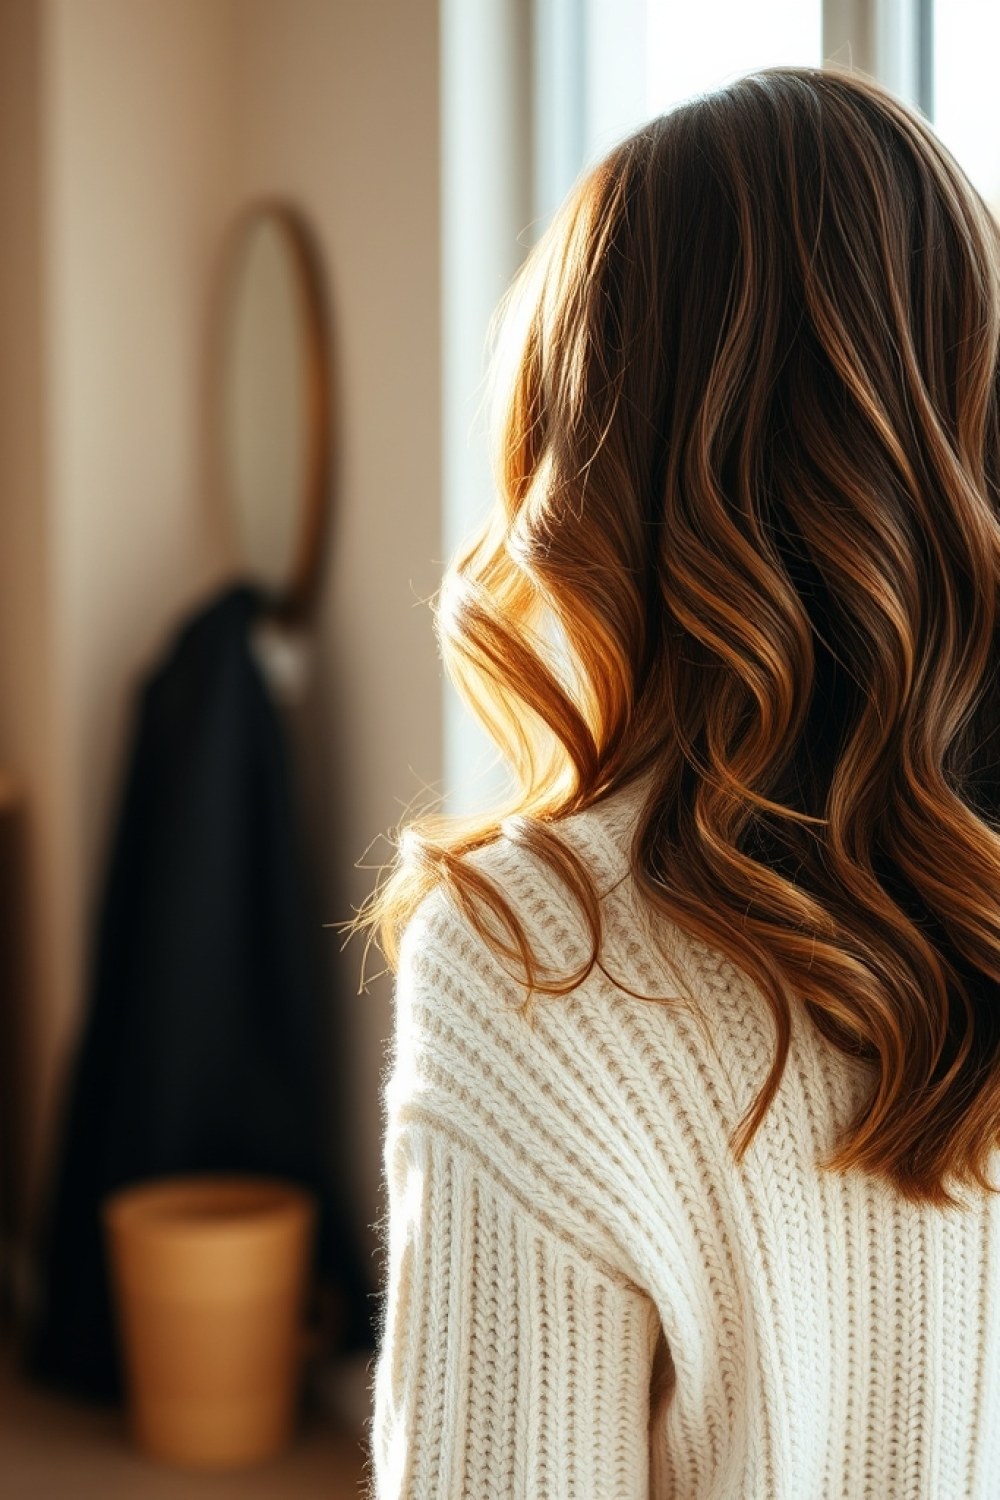
Honey almond balayage sweeps honey-almond pieces diagonally through the hair instead of straight down. The diagonal angle is what creates movement — your hair looks lit from within, not streaked.
It’s a dream on level 6–7 brown, where the honey reads soft and sunlit rather than yellow. And the low-commitment part is real: painted freehand with no foil at the root, it grows out beautifully over four to five months. If you’ve been burned by highlights that turned orange by February, this is the safer bet.
Suits anyone who wants effortless, vacation-hair warmth all winter. Ask for the pieces to start an inch or two below the root so the blend stays seamless. One tip: request a bond-builder in the lightener, because honey-almond tones need clean lift to stay golden, not brassy.
4. Cinnamon Money Piece
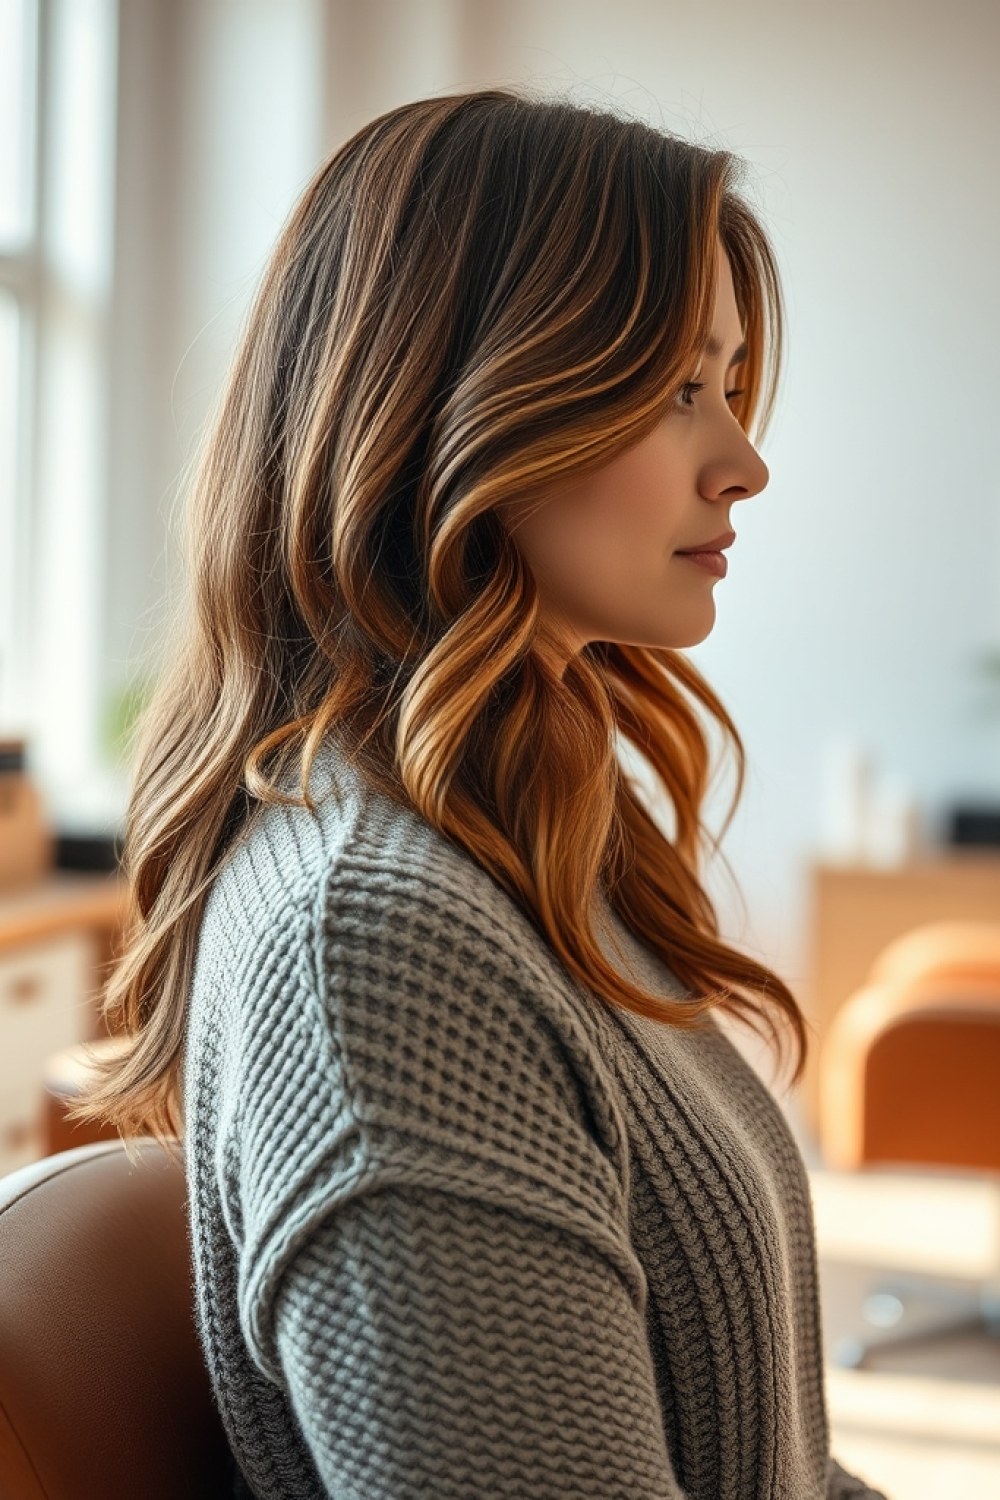
A cinnamon money piece is two face-framing sections, one either side of your part, painted in a warm cinnamon tone. Ten minutes of foiling, maximum impact, minimal commitment.
Because the light sits right beside your face, it brightens your features instantly — like a built-in glow filter. It’s perfect if you’re highlight-shy but want a visible change, and it’s the fastest way to test whether warm tones suit you before investing in a full head.
Cinnamon has more red in it than caramel, so it reads richer against dark brown and warmer against light.
Ask for the sections to start at the part and taper down past the cheekbone — blunt, blocky pieces look harsh. Tip: if cinnamon feels too bold, ask for half the density.
5. Espresso with Toffee Face Frame
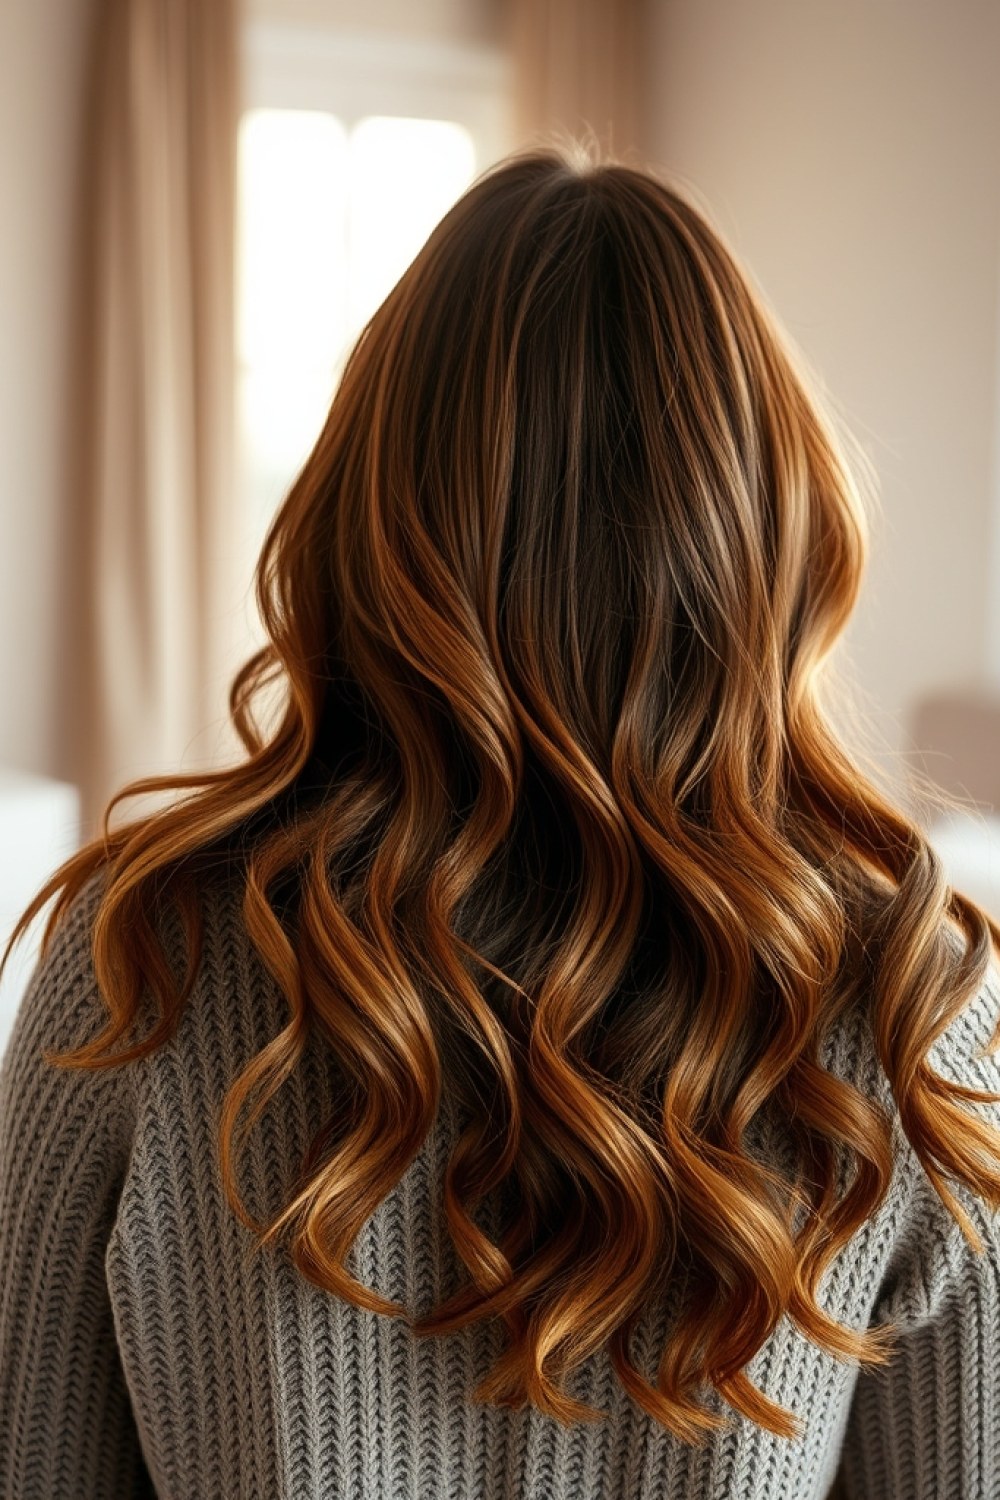
Here you keep the base deep, glossy espresso and add toffee only around the jawline. Nothing else gets lightened — just a warm lift exactly where it flatters most.
The contrast is the whole point. A rich espresso base makes the toffee pop, and the placement lifts your features without touching the bulk of your hair. It’s a smart choice if you love your dark brown but feel washed out, or if you’re growing out highlights and want a polished transition.
This reads expensive and low-maintenance in equal measure, and regrowth is nearly invisible because the root never changes.
Ask for the toffee to blend upward into the espresso, never a hard line. Tip: book a keratin or gloss so the dark base stays mirror-shiny — contrast only works when the base gleams.
6. Golden Mocha Babylights
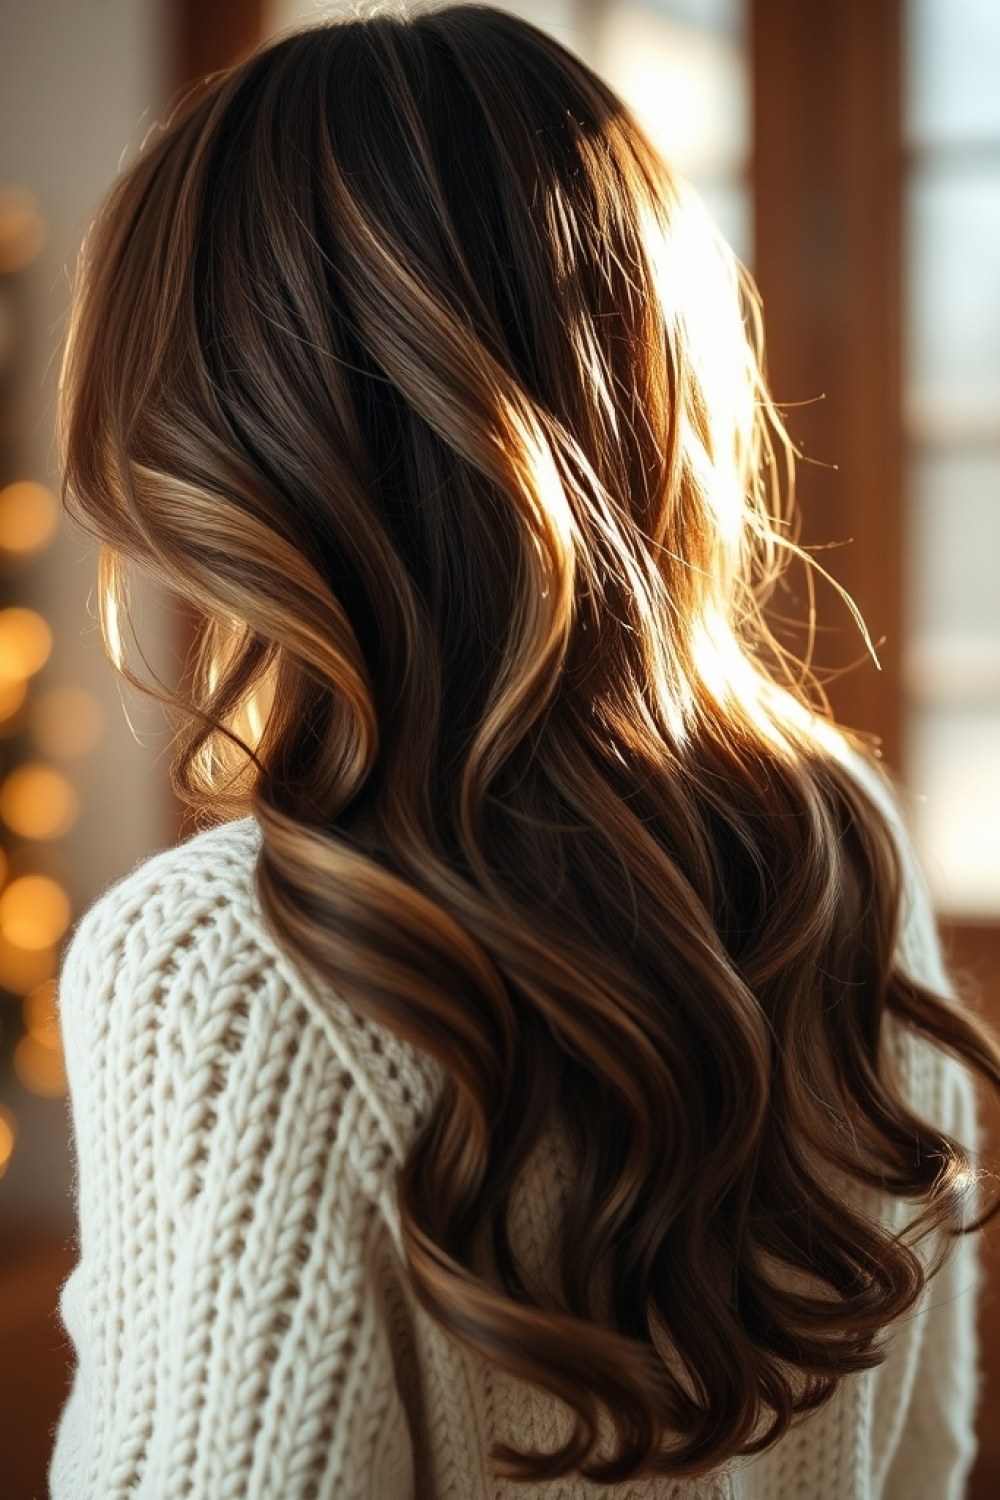
Golden mocha babylights are tiny, densely woven lights in a golden-mocha tone — half gold, half brown, all warmth. They’re the antidote to brown that turns ashy and dull once the cold sets in.
Because the lights are so fine, they cancel gray and cool tones without looking highlighted. It’s the shade for level 5–7 brown that pulls gray in winter, and it suits anyone who wants brightness that still reads natural.
The golden-mocha tone is forgiving, too — it flatters warm and neutral undertones alike, and it won’t flash orange the way straight golden-blonde lights can.
Ask for a fine weave and a slightly warmer toner than usual. Tip: use a color-depositing gloss at home between visits to keep the gold from fading.
7. Mahogany Lowlights — Add depth instead of lightness
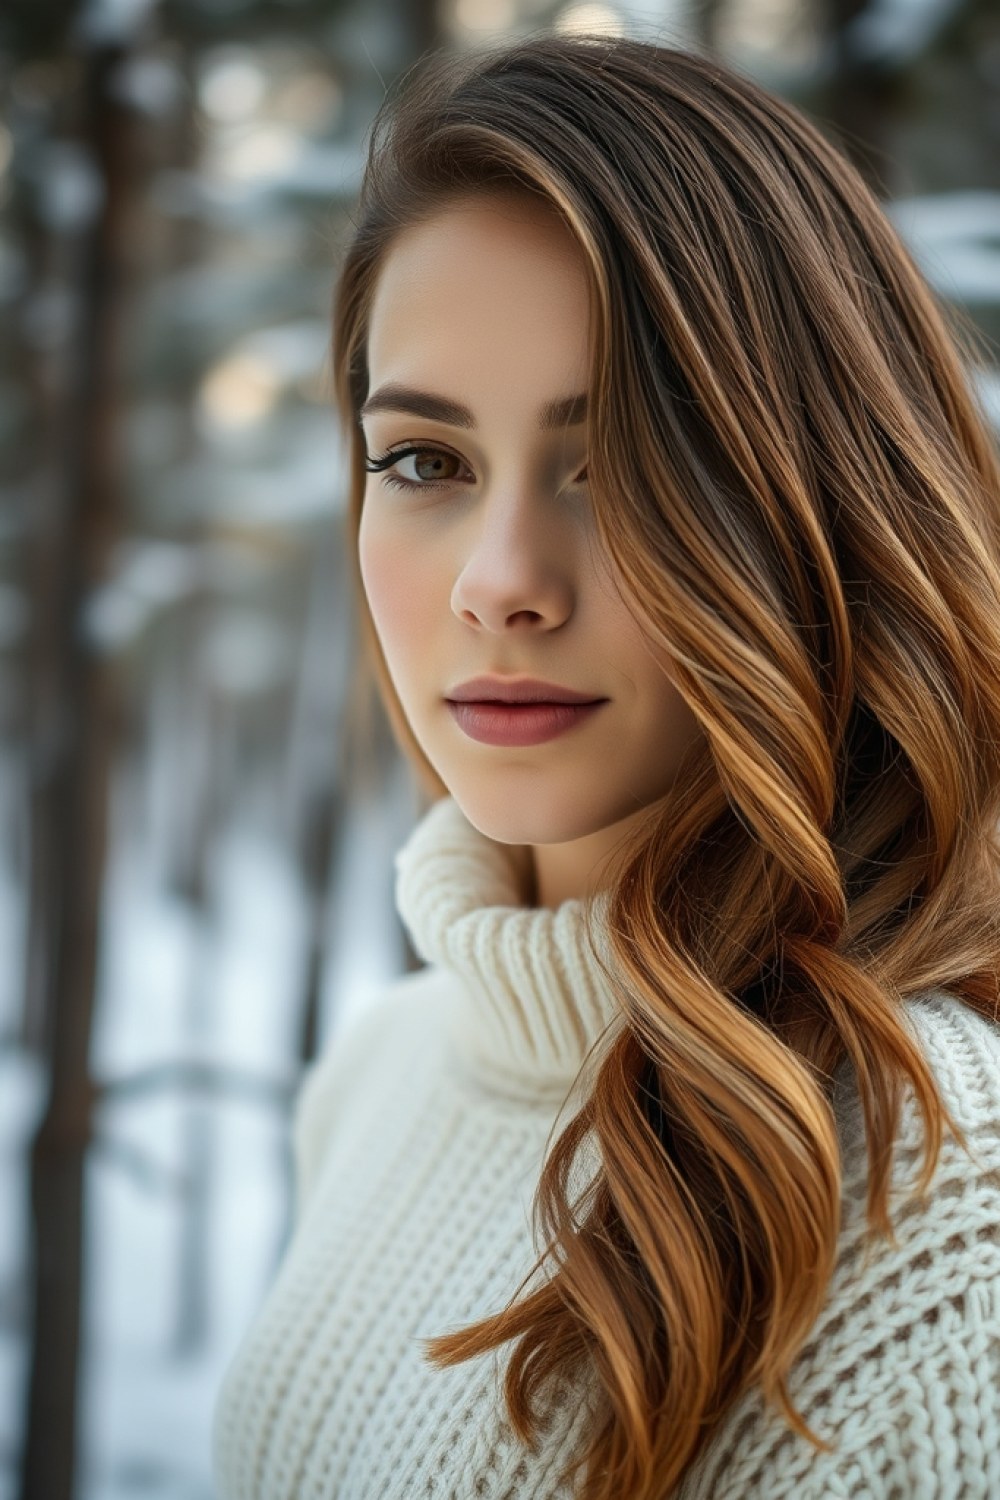
Most winter color advice pushes you lighter. Mahogany lowlights flip that: instead of lifting your light-brown base, your colorist weaves in deeper red-wine ribbons that add dimension without changing your overall depth. The result is a burnished, expensive-looking richness that catches light at the bends and shadow at the roots.
It works because mahogany sits in that rare zone between red and violet-brown — warm enough to flatter golden and neutral undertones, dark enough to look intentional rather than trendy. If your natural brown is around a level 6 or 7, the contrast is subtle and believable. Lighter than that and the lowlights read dramatic; perfect if you want a statement.
Because lowlights sit below your base color, regrowth is forgiving — expect to return every 10 to 12 weeks rather than every six. Ask your colorist for “mahogany lowlights woven through the mid-lengths only, keeping the face frame soft.”
8. Auburn Shadow Roots — Keep roots your natural brown
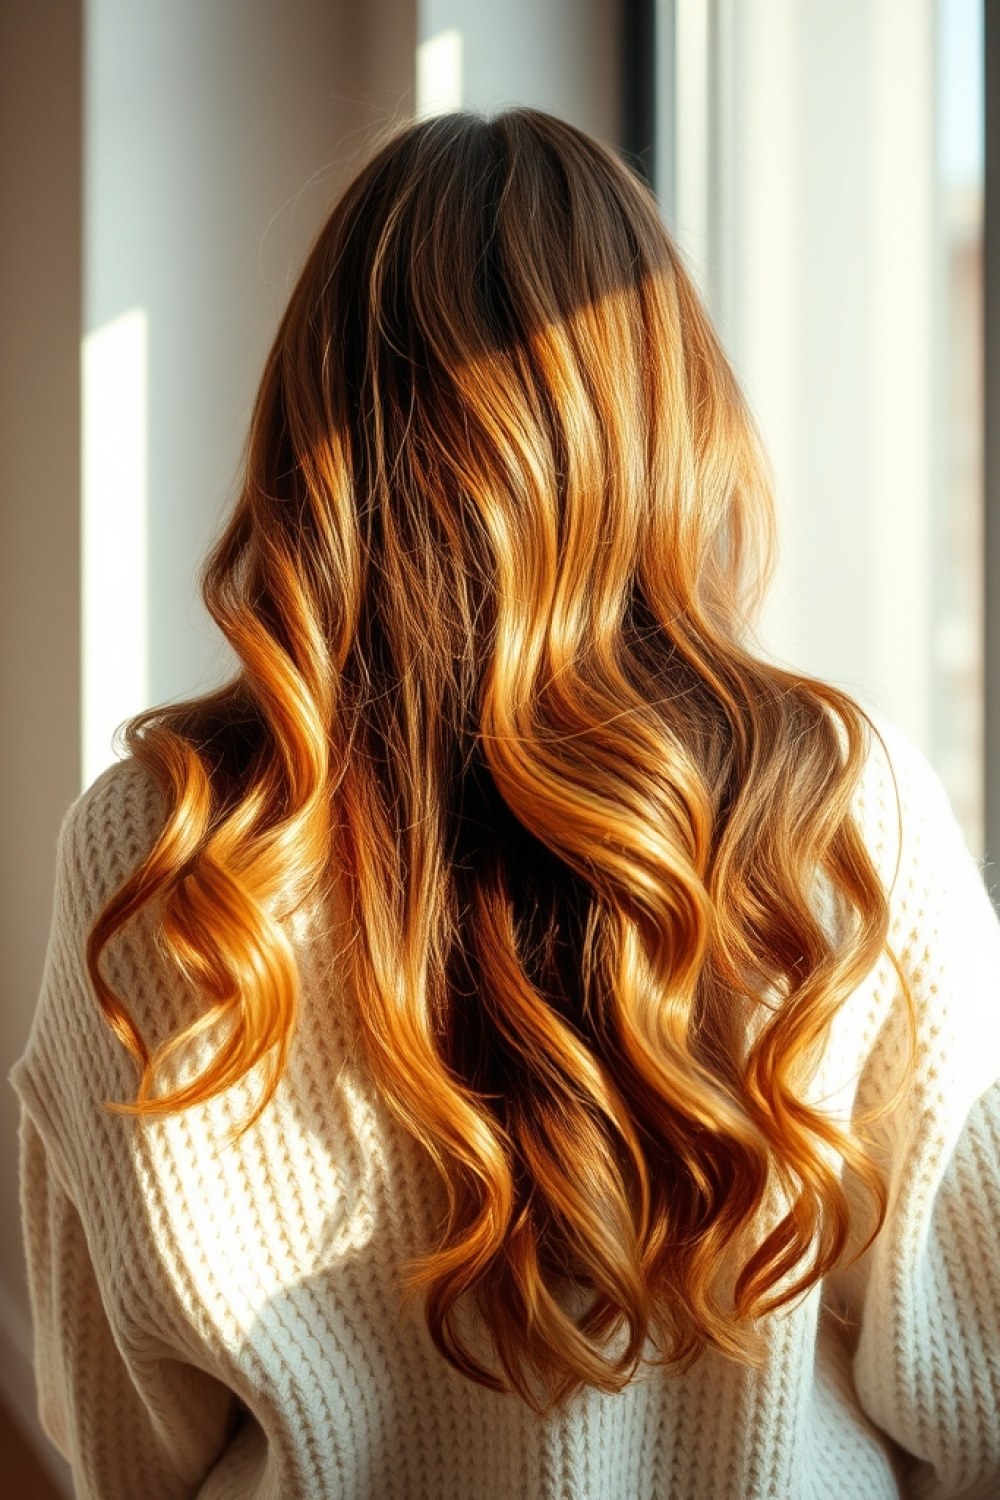
Shadow roots are the low-maintenance dream: your natural brown stays untouched at the root, and warm auburn floods the mid-lengths and ends. The transition stays soft and lived-in, so there’s no harsh line as your hair grows out — you get months of wear from a single appointment.
Auburn is the secret weapon for cool and ashy brown hair. That cool base fights the warm red just enough to keep it from going orange, landing on a rich, cozy copper-brown instead. On light mousse browns it reads gently sunlit; on deeper espresso it looks like a lit-from-within glow.
One caveat: auburn fades faster than almost any other tone because red molecules are larger and slip out of the cuticle sooner. Anchor it with a color-safe sulfate-free wash and a weekly gloss. Ask your colorist to “keep two inches of natural root and melt auburn through the rest.”
9. Chocolate Cherry Gloss — Test warmth for 4–6 weeks
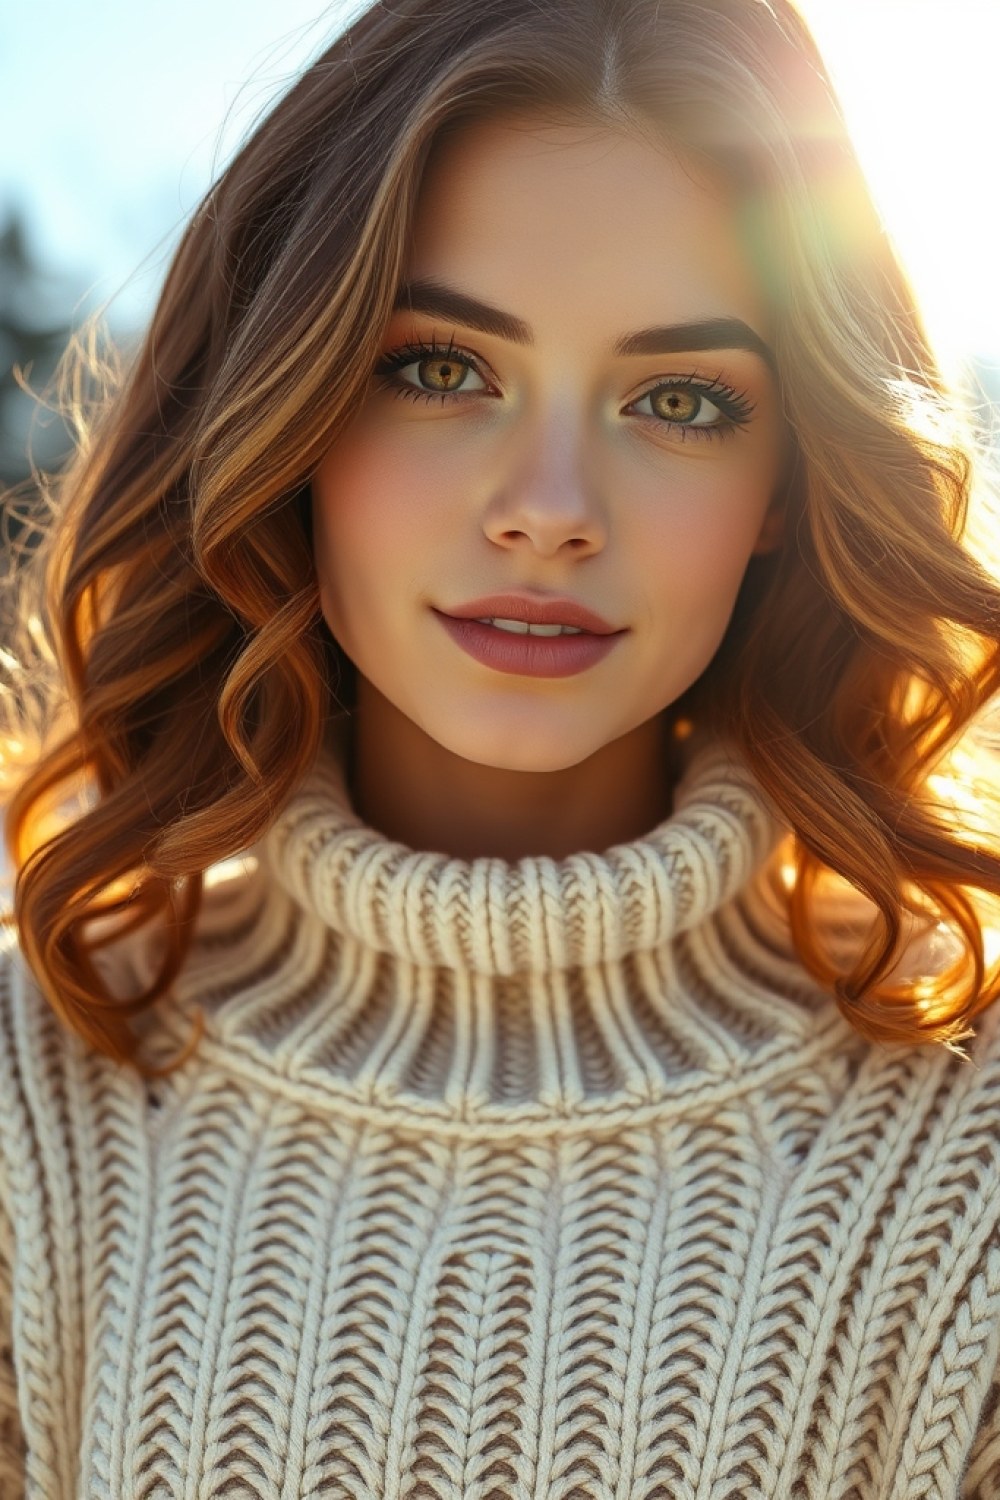
If you’re not ready to commit, start here. A chocolate-cherry gloss isn’t highlights — it’s a sheer, semi-permanent toner layered over your existing brown, adding a burnished red flash that shows up most in sunlight. You get the warmth without the bleach, the salon time, or the long-term lock-in.
Glosses sit on top of the cuticle rather than penetrating deep, so they fade gently over four to six weeks and leave no line of demarcation. Cherry-chocolate pulls a deep, wine-adjacent red from medium and dark browns especially well. On lighter browns it stays subtler — more of a rosy sheen.
This is the cheapest true test of whether warm reds suit you. Many salons offer a standalone gloss for a fraction of a full color service, and some are demis you can layer at home between appointments.
10. Butterscotch Chunky Highlights — Bold, retro, deliberate
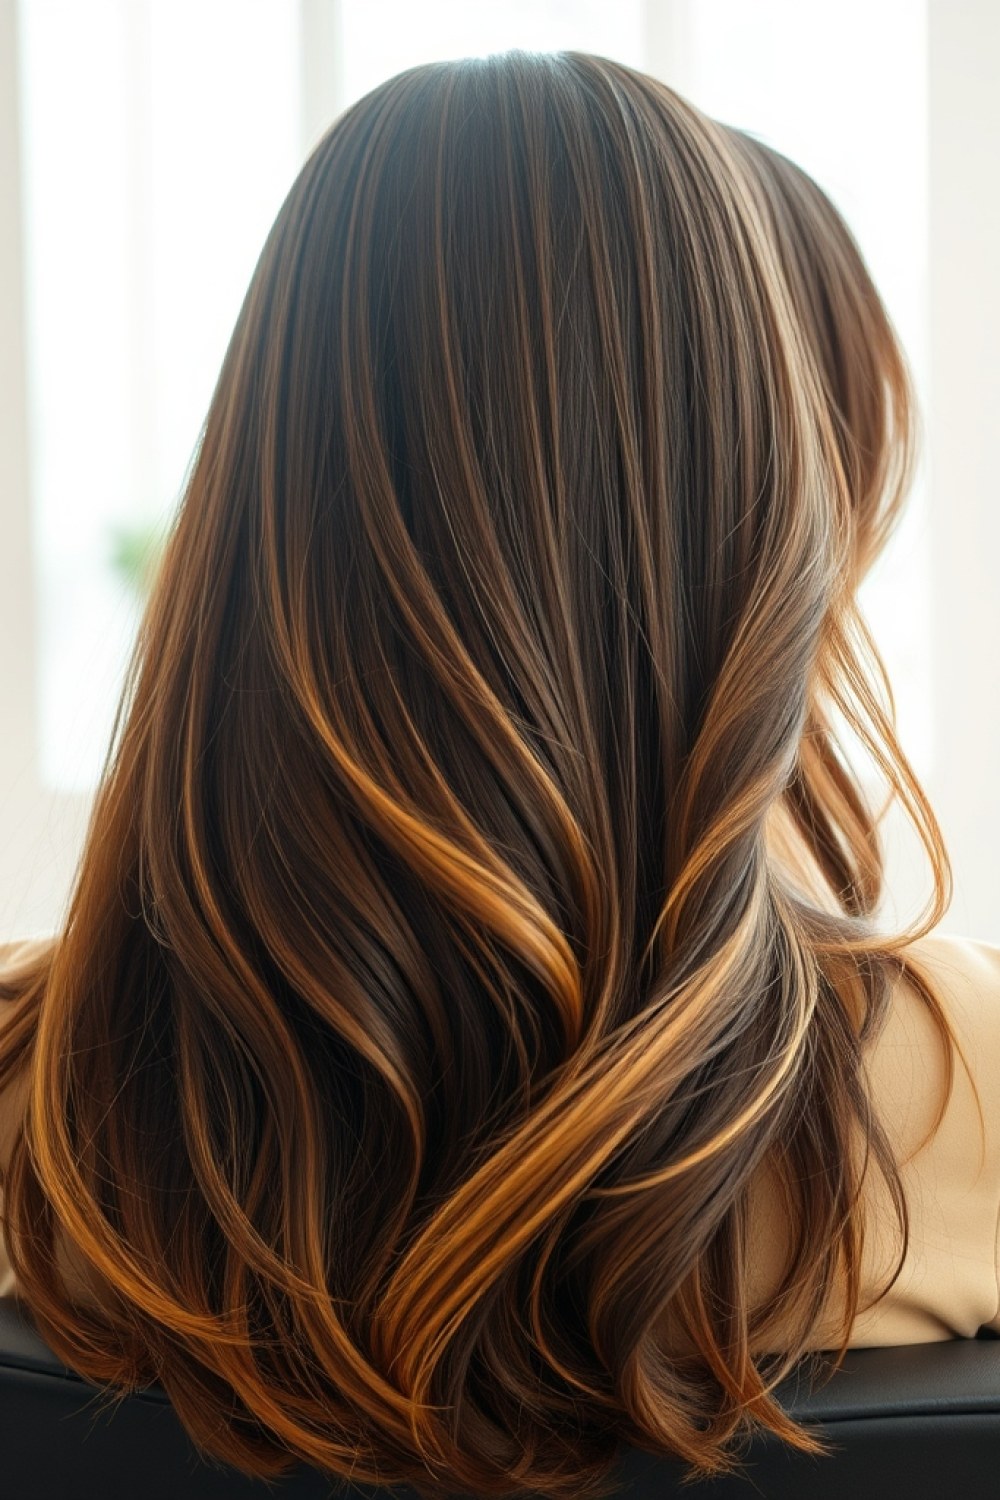
Say goodbye to hairline-fine babylights. Butterscotch chunky highlights are unapologetically wide — thick panels of golden-caramel woven through a brown base for a bold, retro-paneled look straight out of the 2000s. The key word is deliberate: these read as a style choice, not grown-out color.
They suit medium to dark browns best, where the butterscotch creates real contrast and dimension. On very light brown the panels can blur together; on very dark hair they pop hard, which is exactly the point. Think of it as colorblocking for your hair.
Pair them with a blunt cut — a sharp collarbone or bob line keeps the whole thing looking intentional rather than accidental. Ask your colorist for “wide butterscotch panels, chunky not blended, kept strong at the ends.”
11. Maple Syrup Blend — Copper and gold in wide ribbons
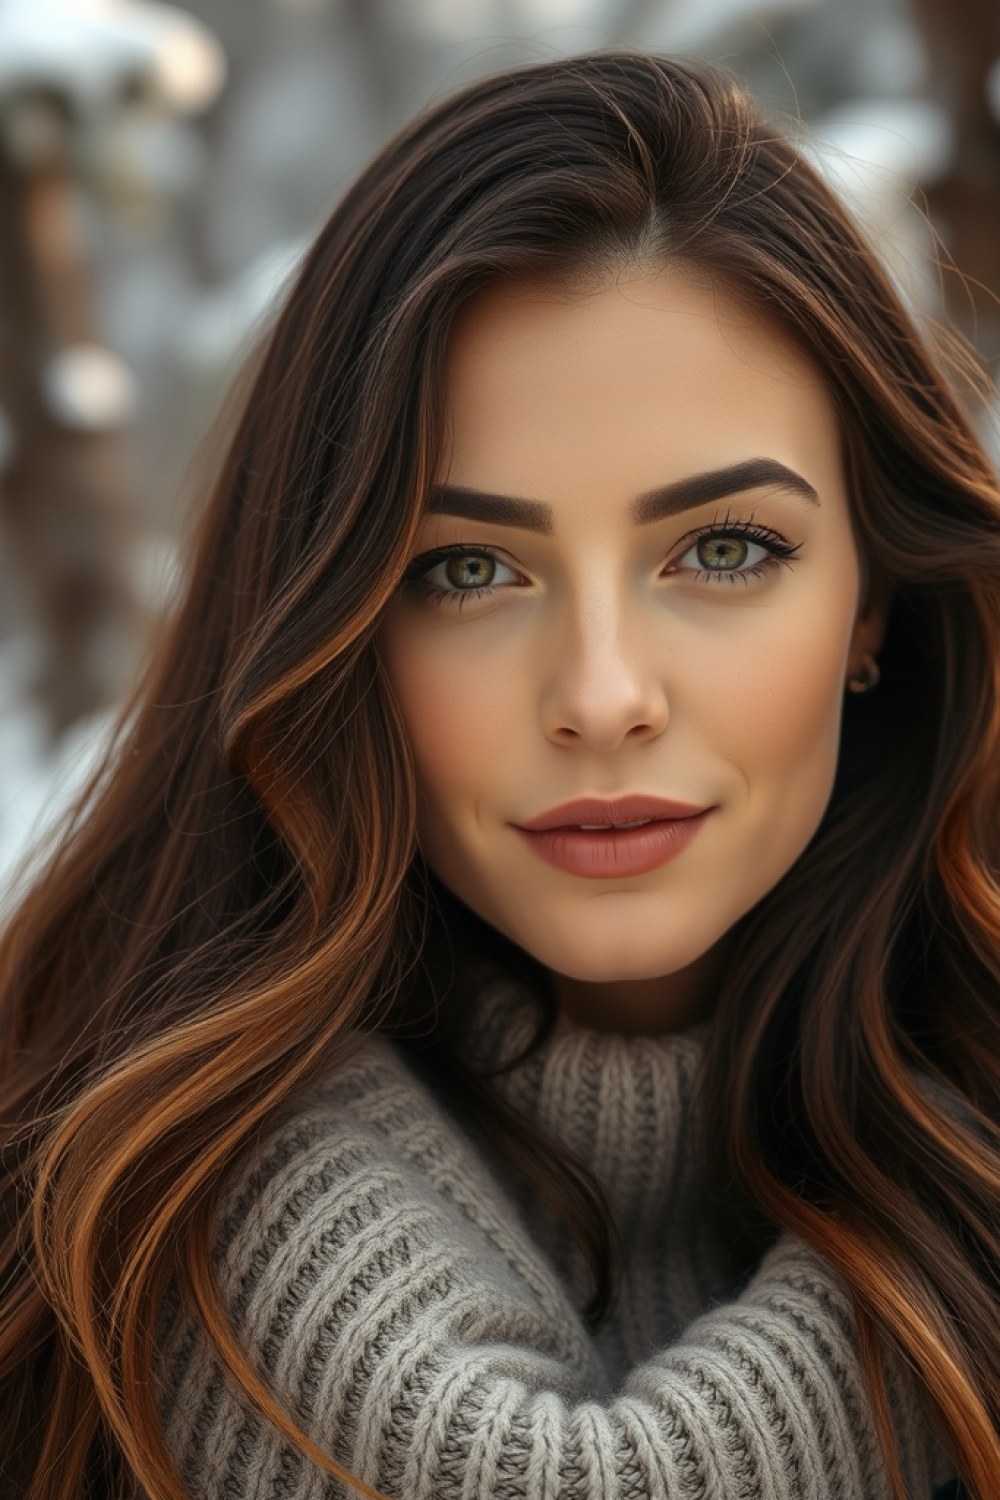
Maple syrup blend is warmth with a thickness to it: copper and gold painted in wide ribbons through your brown, like syrup poured over the strand. It’s richer and more saturated than babylights, softer than chunky panels — a middle ground that feels glossy and dimensional.
The blend works on nearly every brown depth because copper and gold are both warm-leaning tones that harmonize with brown’s natural base. On cool browns it injects welcome heat; on warm browns it amplifies what’s already there. Either way, the effect is cozy and expensive.
Here’s the make-or-break: ask your colorist to keep the toner warm, never violet. A cool or violet toner over copper-gold ribbons will neutralize them into muddy, flat brown. Aftercare with a warm-toned color-depositing mask keeps the maple glow alive between visits.
12. Warm Mushroom Brown — Beige, not gray
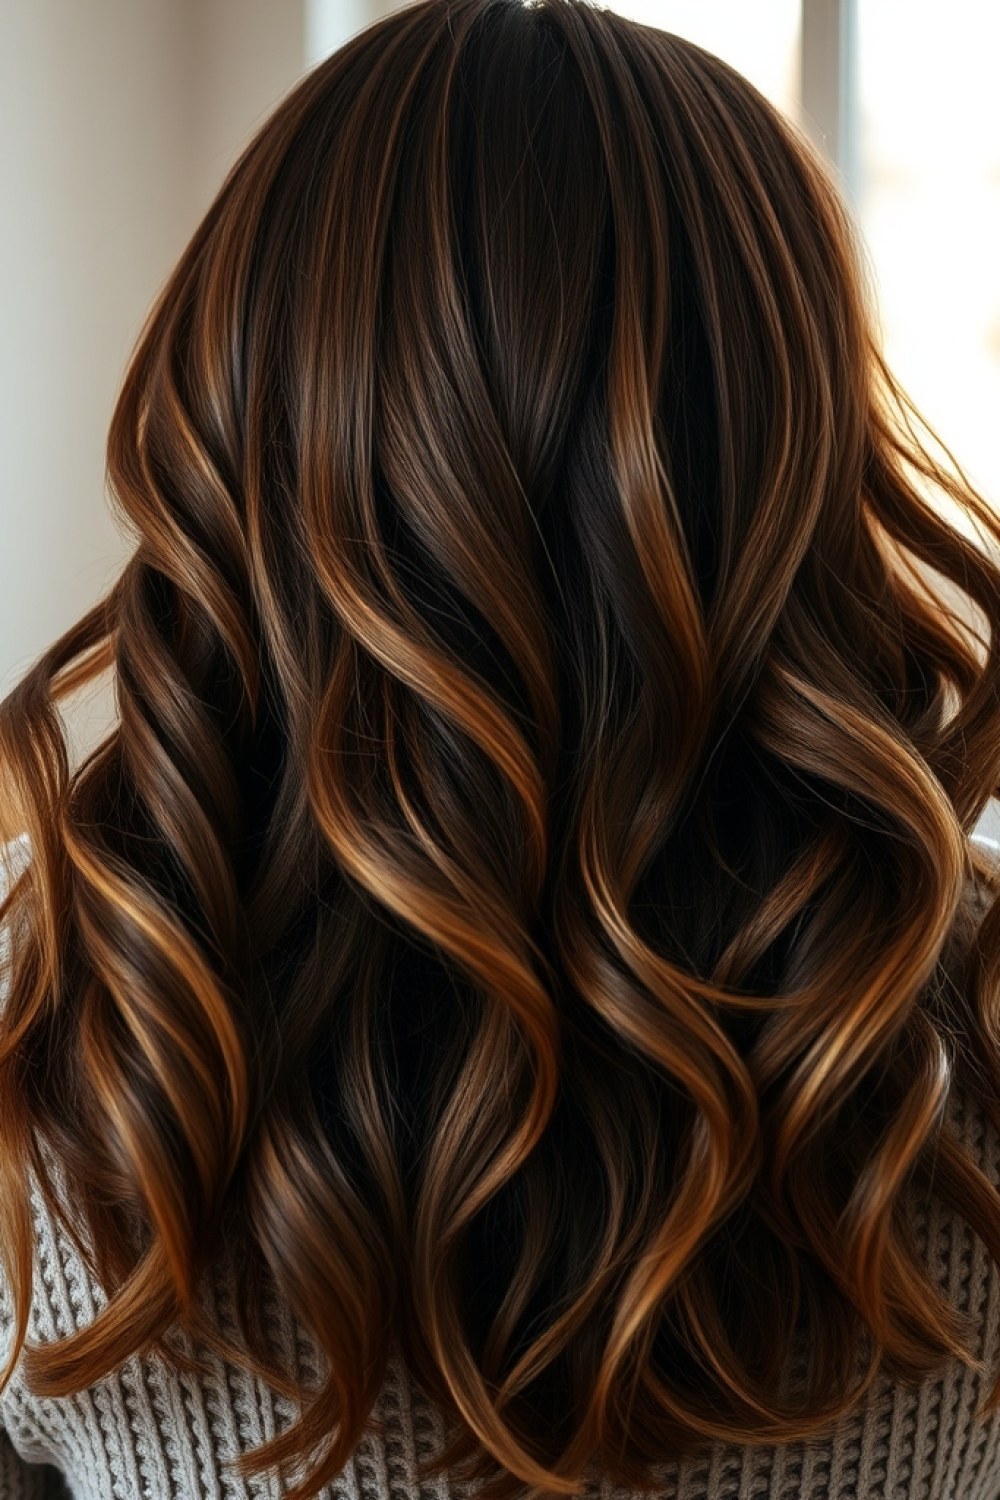
Warm mushroom brown takes a cool-leaning base and softens it with mushroom-beige highlights — that grayish-taupe blonde with a warmth running underneath. The mix of cool tones and warm highlights lands on something mushroomy, elegant, and surprisingly low-key.
It’s a tonal match, not a contrast play. The highlights sit close to your base depth, so the finish is smooth and blended rather than streaky. Best on levels 7 to 8 — light to medium browns. If your hair is darker than a level 6, skip it: the beige can’t lift enough on dark brown and turns ashy or brassy instead.
For the cool-toned women who think warm color isn’t for them, this is the gateway. It reads warm without going golden.
13. Copper Coin Highlights
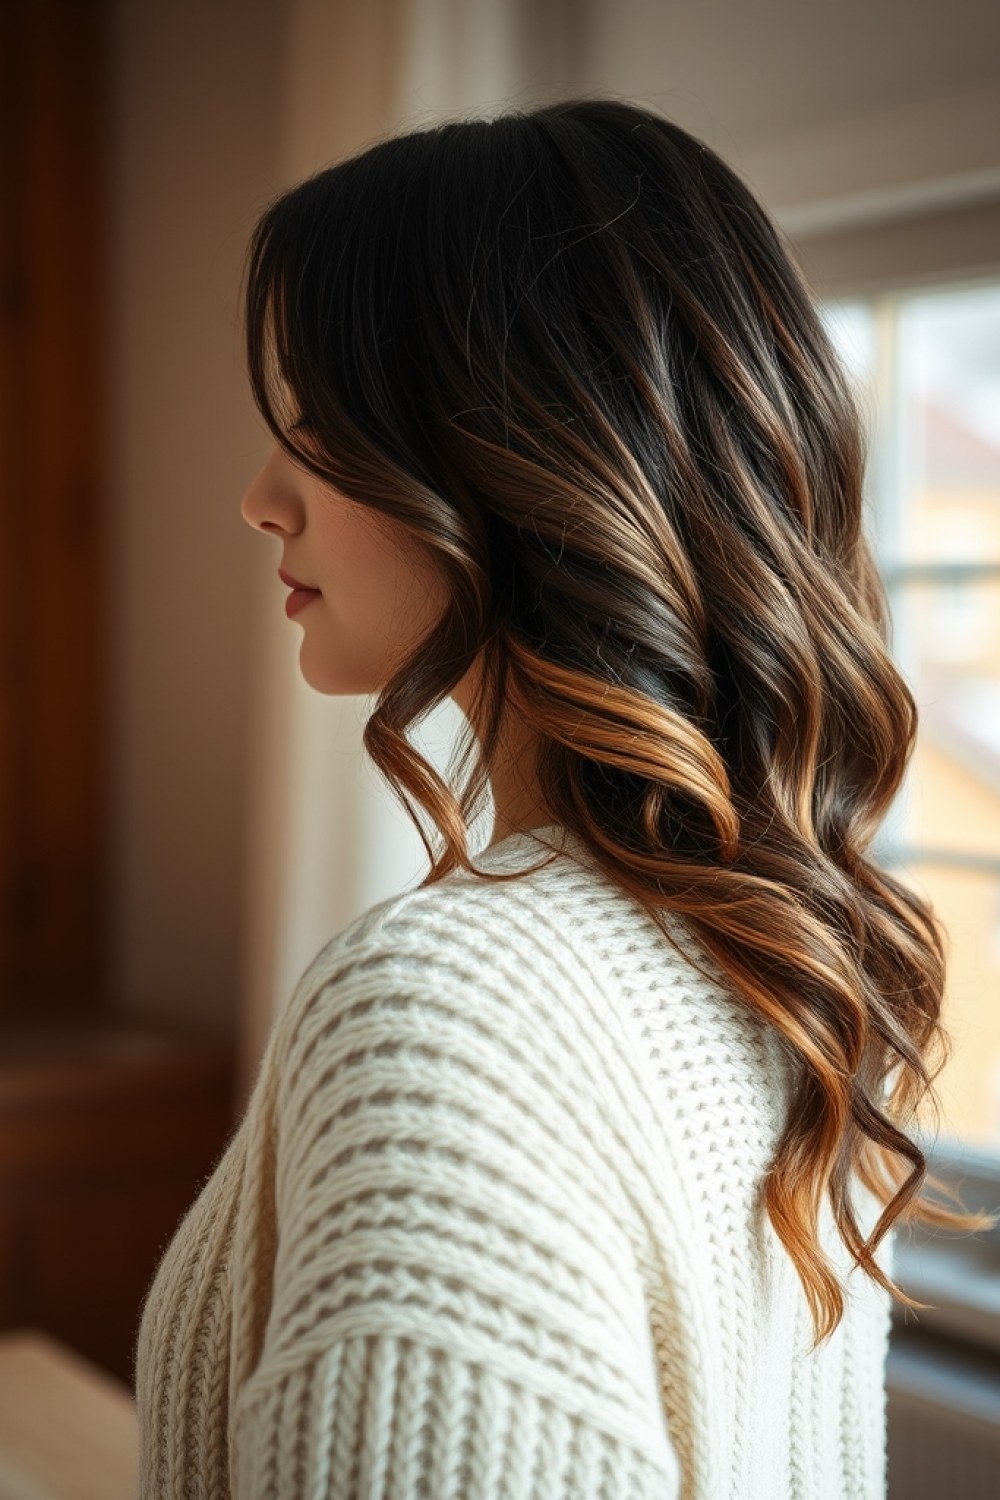
Instead of fine woven strands, your colorist places small, round, evenly spaced foils — each one roughly the size of a coin. The result reads as polka dots of copper glowing through medium brown rather than full coverage, and because the placement is deliberate, no two pieces blend into a stripe.
It shines brightest on medium brown (think milk chocolate to chestnut) and looks almost custom-made next to green or hazel eyes, since the orange in copper pulls those flecks forward. The spacing also means grow-out is forgiving — you get months of wear before roots look intentional-adjacent.
Tip for the salon: bring a photo showing spacing, not just shade, and ask your colorist to keep pieces at least an inch apart near the part so the coin effect stays visible.
14. Vanilla Chai Balayage
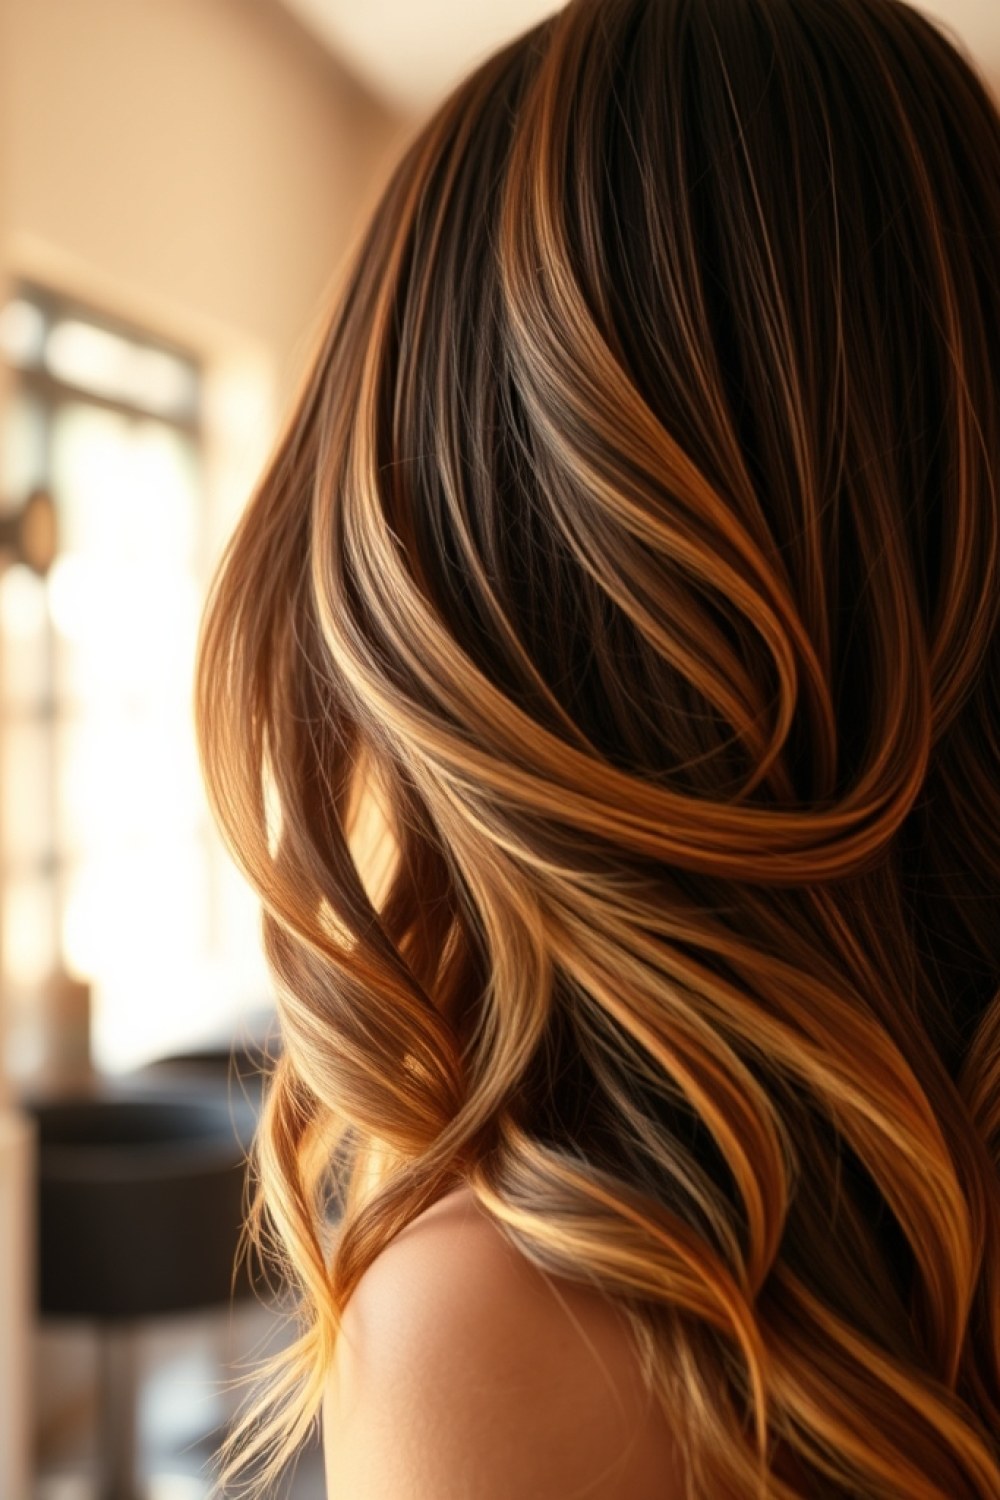
Creamy, spiced-neutral lights — cardamom-beige and latte rather than icy platinum — painted freehand and stopped about two inches from the root. That gap is the whole point: it keeps the tone flattering against brown bases and spares you the harsh line that platinum balayage often leaves behind.
Because the lights stay in the warm-neutral family, they don’t fight the underlying red in brunette hair the way cool tones can. Dark espresso bases get a soft halo of contrast; medium browns get a lit-from-within glow that looks expensive without reading as highlighted.
It suits anyone who wants lightness without high maintenance. Your actionable tip: ask for a gloss every 8–10 weeks rather than fresh foils — it keeps vanilla from drifting brassy while your base quietly grows out.
15. Toasted Coconut Ombré
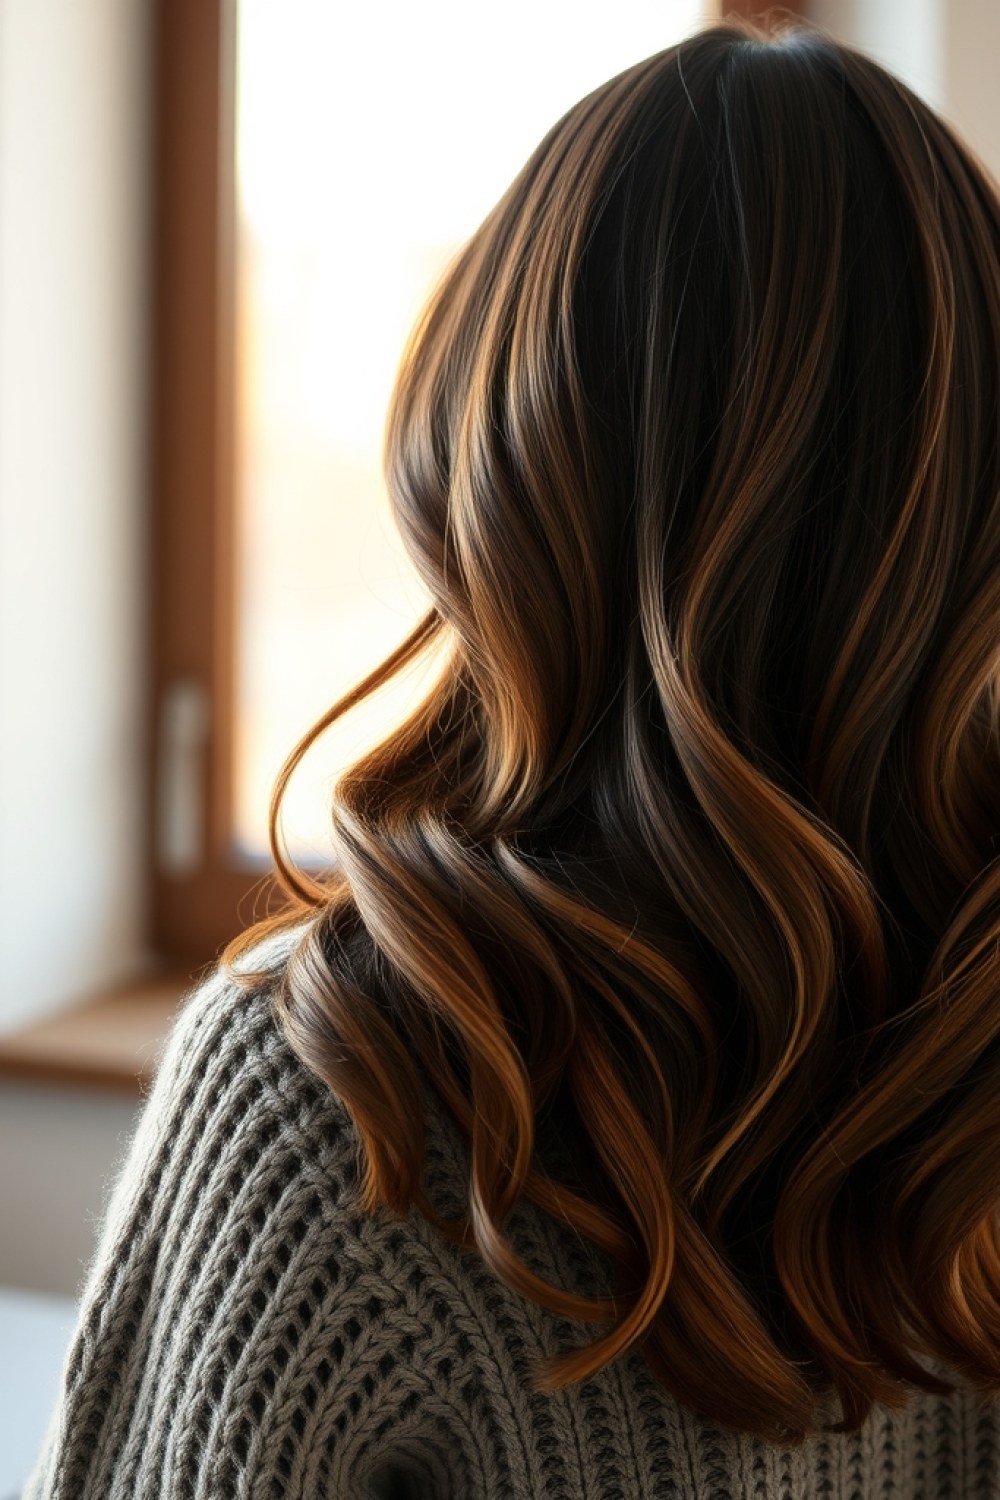
A gradual, seamless fade from your natural brown at the crown down to warm toasted coconut at the tips — sandy, golden-beige, never ash. Unlike a stark ombré, the transition band is soft and stretched over several inches so the shift reads as sunlight, not a dye line.
That soft transition band is the detail that makes or breaks this look. Too narrow and it looks like a grow-out; too wide and you lose the payoff. Ask your colorist to blend the midsection over at least three to four inches so the fade feels intentional and lived-in.
It’s ideal for long hair and anyone who trims regularly, since you can snip the lightest tips off over time without losing the effect. Tip: request a bond-building treatment with the service — lightened ends on brown hair tend to feel drier first.
16. Red Velvet Underlights
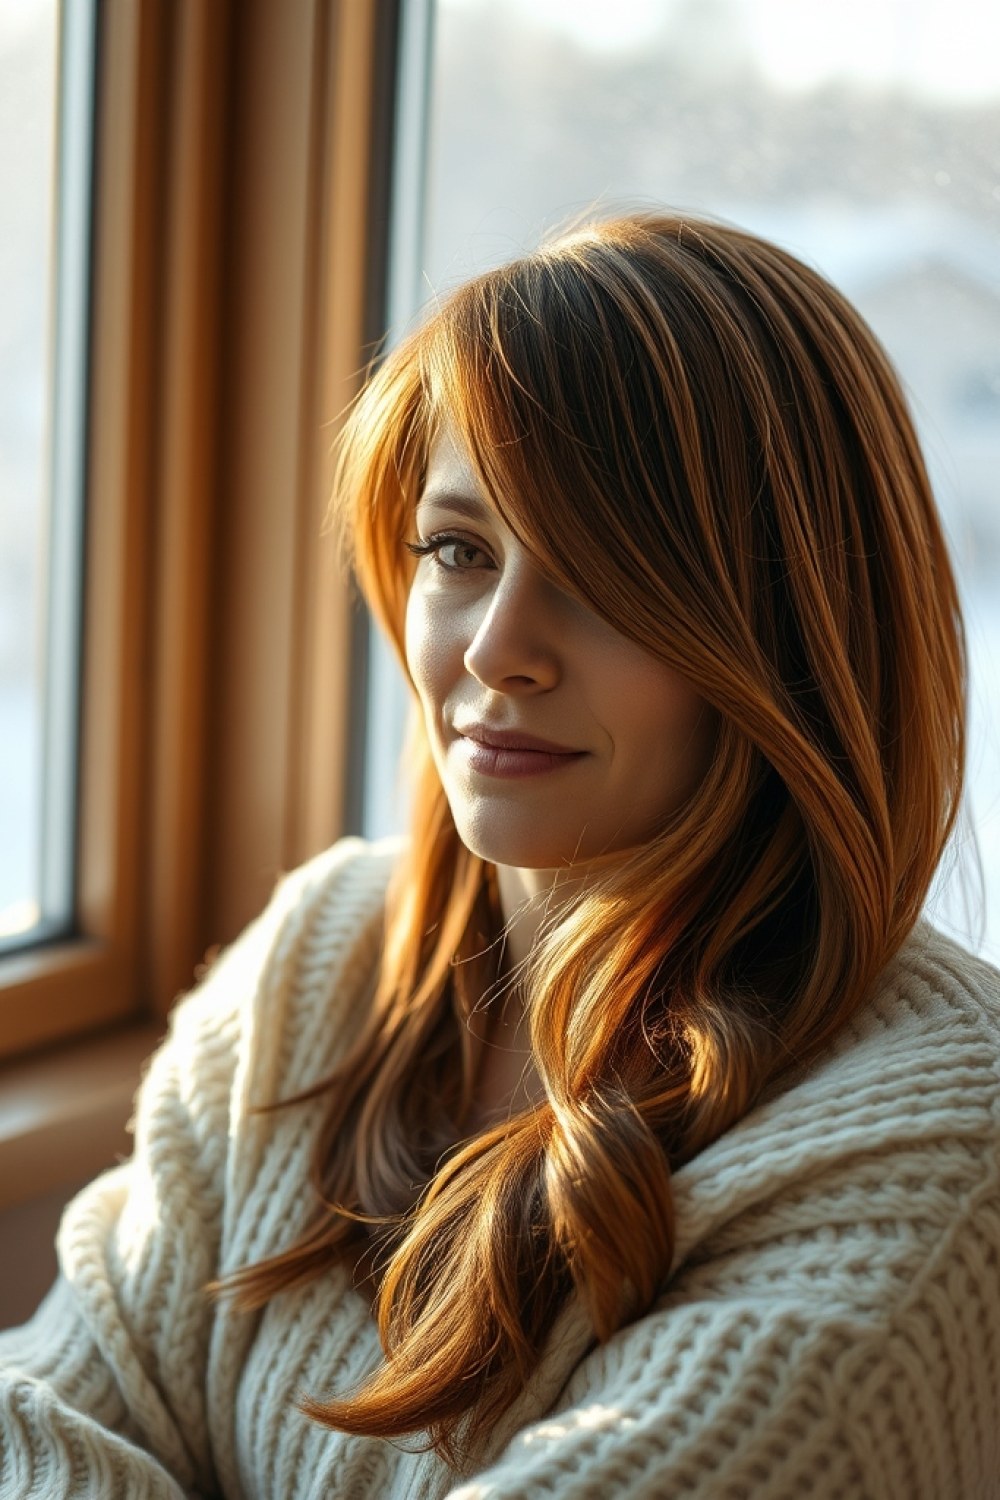
Hidden panels of deep red velvet — a rich, winey crimson-brown — layered beneath your top section of hair. Down and styled normally, you see nothing but your usual brunette. Pull it into a ponytail or half-up, and the panels flash like a secret.
What makes it work is the contrast without commitment: because the red lives underneath, it never alters your overall shade or grows out visibly. Deep espresso and dark brown bases carry the drama best, while lighter browns get a subtler cherry glow.
It’s a great first step for anyone curious about red but wary of full-head color. Actionable tip: keep the underlight panels a shade deeper than a true red — think burgundy-brown — so they read velvet, not cherry candy.
17. Bronze Dimension Weave
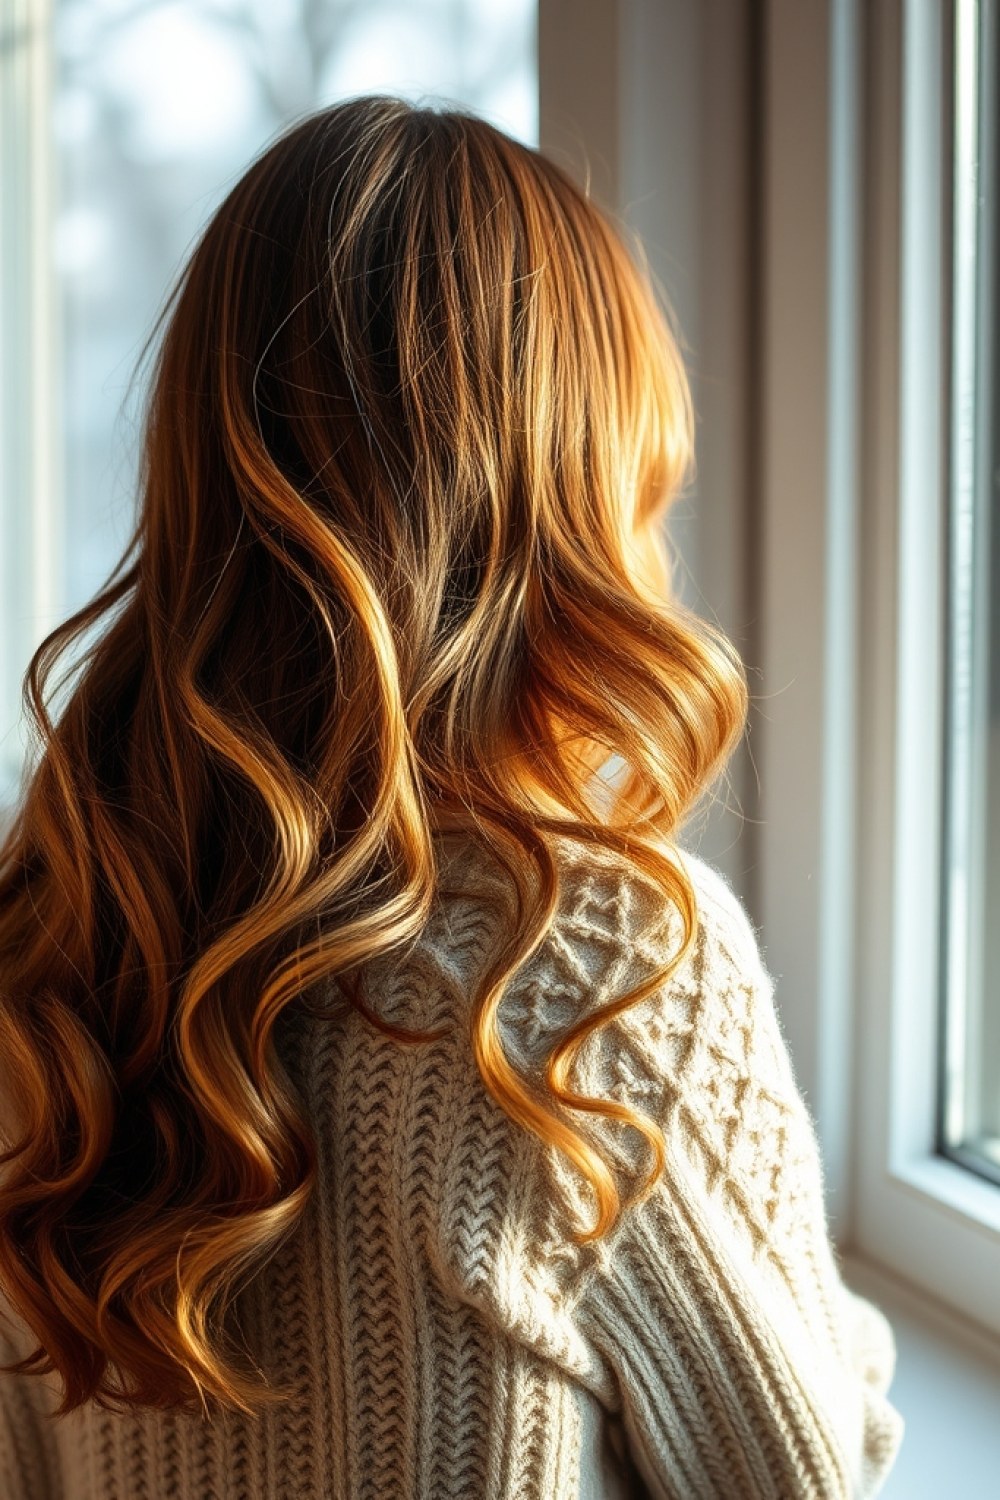
Fine bronze foils woven through the hair every half inch — not chunky highlights, but a tight, even mesh of warmth that adds depth from every angle. The bronze sits between gold and copper, which keeps it flattering rather than brassy on brown bases.
This is the trick for fine brown hair. Chunky highlights overwhelm fine strands and create a striped, separated look; a half-inch weave blends so thoroughly that the dimension comes from the overall shimmer instead of individual pieces. The density also means the color moves with your hair.
It suits fine to medium textures and anyone whose brown reads flat in winter light. Tip: ask for a demi-permanent bronze glaze over the weave to soften any foil lines and stretch your next appointment to 12 weeks.
18. Pecan Pie Lights
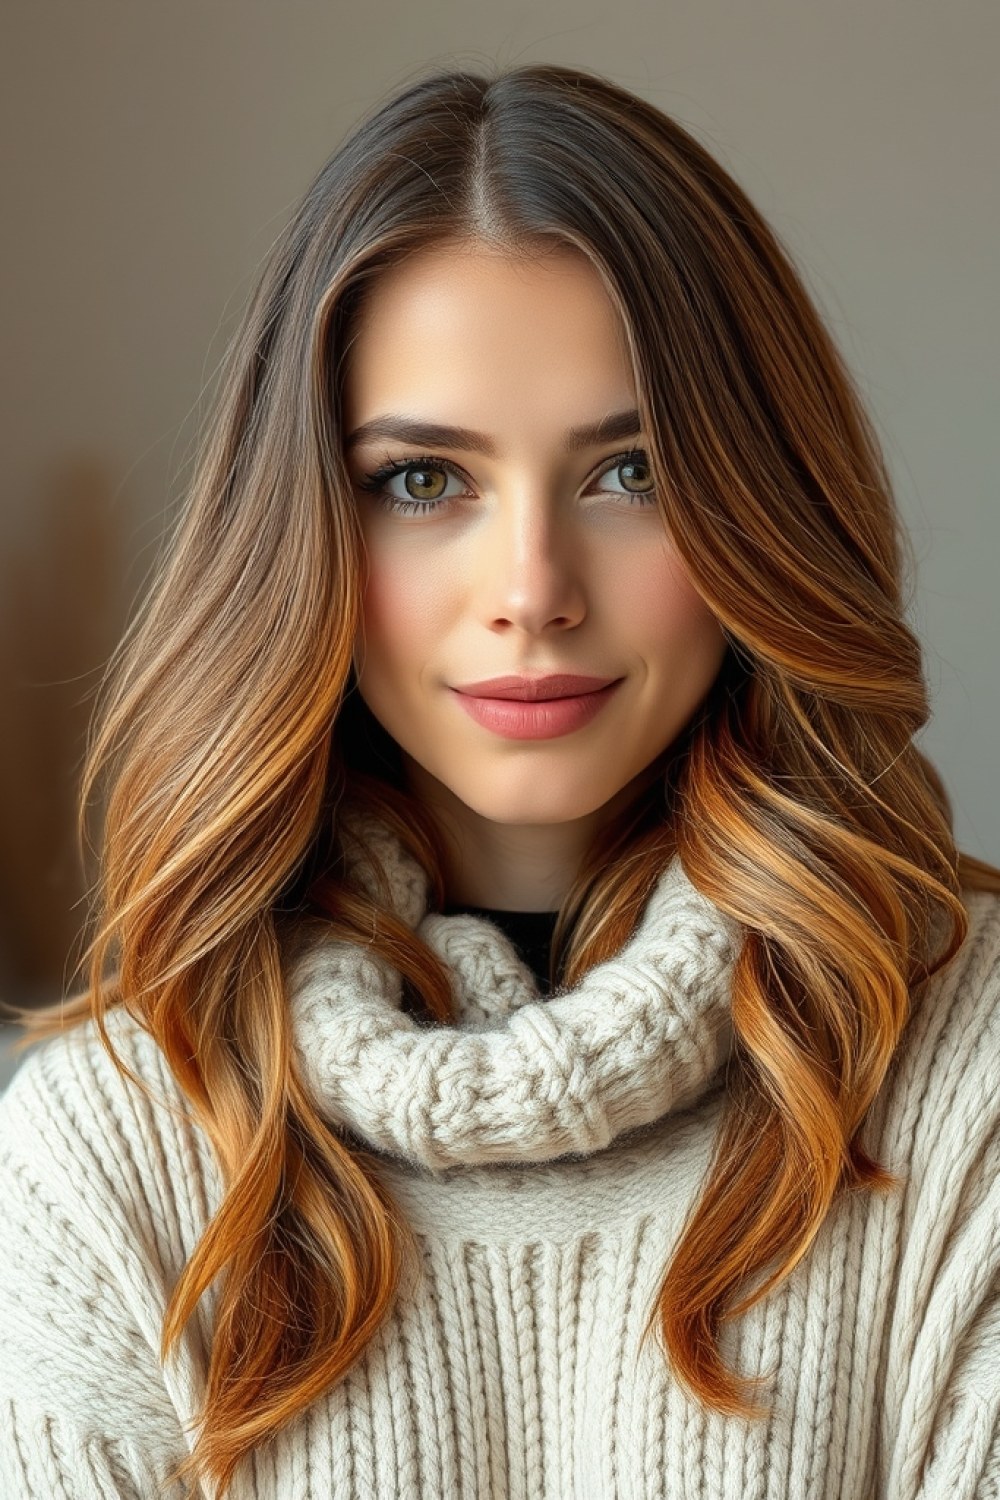
Golden-pecan tones placed only around the crown and part line, leaving the lengths and ends your natural brown. The logic is simple and smart: light hits the top of your head first, so brightening there makes the whole style look luminous while the darker ends keep it grounded.
The pecan shade itself is a warm golden-brown — richer than blonde, softer than copper — and it flatters almost every brown depth because it sits close to the base tone. It’s low-commitment, low-maintenance, and one of the fastest salon services on this list.
Perfect if you’re growing out color, hate visible roots, or just want a seasonal lift without a full transformation. Actionable tip: have your colorist place the lights in a V along the part and a scattered ring around the crown — that’s the zone where light actually falls.
19. Deep Burgundy Streaks

Three or four bold burgundy streaks through dark brown is the winter move for anyone who wants a statement piece without lifting the whole head. On a level 3 or 4 base, a burgundy like Wella’s 4RR or Redken Shades EQ in 04RV reads rich and jewel-toned rather than cartoonish. Because the shade sits in the red-violet family, it flatters cool and neutral undertones alike — it doesn’t fight your skin the way a flat cherry red can.
The trade-off is upkeep. Reds fade fast, and burgundy is no exception, so expect to re-tone every 4 weeks to keep that depth from going brassy. Ask your stylist to pre-lighten each streak just one or two levels so the tone grips properly.
This suits confident color-wearers who don’t mind a standing appointment. Tip: book a gloss every time you get a trim, and you’ll stay ahead of the fade.
20. Sandalwood Beige Melt

Sandalwood beige is the neutral that lives between ash and gold — soft, warm, and totally free of orange or red. It’s the go-to when you’ve spent years watching warm accents turn brassy, because this shade melts through your mid-lengths with a gentle lift rather than a yellow flare. Think of a color like Redken’s 09NB or a custom Shades EQ gloss in the beige-gold range.
The melt is what makes it work: your stylist blends from your natural brown at the root, through the beige mid-lengths, and softly out toward the ends. That seamless transition is what keeps it calm and expensive-looking. It suits medium to dark brunettes — levels 5 through 7 — especially those with neutral or slightly warm undertones.
Tip: bring a photo of a sandy-beige balayage and explicitly say “no copper, no gold” so your stylist aims for beige rather than honey.
21. Amber Glow Balayage
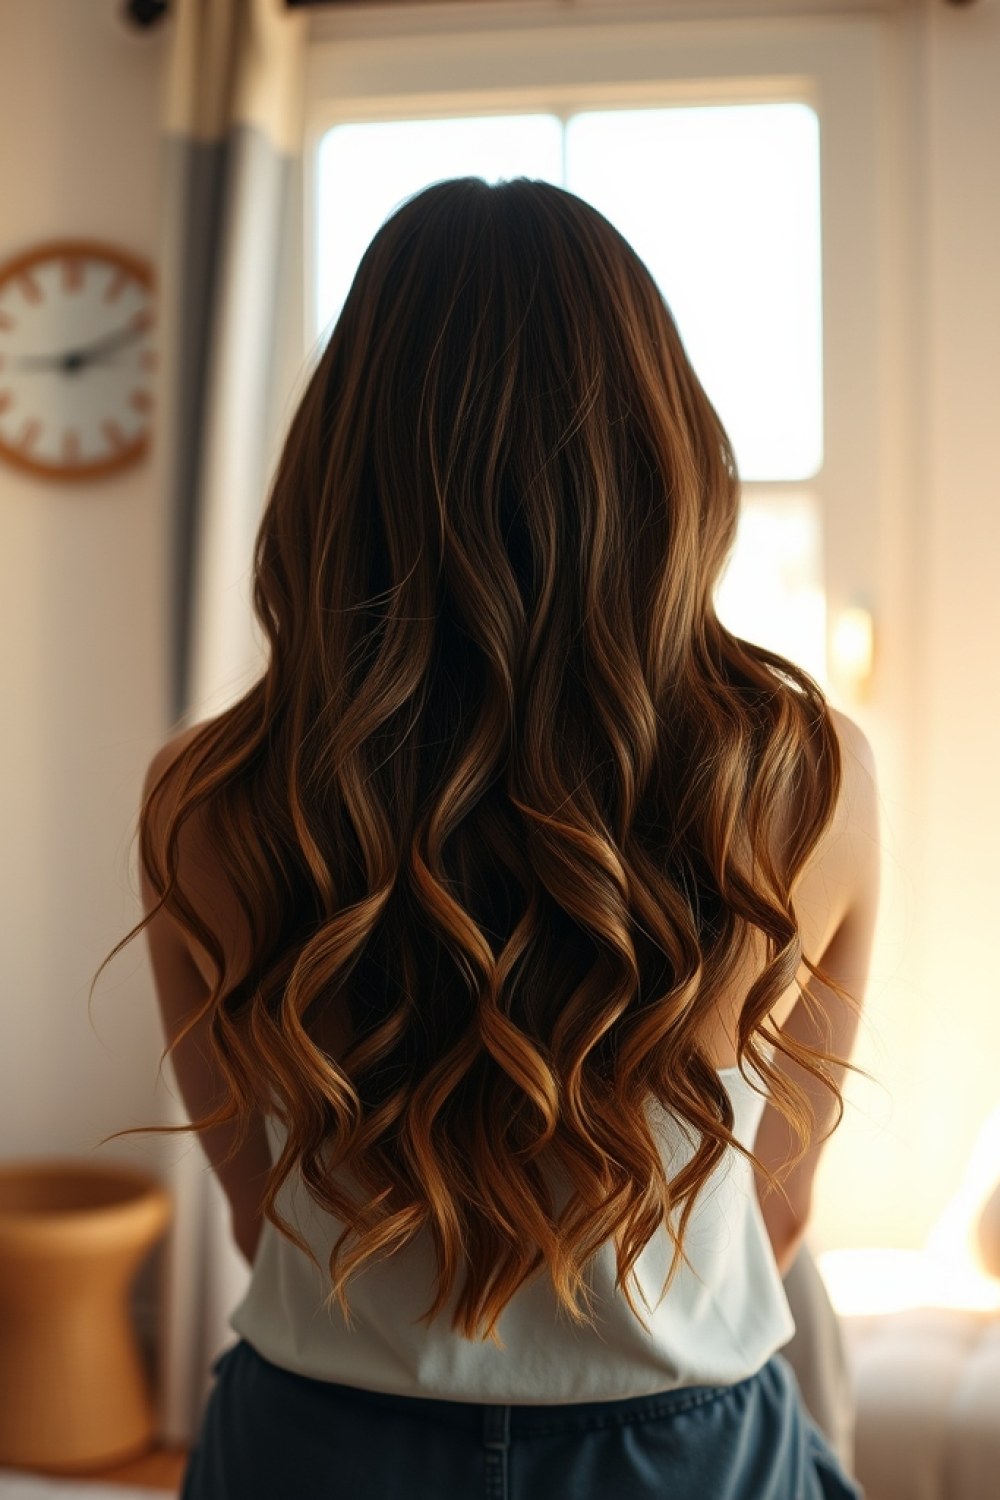
Amber glow concentrates its light at the front of the face and fades toward the back — a built-in halo that brightens your complexion every time you catch a mirror. The amber pieces sit just warmer than honey, richer than gold, and they flatter level 4 through 6 browns with a genuine glow rather than a stripe.
What makes it special is the placement. By painting the lightest pieces around the hairline and front lengths, your stylist frames your face the way highlights are meant to, while the back stays deeper so it reads natural and low-contrast. It’s ideal if you want visible warmth but hate the high-maintenance feel of all-over color.
Ask for the front pieces painted wider at the part so the glow spreads across the top, not just down the sides. Tip: request a toner that leans amber-gold rather than caramel to keep it warm, not muddy.
22. S’mores Tones
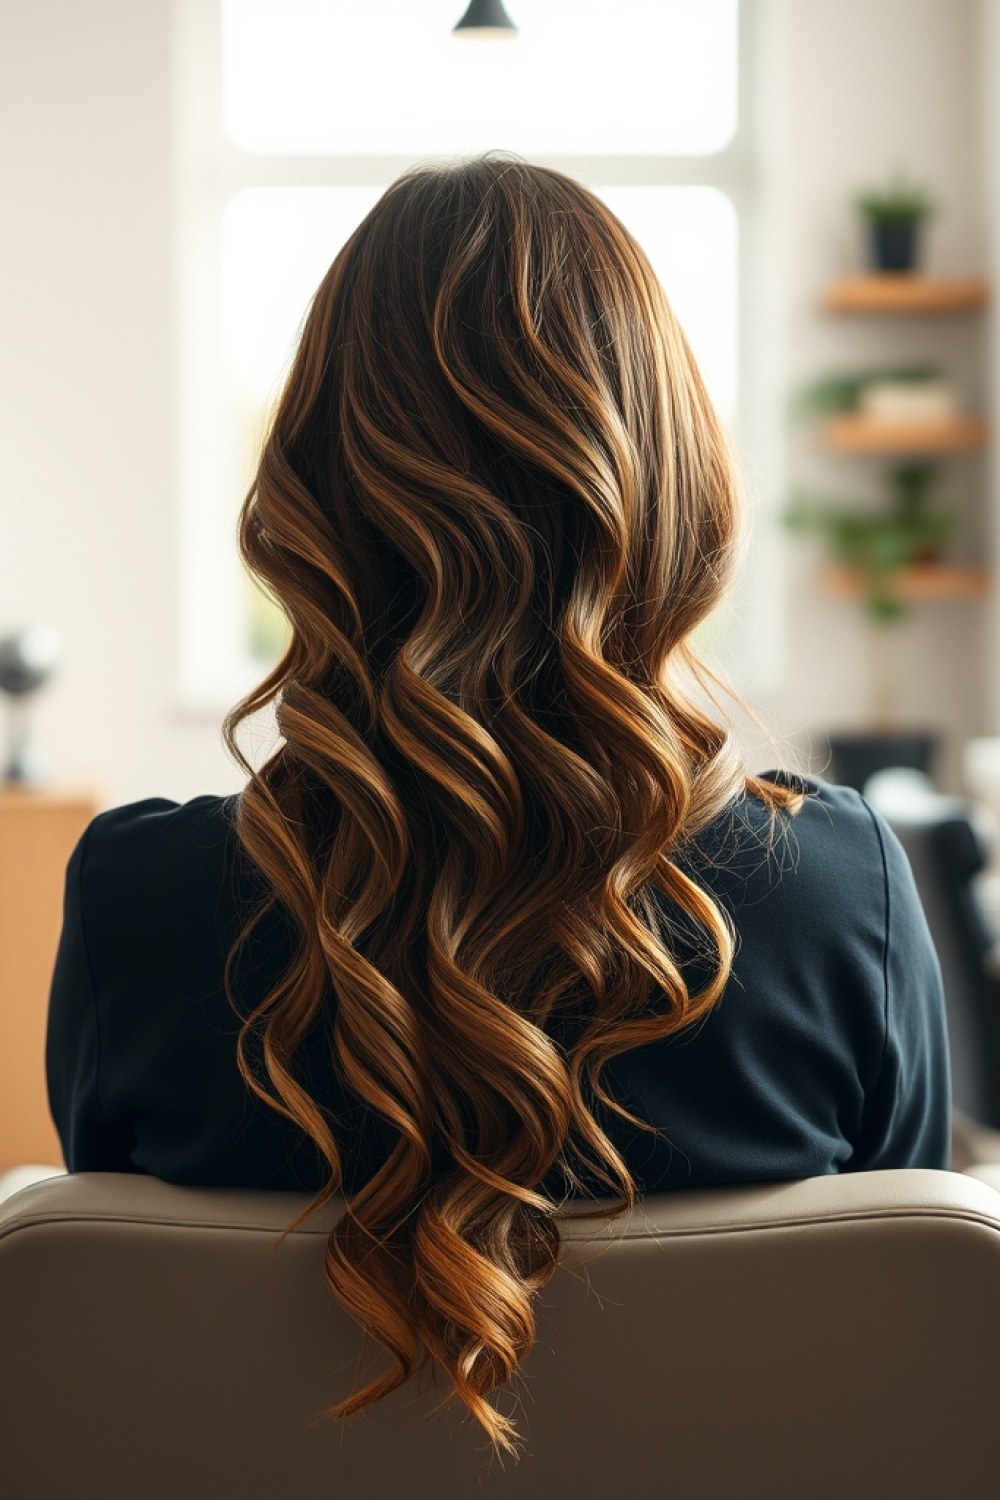
S’mores tones are exactly what they sound like: three shades working together — a deep brown base, a toasted-marshmallow mid, and a graham-cracker gold at the tips. The result is a dimensional, cozy brown that shifts in light without ever looking flat or single-note.
The whole trick is the blend. If your stylist paints distinct horizontal bands, you get stripes. If they feather each shade into the next, you get that soft campfire gradient. It suits medium to dark browns — level 5 or 6 — and reads beautifully on anyone who wants warmth with depth. Request “blended, not banded” as your salon ask, and show a reference so they visualize the gradient.
Tip: keep the graham-cracker gold confined to the last couple of inches so the lightest tone stays subtle, not sandy.
23. Peanut Brittle Foils
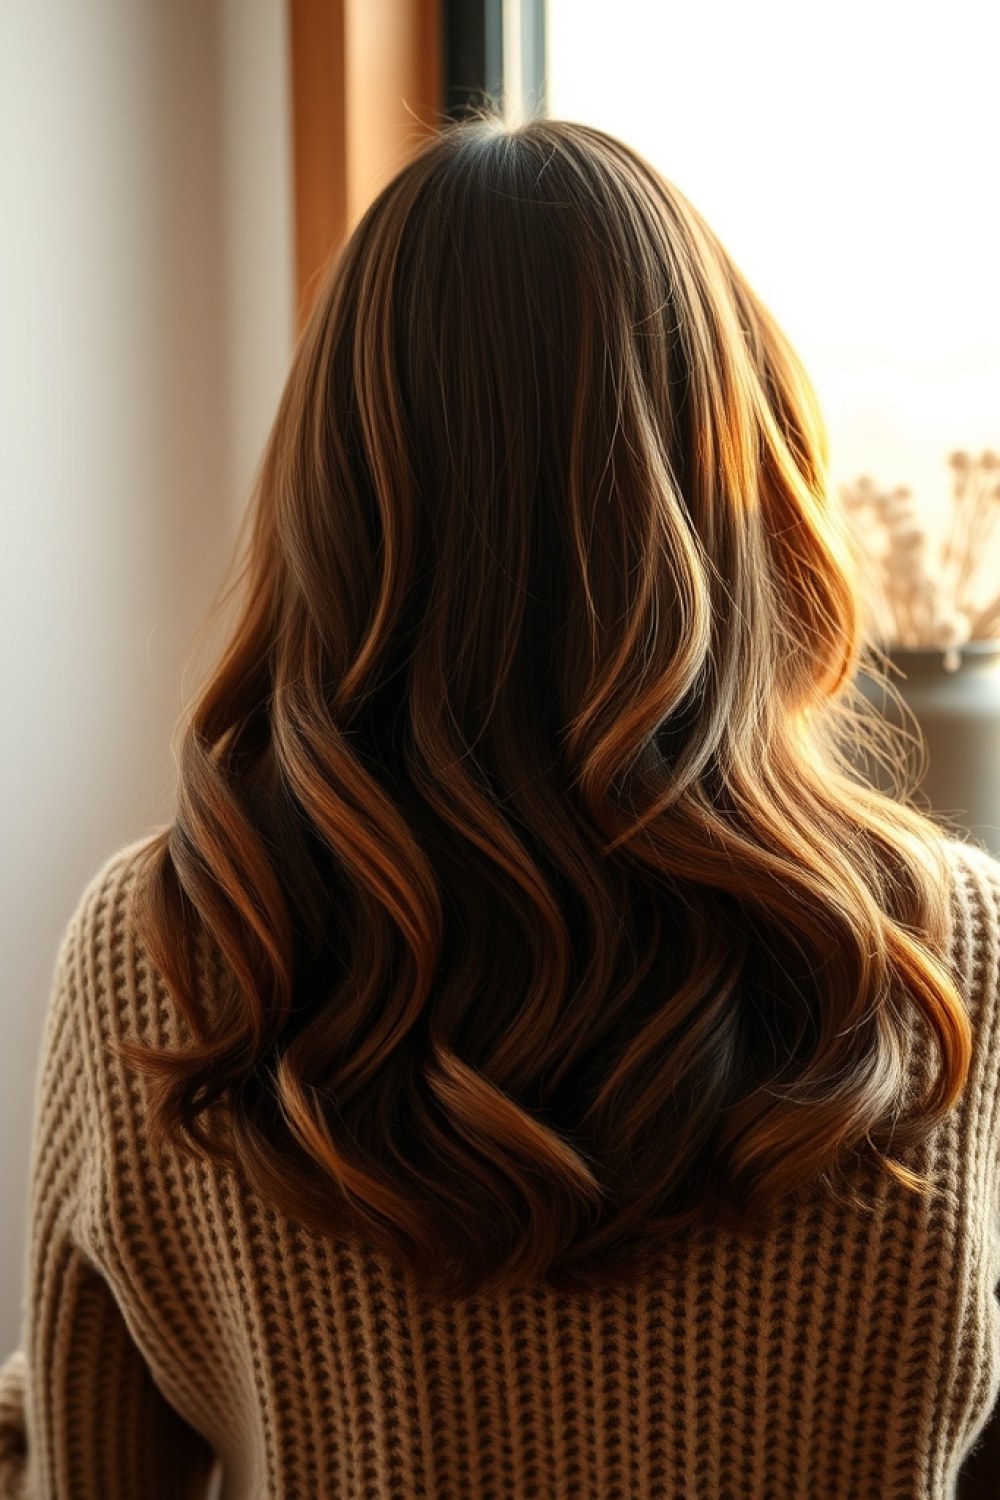
Fine gold-brown foils with just a hint of crunch — that’s the copper peeking through. Peanut brittle is a texture-forward look: lots of skinny weaves rather than chunky panels, so the light catches individual strands and gives the whole head a subtle sparkle.
It’s best on a level 5 brown with warm undertones, where a gold-brown like Shades EQ 07GB or a Paul Mitchell copper-gold lifts cleanly. On cooler bases, the copper can turn muddy, so talk through undertones first. The look stays grounded because the foils are gold-brown, not blonde — the crunch is what keeps it interesting.
This suits anyone who wants visible lightness without a full balayage commitment. Tip: ask for a fine weave and a gloss on top to blur the foil lines so it reads like natural variation, not highlights.
24. Winter Wheat Blend
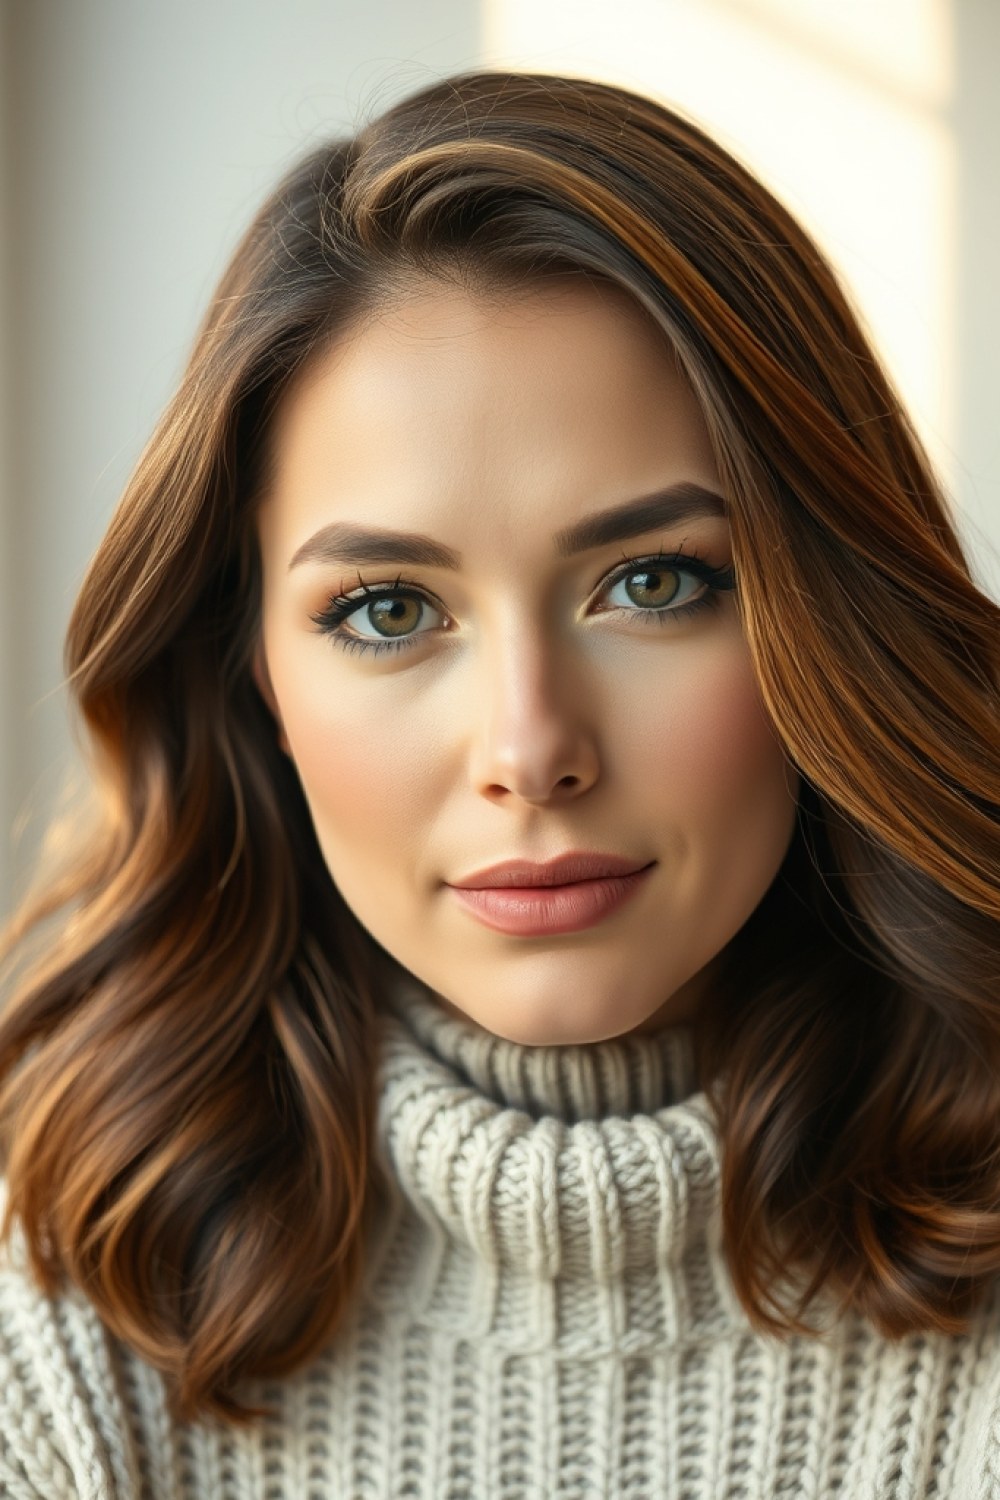
Winter wheat is the lightest you can go while your hair still reads “brown,” not “blonde.” It’s a pale wheat-gold light woven against a medium brown base — a level 6 or 7 starting point with lights lifted to a soft sandy-wheat, somewhere around a level 8 with gold leaning neutral.
The blend keeps you safe from the blonde line because the base does the work: enough medium brown stays through the mids and roots that the overall impression is a light, glowing brown rather than a true blonde. It flatters medium brunettes with warm or neutral undertones and looks especially fresh against winter skin.
Ask your stylist to keep the lights low-contrast and blended so no panel jumps out. Tip: a purple-free gloss — try something wheat-toned — keeps it from going ashy or flat between appointments.
25. Rose Gold Whisper — A few rose-gold foils around the face only
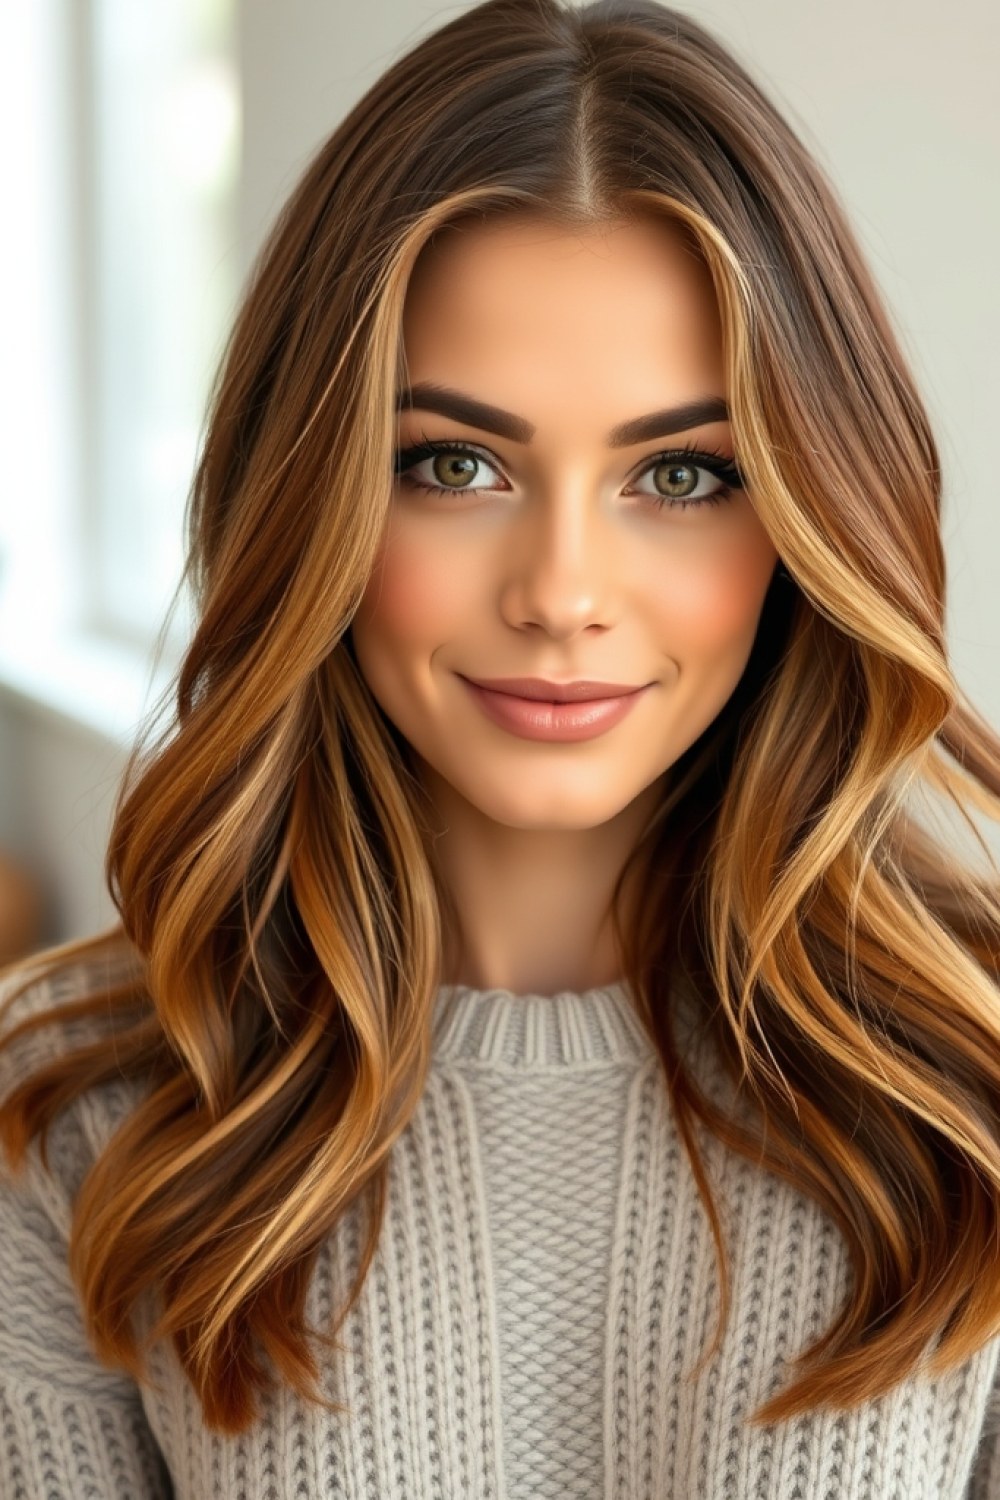
Instead of committing to a full head of rose gold, this look uses just a handful of fine foils placed at the hairline and around the face, so warmer-toned brunettes can borrow a blush tint without going pink all over.
This is the shade for medium to light brown hair with cool or neutral skin that fights copper — the rose tone has enough violet to be your friend. Because foils are fine and sparse, grow-out blends in rather than forming a line, so you can stretch a salon visit to 3–4 months.
Ask your colorist for a rose-gold gloss over the foils so the pink reads soft instead of metallic. Keep it subtle: if it’s bright in the chair, it will be brighter in daylight.
26. Hazelnut Shadow Balayage — Keep the root hazelnut, not black
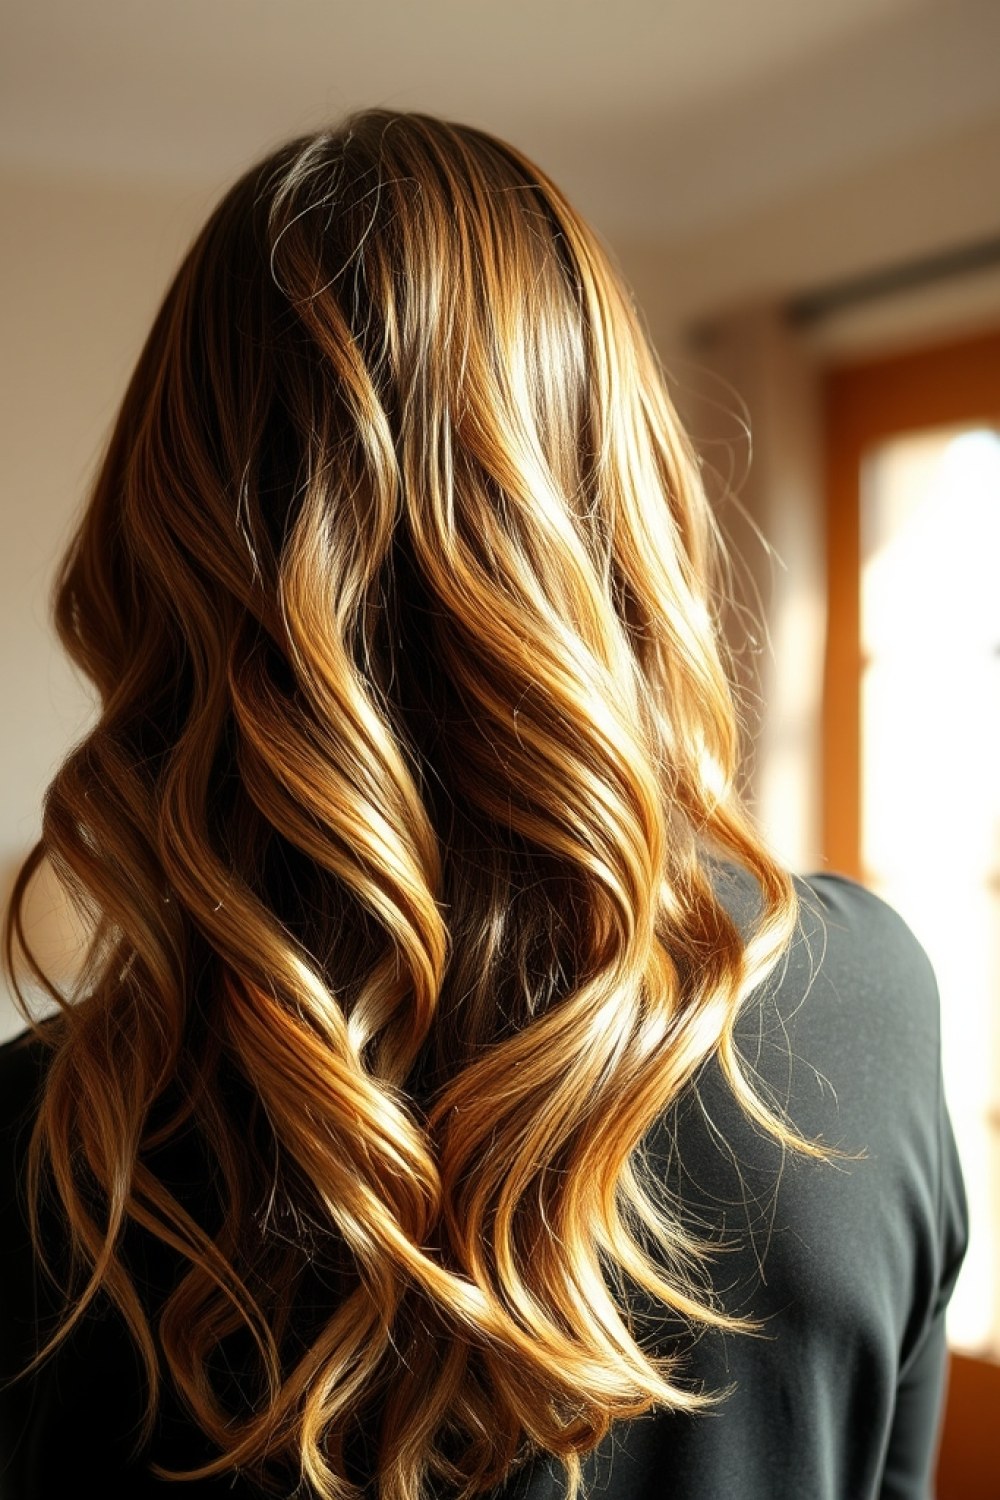
A shadow-root works by keeping the first inch or two of hair darker than the rest. The trick here is picking hazelnut for that root instead of flat black — it’s a warm, slightly creamy brown that matches most natural brunette grow-out, so as new hair comes in, there’s nothing to bleach or chase.
From there, the balayage sweeps lighter mid-lengths into the ends, giving a lived-in melt that keeps its shape rather than a harsh line. On dark brown hair especially, this is the difference between “low-maintenance” and “I need a root touch-up in three weeks.”
Ask for a hazelnut shadow root with balayage through the mid-lengths and ends. With this setup, most clients can go 4 to 5 months between appointments — faster only if you’re heat-styling daily.
27. Molten Gold Highlights — Foils plus a shine gloss on top
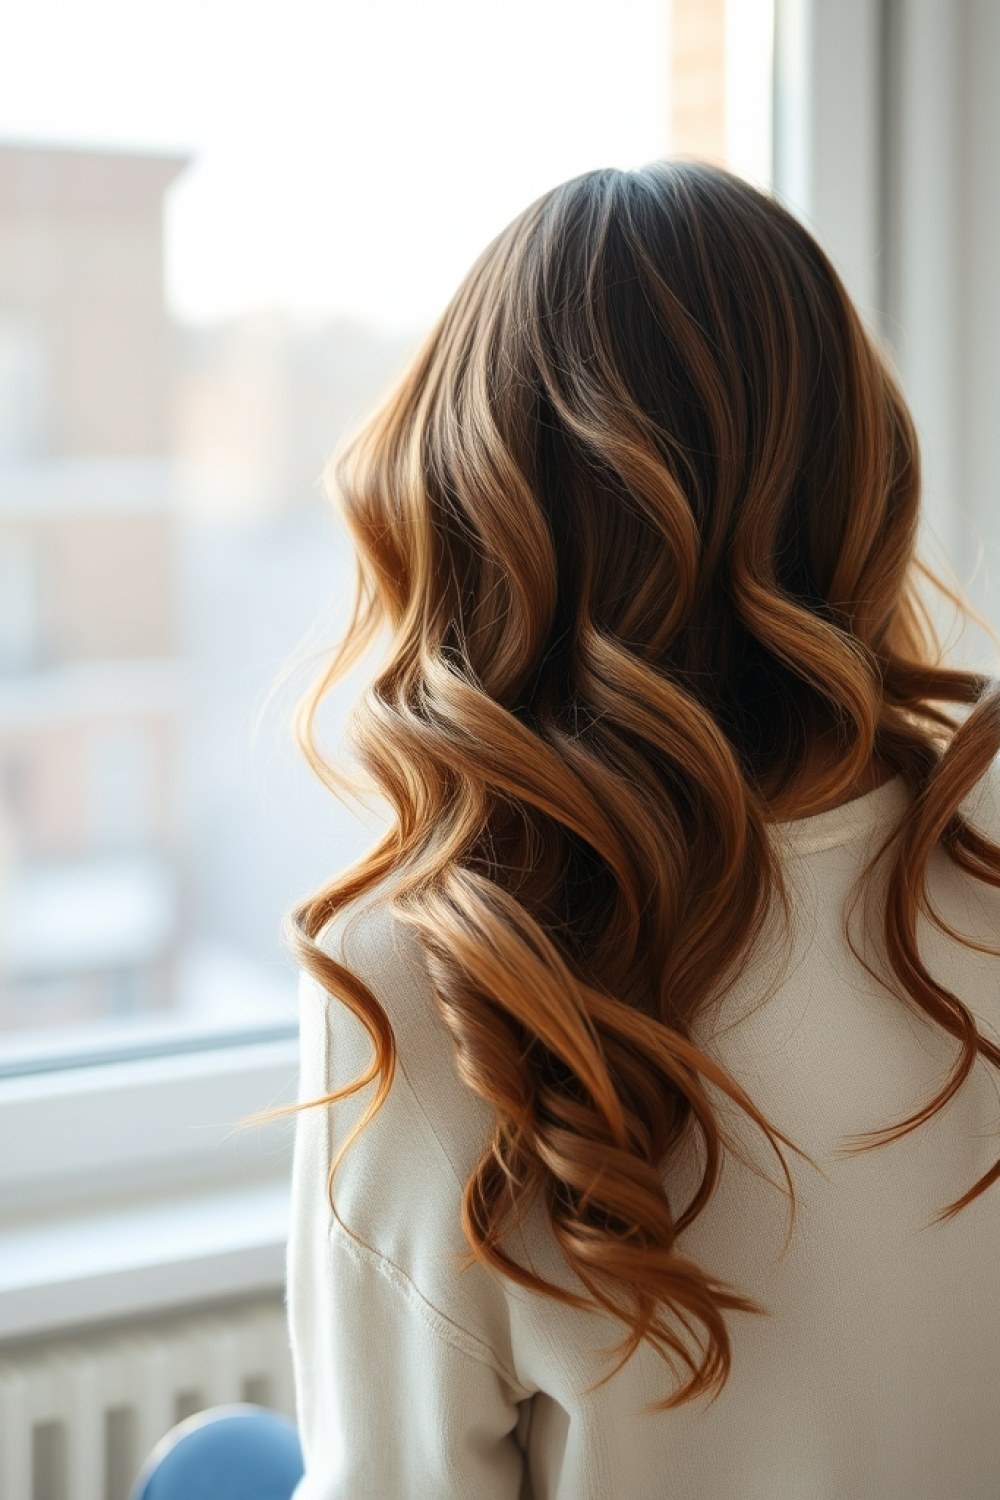
Molten gold is a high-shine, blended gold that looks almost reflective, and clients often think that shine comes from the highlight placement itself — it doesn’t. The gloss layered on top is what turns “lightened hair” into something that catches light like metal.
Foils lift a golden tone into the mid-lengths and ends, keep the base brown, and the gloss adds warmth plus a dose of shine that fades over about four weeks. It suits warm undertones best, so if your skin runs cool, ask for a neutral or slightly ashy gold instead.
Book the gloss at the same visit and reapply a clear or tinted gloss every 4–6 weeks at home with a wash-in glaze if your budget is tight. If you skip the gloss, you’ve only paid for half the look.
28. Dark Chocolate with Amber Tips — Keep 80% dark, dip the ends
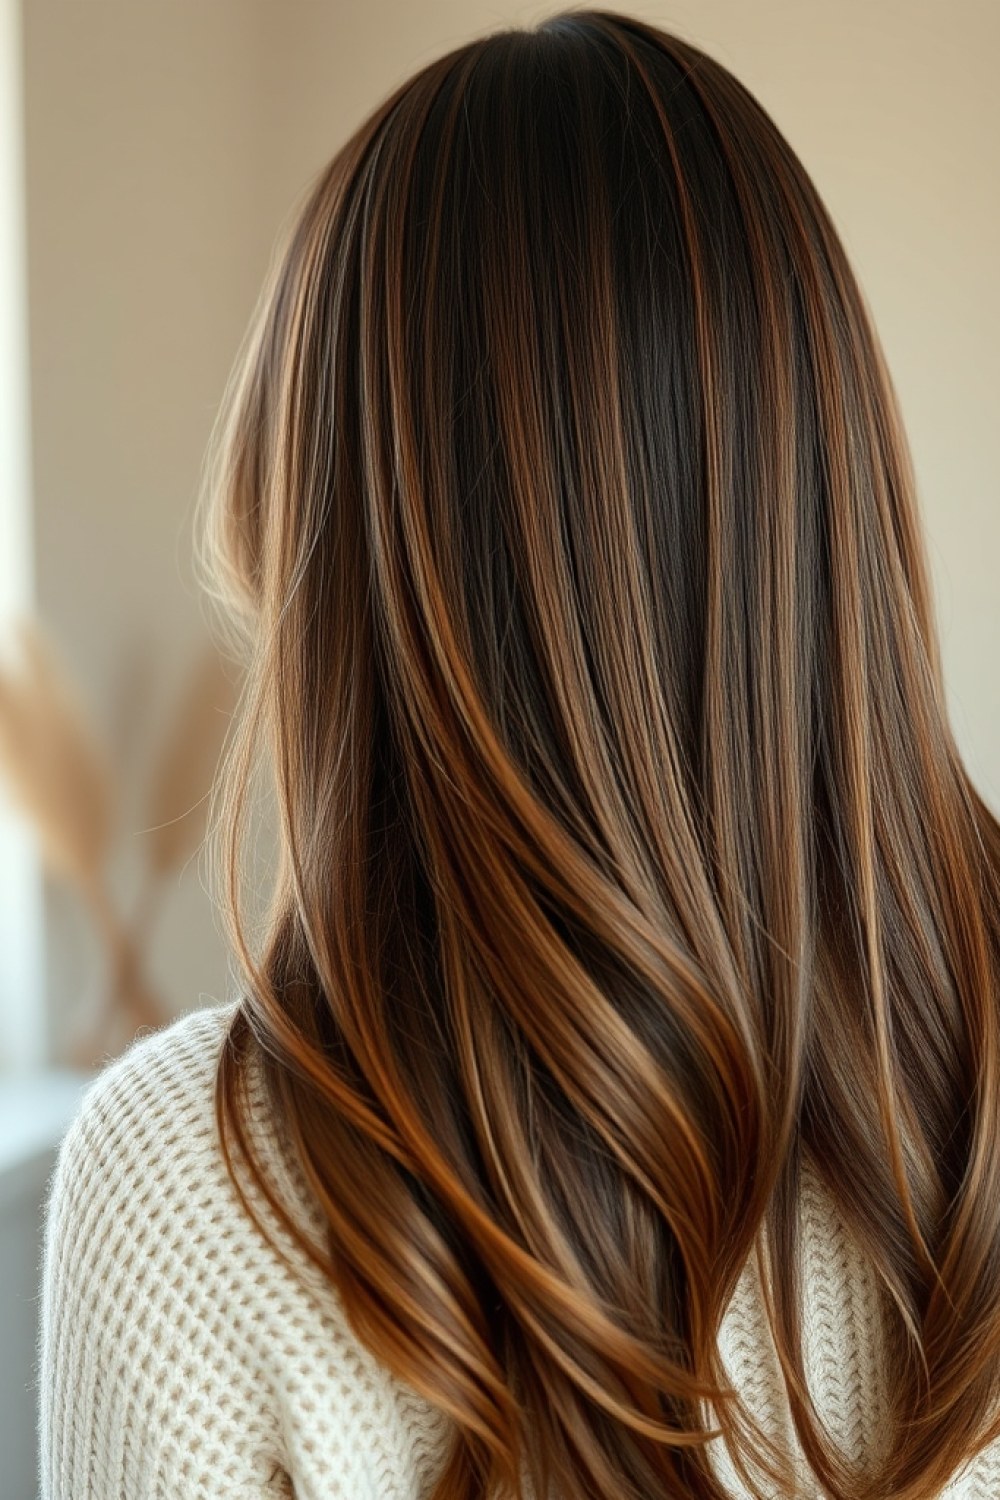
This one is about restraint: leave roughly the top 80% of the hair as dark chocolate, and dip just the final two inches into a warm amber. It reads dramatic on curly and wavy cuts, where the amber catches light in every swirl while the roots stay rich and deep.
Because so little of the hair is lightened, there’s almost nothing to maintain — no root line, no commitment to a full transformation. It flatters medium-to-dark brown hair and both warm and neutral skin, though very cool-toned brunettes may want a softer, less orange amber.
Ask your colorist for dark chocolate through the mid-lengths with amber only on the last two inches. If your ends are dry, get a trim first so the amber sits on healthy hair and holds its shine.
Quick Questions
How do I choose a warm highlight shade that won’t turn brassy?
Match the tone to your base level and you’ll skip most of the drama. If you’re a level 6–7 brown (light to medium mousse), caramel and honey melt in beautifully. If you’re a level 4–5 (medium to dark chocolate), reach for copper and mahogany tones instead — lighter golds sit on top of dark bases and look painted-on. Then tell your colorist you want a warm toner, not a violet one. Violet toners neutralize orange, which is exactly what tips warm highlights into that ashy-brass seesaw a few weeks later.
How often do winter highlights need touching up?
It depends entirely on the technique. Babylights and balayage are the low-maintenance winners at 3–5 months between visits. Chunky foils and money pieces are higher contrast, so they show regrowth faster and need a salon trip every 8–10 weeks. Whatever you choose, book a gloss at week 4 — it takes twenty minutes, refreshes the shine, and stretches your color until the next full appointment.
Can I add these highlights at home?
Honestly, only two things. Glosses and a money piece — that’s it. Use a semi-permanent warm-brown gloss (no developer needed) for instant shine and tone, or a root-touch kit for just the front face-framing sections. Full balayage at home almost always bands, because you can’t see the back of your own head well enough to blend the placement. Save that one for the salon.
Do warm highlights suit cool skin tones?
Yes — as long as you keep them soft. Sandalwood, mushroom, rose gold, and a bronze weave all read warm without clashing with pink or blue undertones. Skip bright copper and butterscotch, which can make cool skin look flushed or irritated. When in doubt, ask for a warm shade one or two levels lighter than your base rather than a full-on gold.
Planning Your Winter Color Appointment
Bring two or three photos of the exact warmth you want, because “caramel” means something different to every colorist — one person’s caramel is another’s butterscotch. Book for late November so the color has a week or two to settle before the holidays, and ask which toner they’re using so you can repeat it at home between visits.
If your hair is already lightened, request a strand test first. Winter air plus fresh highlights equals dryness, and a bond-building treatment two weeks before your appointment is absolutely worth the add-on. Your color will look richer, last longer, and behave better in the cold — which is the whole point of warming up brown hair for the season.