
26 Short Pixie Haircuts for Thin Fine Hair That Make Hair Look Fuller

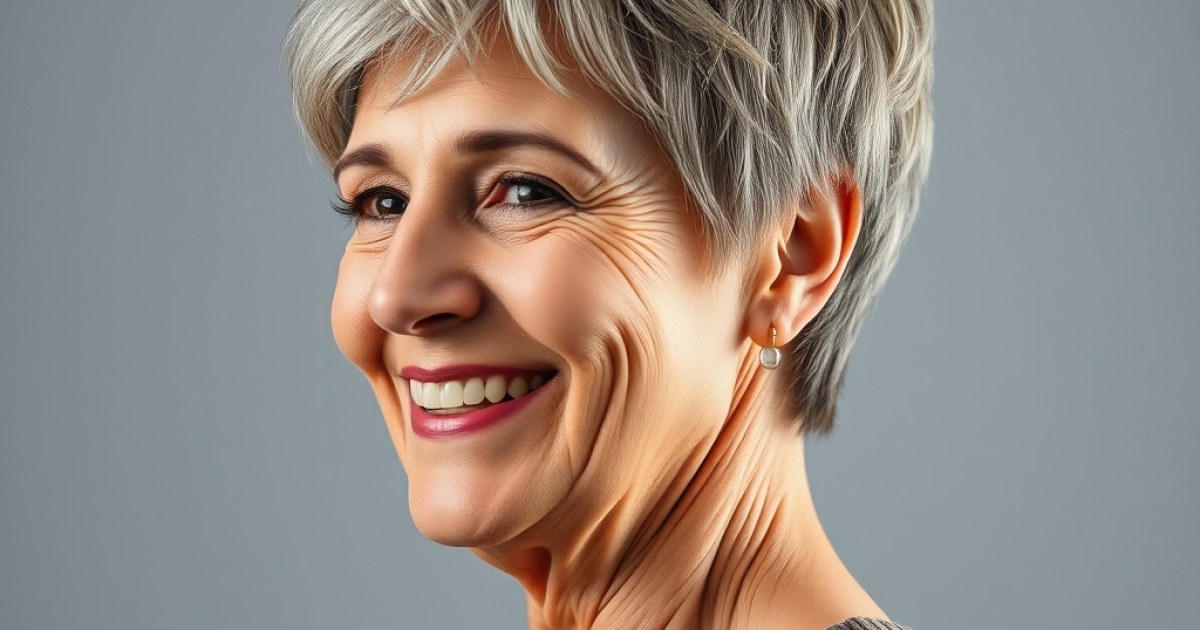
Most women with thin, fine hair assume a pixie will make their hair look even sparser. The opposite is true. A well-cut pixie removes the weight that drags fine strands flat, so what’s left lifts at the root and reads as real volume. The catch is that not every pixie does this. Cut one wrong and you get wispy patches and scalp showing through.
Length matters more than you think. On fine hair, half an inch of extra length at the crown or sides can be the difference between full and flat. Texture matters too — blunt lines look thin, choppy layers look thick. You also need a cut that works with your growth pattern and cowlicks, not against them.
Below are 26 short pixie haircuts for thin, fine hair, each chosen because it builds density rather than exposing gaps. You’ll get the length and layering that creates lift, the styling products that hold it, and how each cut behaves on day two when you haven’t washed. Pick the one that matches your face shape and how much time you’ll actually spend on it.
1. Textured Crop Pixie

A textured crop removes weight so what’s left can move and lift. Point-cut layers throughout the top create instant volume, and the choppy surface hides scalp without anyone noticing.
Ask for a razor or texturizing shear finish—it strips bulk without thinning the ends themselves. This is the safest version of a pixie for fine hair because it works with your density instead of against it.
How to Style It
- Warm a nickel-size blob of volumizing mousse between palms.
- Work it through damp roots, lifting hair with your fingers as you go.
- Blow-dry roots upward, aiming the nozzle at the scalp, not down the strands.
- Finish with a light mist of texture spray and scrunch with fingertips.
2. Undercut Pixie
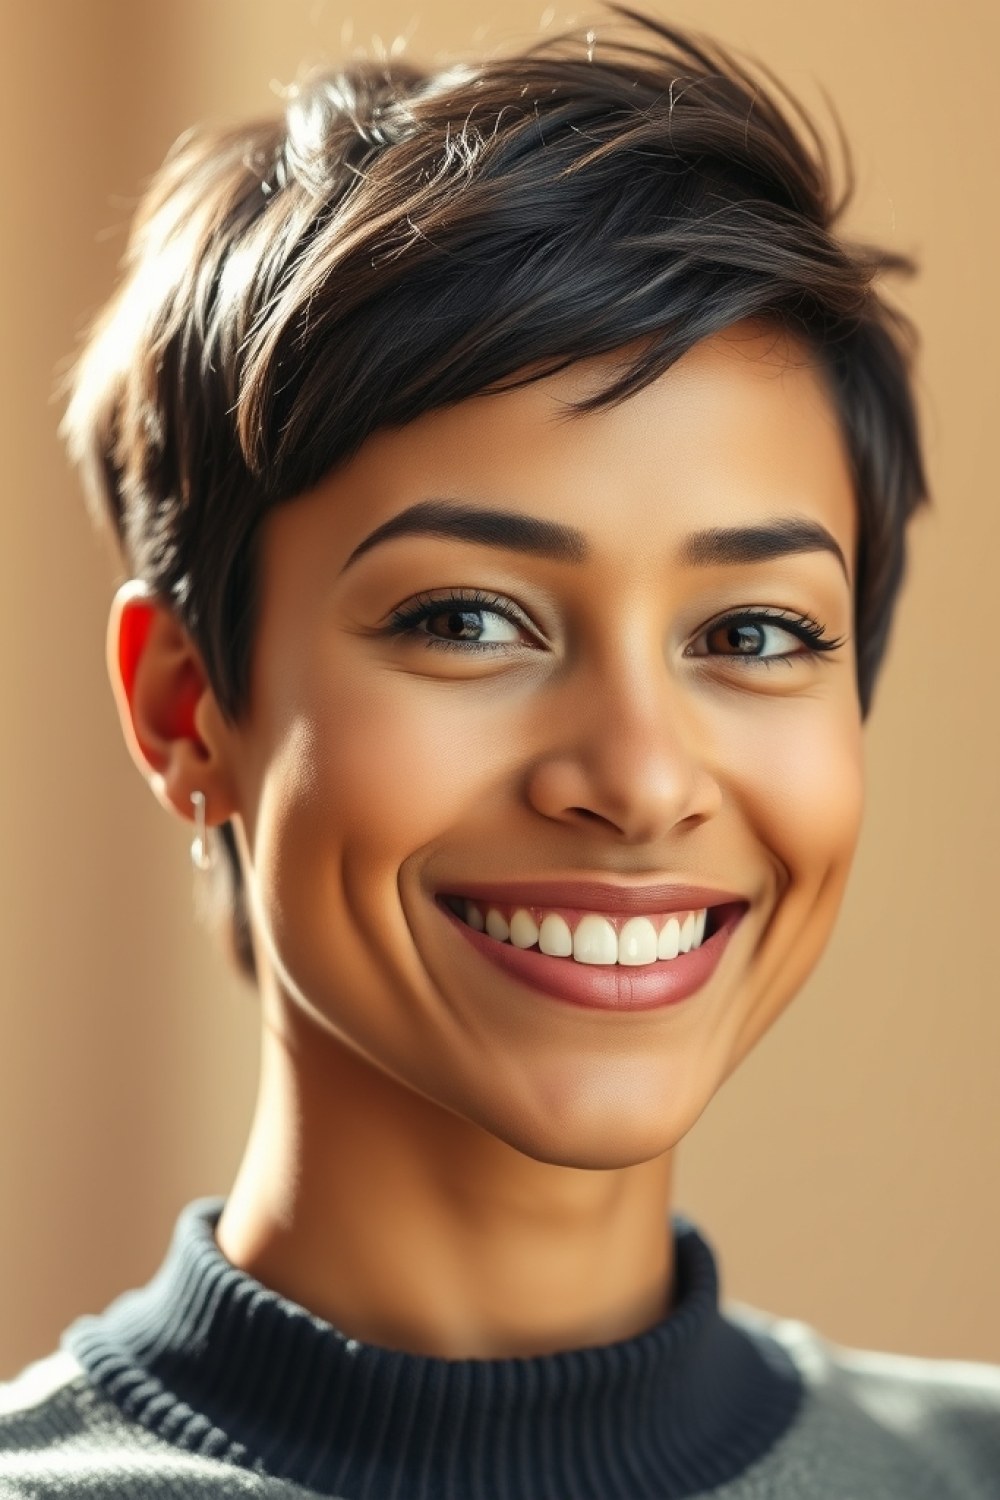
Shaved sides and back make the top layers look considerably thicker by contrast. The eye reads the dense top against the short sides and assumes more hair than you actually have.
Keep the undercut no shorter than a #2 guard to avoid scalp show-through. This cut suits straight to slightly wavy fine hair best.
How to Style It
- Apply a dime-size amount of light styling cream to damp top hair.
- Blow-dry the top forward and up, keeping the clippered sides flat.
- Run a little matte paste through the top for grip.
- Leave the sides bare—product only flattens the contrast you want.
3. Long Pixie With Deep Side Part
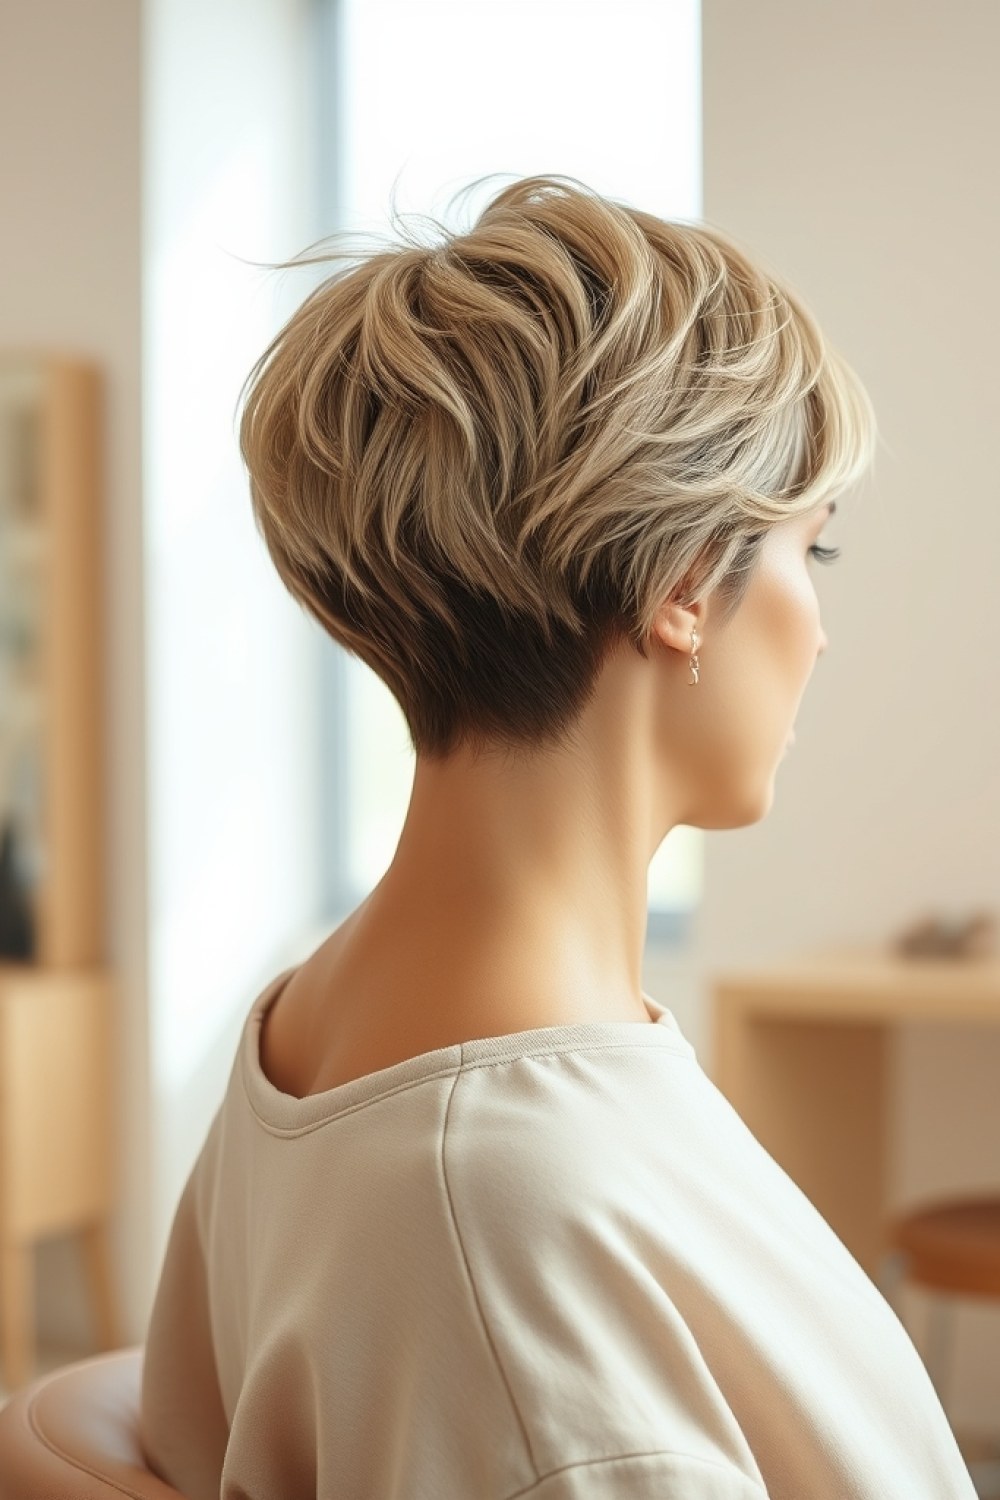
A deep side part forces hair across the head instead of letting it fall flat, stacking volume on one side. It also covers more scalp than a center part ever will.
Ask for 3–4 inches on top, tapered at the nape. The longer top gives you something to actually push and lift.
How to Style It
- Part hair while soaking wet, two inches off center.
- Blow-dry with a small round brush, lifting at the part line.
- Push the long side over and hold the brush underneath for a few seconds.
- Set with a light-hold spray, then don’t touch it until it cools.
4. Pixie With Choppy Ends
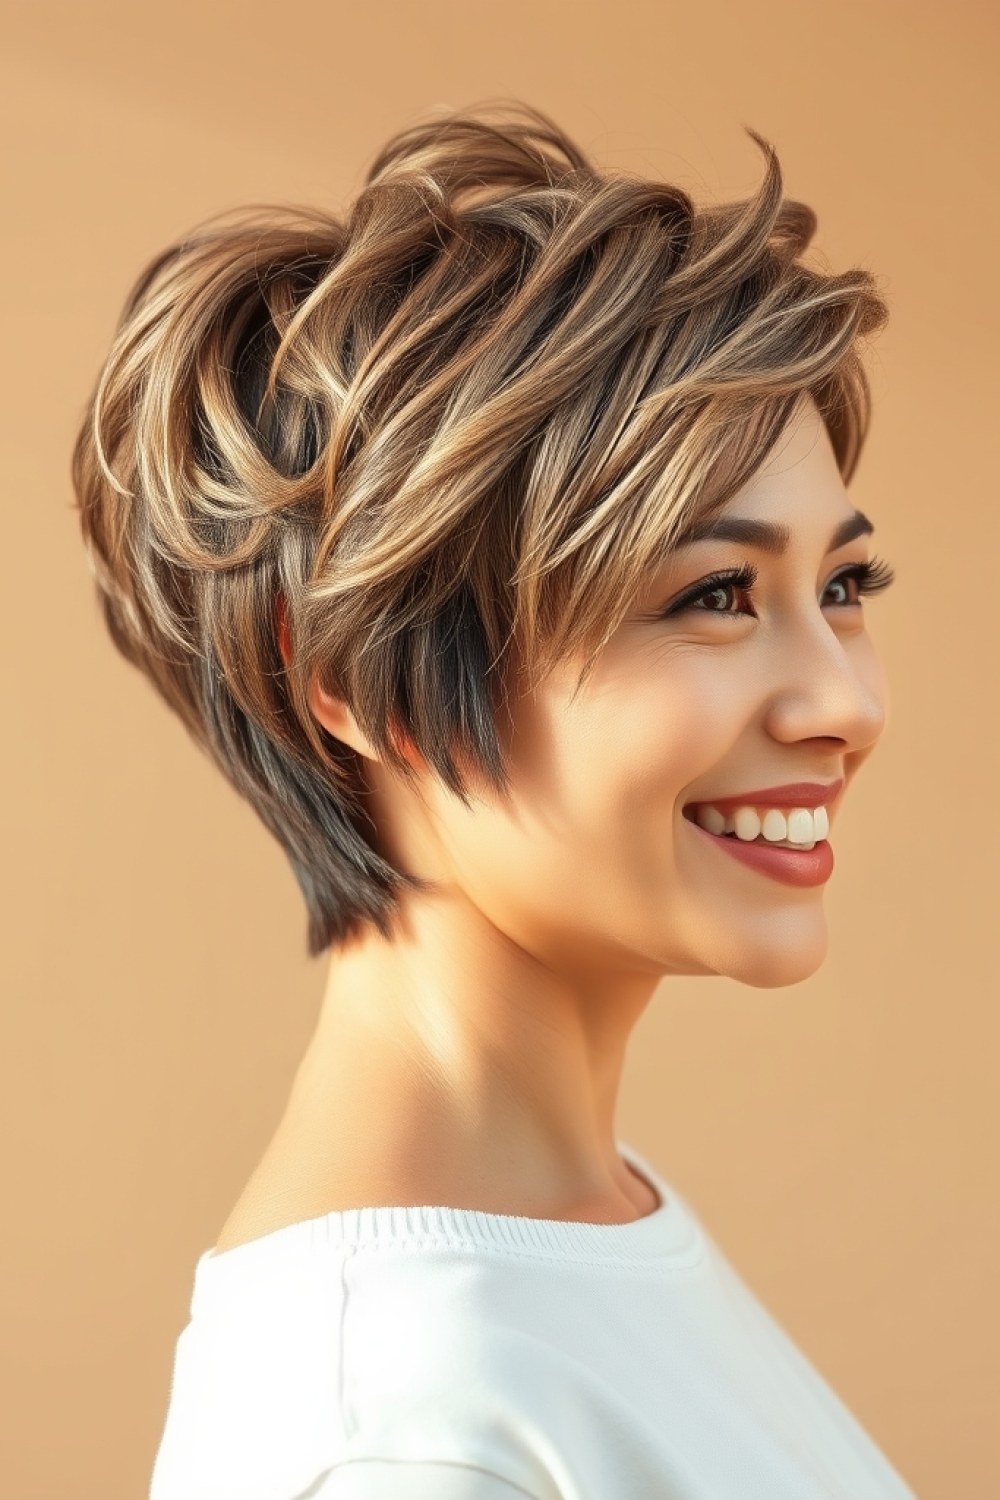
Choppy, jagged ends break up the silhouette so gaps in density don’t register. A clean, straight perimeter shows every thin patch—irregular edges read as texture instead.
Request point-cutting at the perimeter and around the ears, not thinning shears through the ends.
How to Style It
- Dry hair completely before styling—choppy ends need grip.
- Take a small flat iron and flick the ends outward, one section at a time.
- Work in thin pieces so the bend holds.
- Mist with medium-hold spray and pinch the tips.
5. Piecey Pixie With Wax

Piecey definition makes each strand count. When hair is separated into visible sections, the eye sees texture rather than thinness.
Use a matte wax or clay, never gel or anything shiny—shine catches light on the scalp and shows every gap.
How to Style It
- Rub a pea-size amount of wax between your fingers until it disappears.
- Pinch small sections from root to tip, twisting slightly.
- Push the front up and to one side for lift.
- Add more only at the crown, where volume matters most.
6. Wispy Pixie With Curtain Bangs
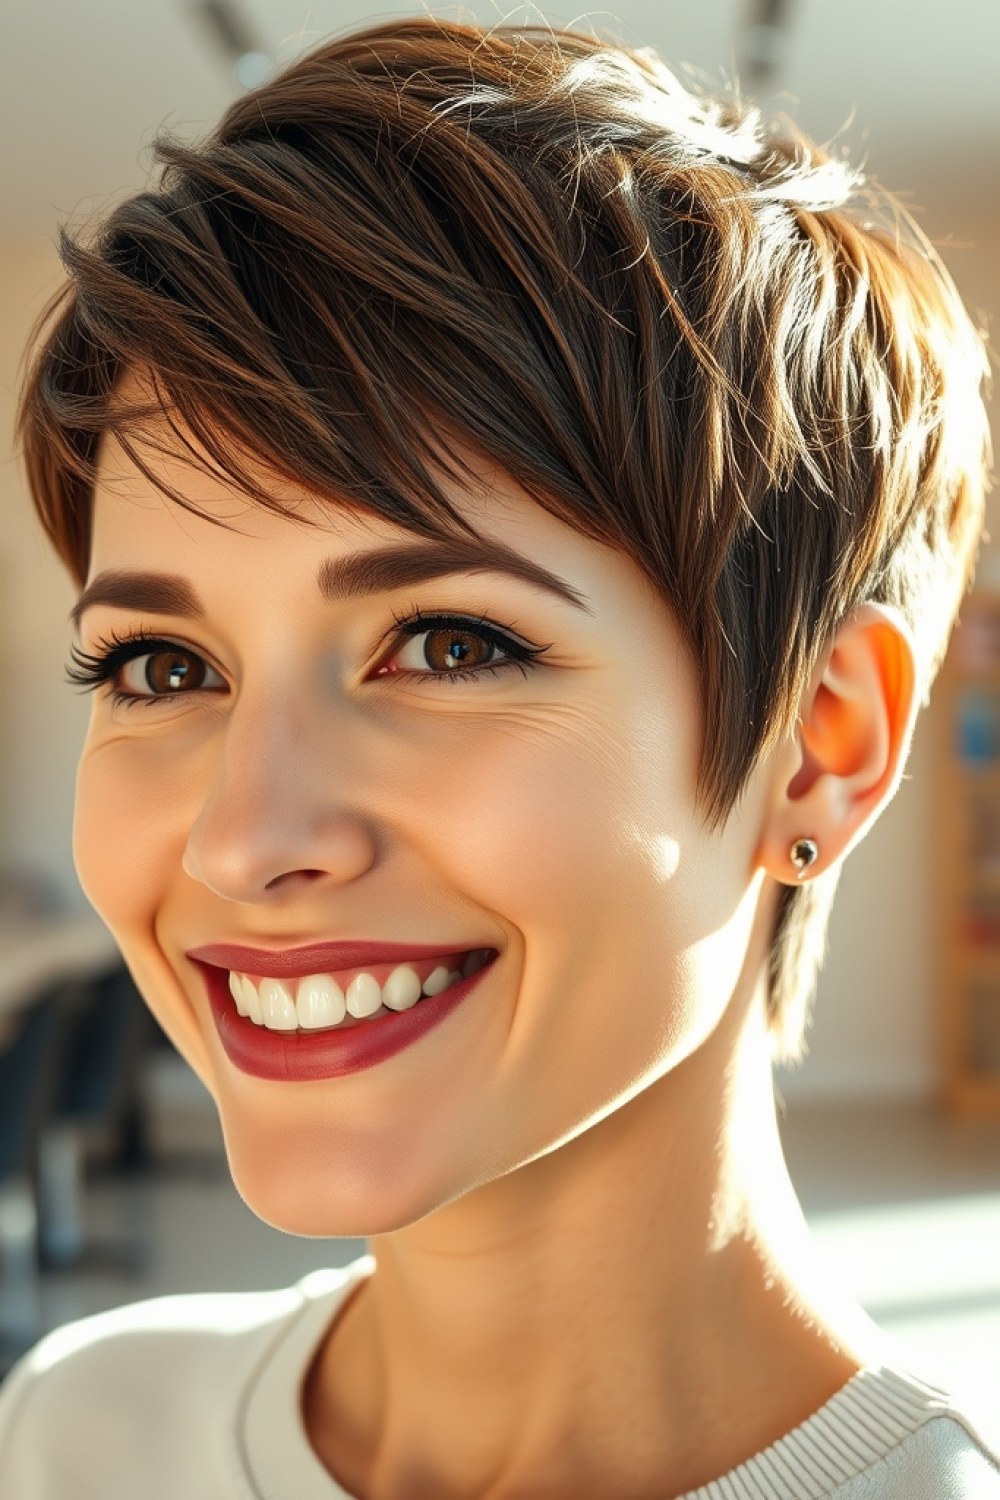
Curtain bangs that graze the brow add width across the forehead, which balances a narrow face and hides a sparse hairline. The key is keeping them piecey rather than blunt.
Blunt bangs sit flat and expose thinness immediately—ask your stylist to point-cut into the fringe so air moves through it.
How to Style It
- Blow-dry bangs outward from the center with a small round brush.
- Alternate direction left, then right, to build root lift.
- Press the ends between your fingers to soften the curve.
- Finish with a light coat of dry shampoo at the roots for grip.
7. Asymmetrical Pixie
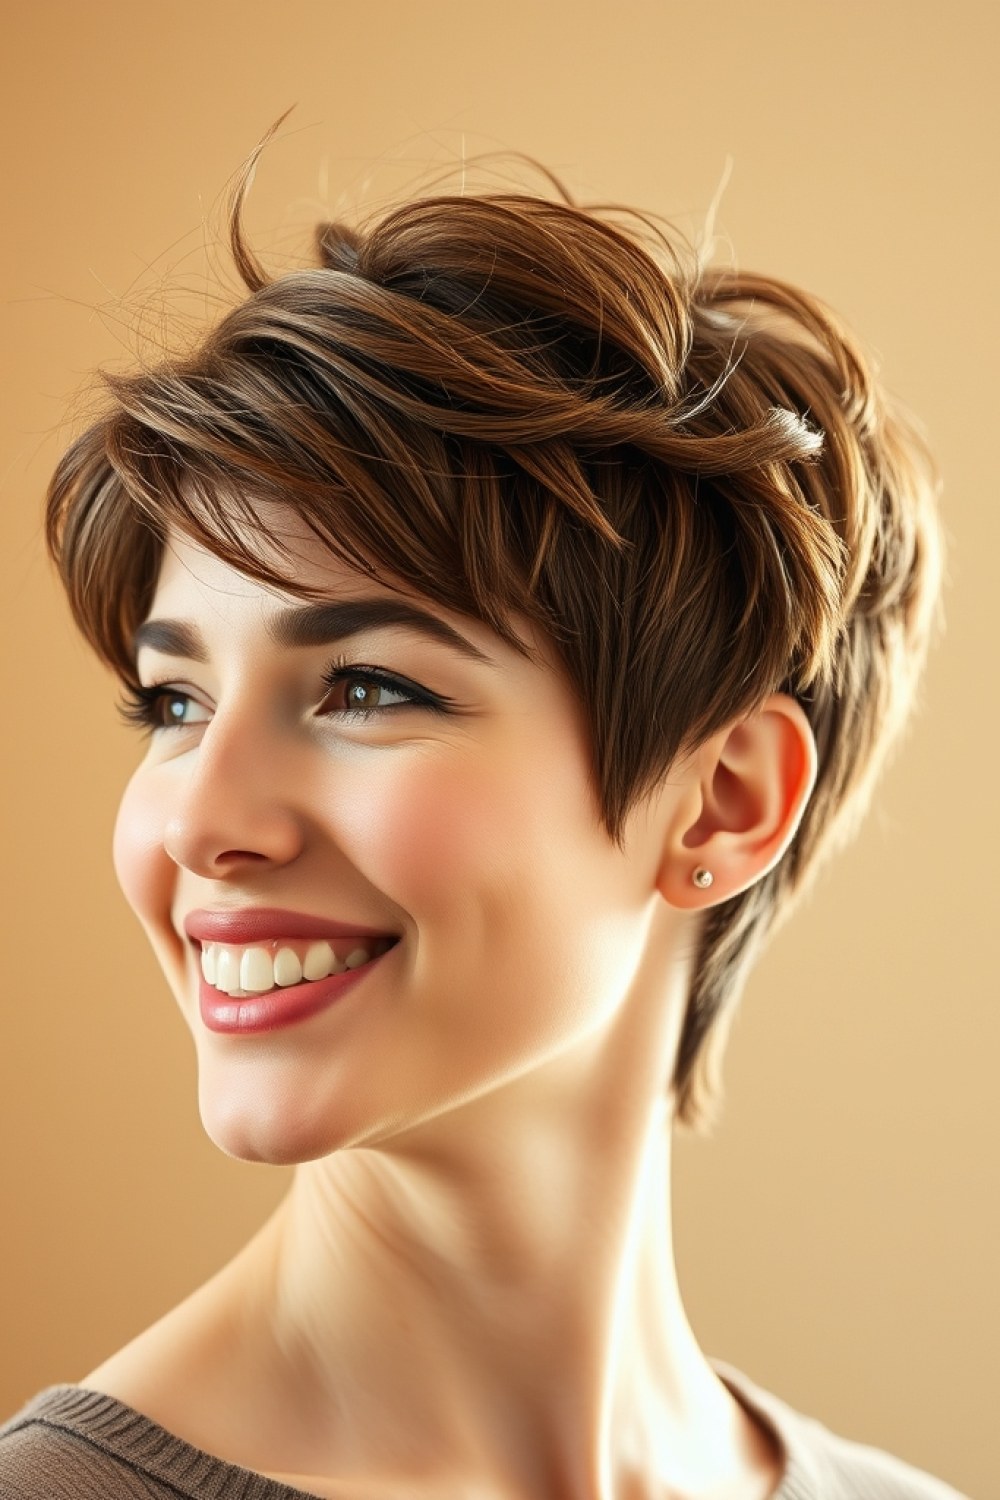
Cut one side 5-6 inches and the other 2-3 inches and the diagonal line tricks the eye into seeing more density. Fine hair gains the most from this because the longer side carries weight and width.
It works on straight, wavy, and lightly curly hair, though very fine hair needs styling product to hold the shape.
How to Style It
- Apply a pea-sized amount of strong-hold gel to damp hair.
- Blow-dry the longer side forward and slightly across the forehead.
- Pinch the shorter side flat with your fingers as it dries.
- Set with a firm-hold spray so the two lengths stay distinct.
8. Pixie With Volume at Crown
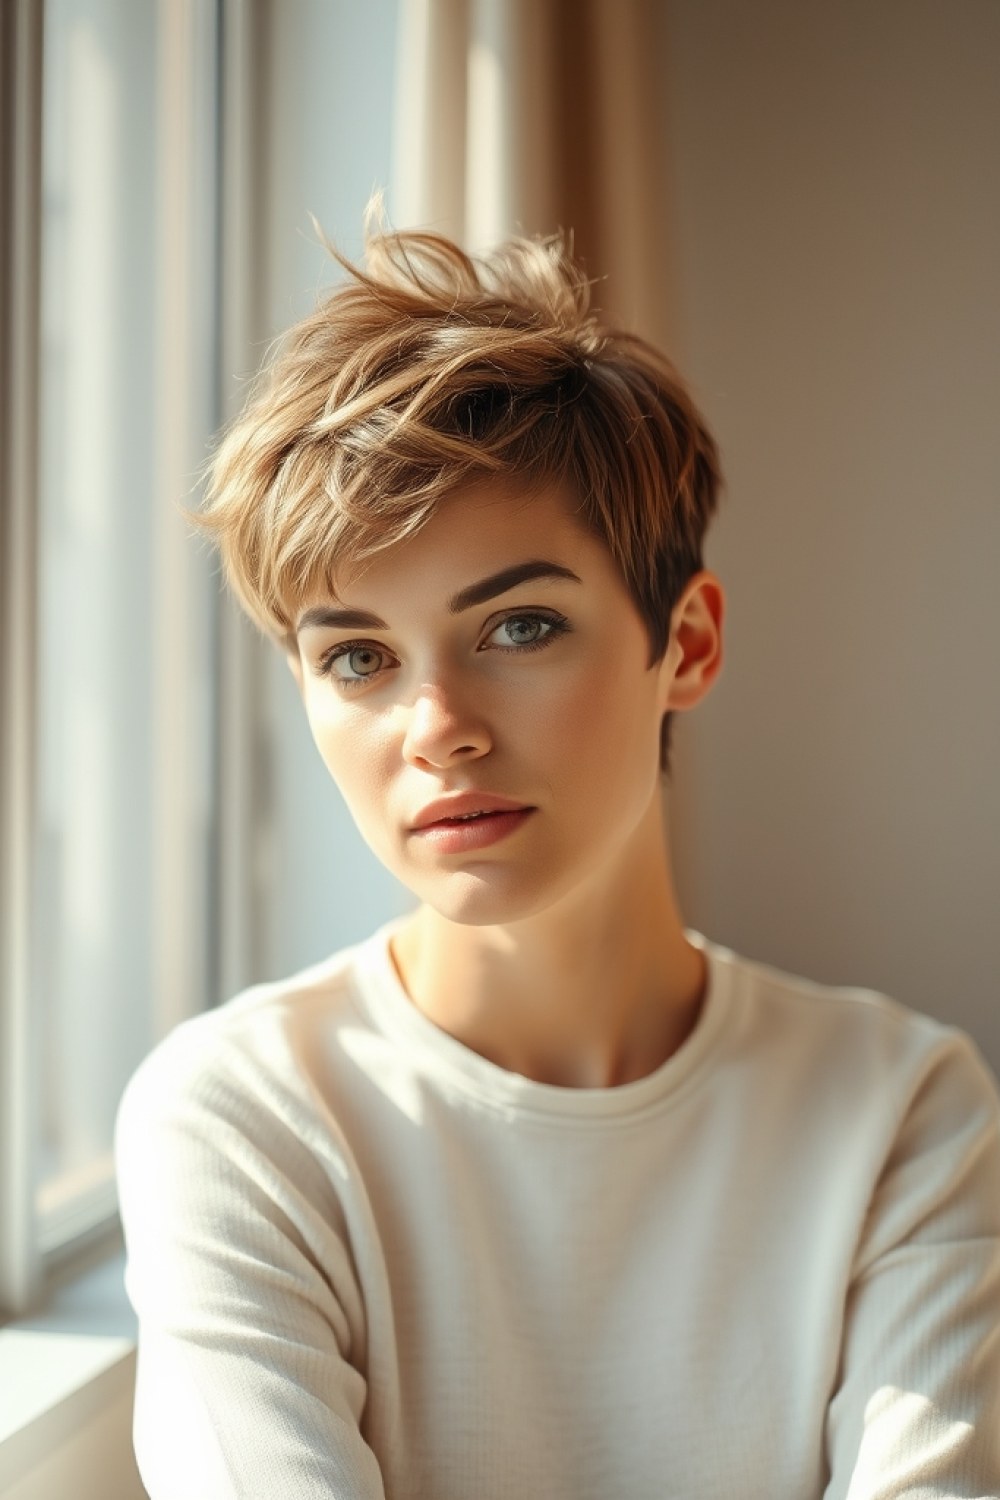
Ask your stylist for extra layering at the crown and a slightly shorter top section. That shorter top releases tension so the crown can lift instead of lying flat.
Root-lifting spray is non-negotiable here — mousse alone won’t hold the height on fine hair.
How to Recreate It
- Spray root-lift product directly at the crown, not the ends.
- Flip your head upside down and blast the crown with a blow-dryer for 30 seconds.
- Right yourself and use a round brush to lift the top section upward.
- Finish with a light mist of hairspray to lock the height.
9. Faux Hawk Pixie
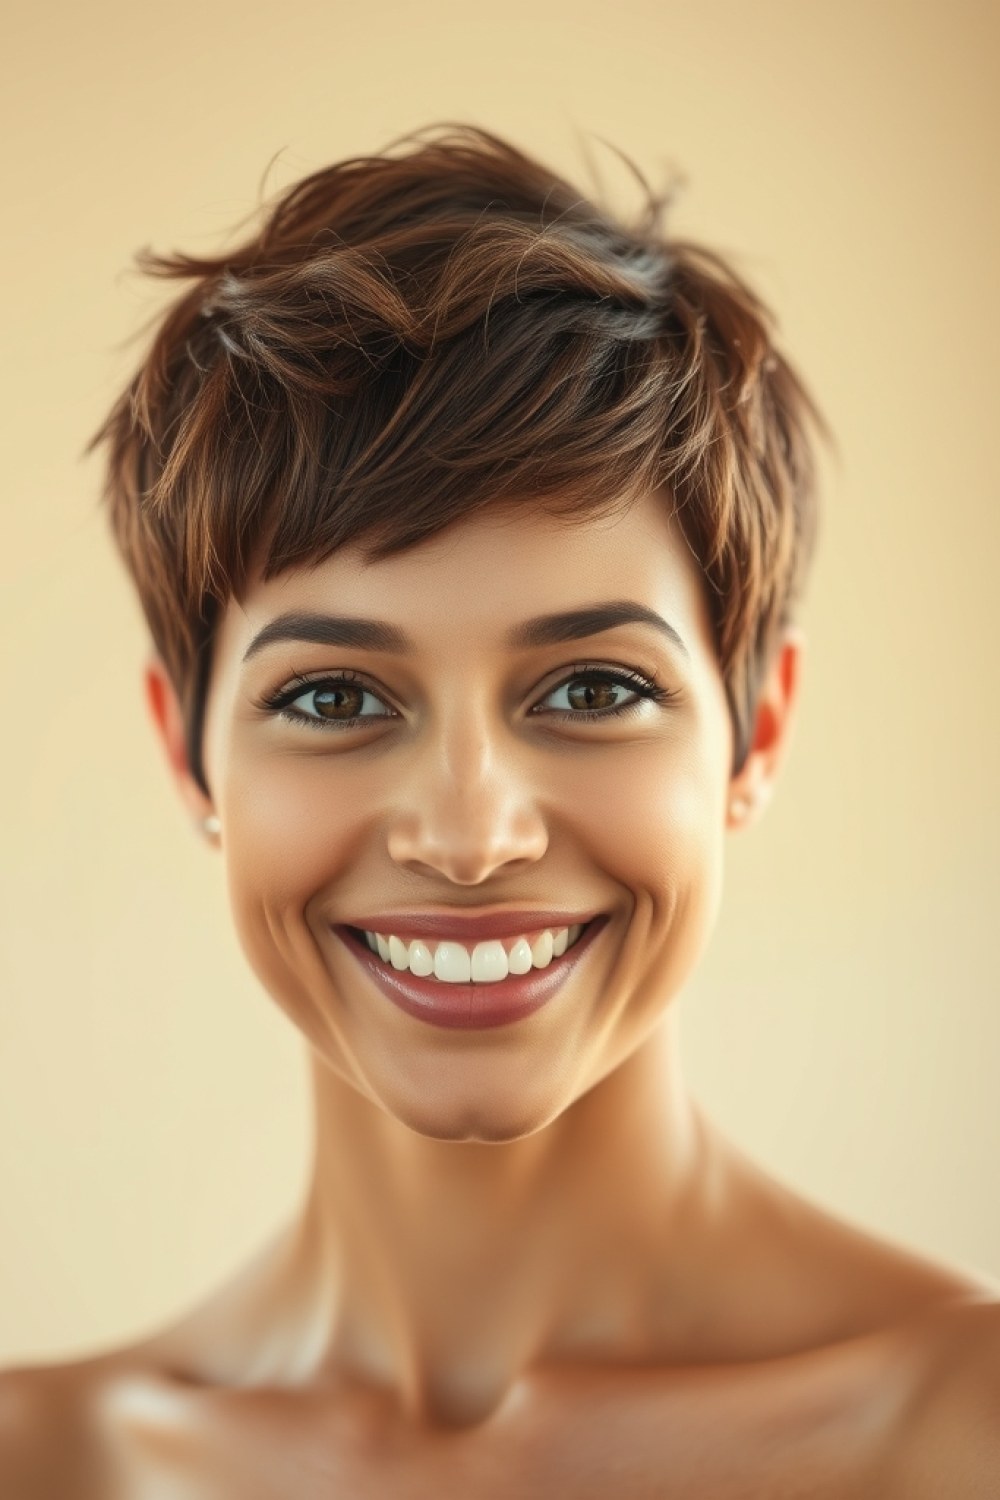
The center section stays longer while the sides are tapered short, giving you a soft mohawk shape without the commitment. It reads edgy but stays polished enough for work.
Fine hair actually suits this well because the height comes from styling, not thickness.
How to Style It
- Apply a volumizing mousse to damp center hair.
- Blow-dry the center section upward and back using a vent brush.
- Push the sides down flat with your palm.
- Finish with light-hold hairspray to keep the height standing.
10. Soft Tapered Pixie
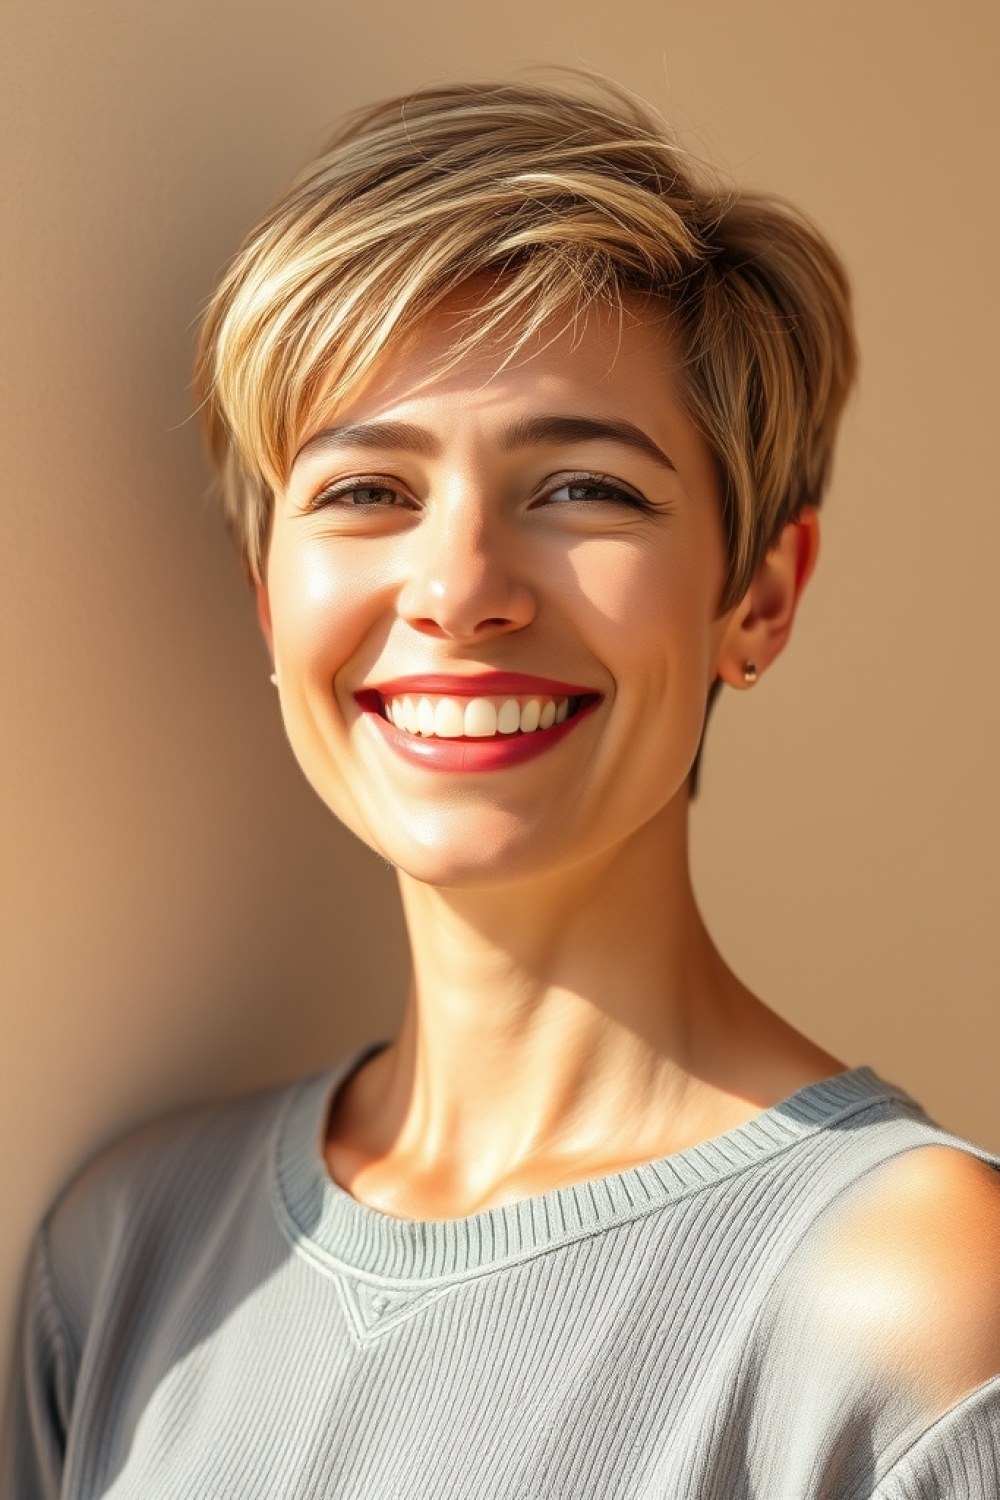
Ask for scissors-over-comb tapering at the sides and nape, not clippers. Clippers leave a hard line that exposes thin spots; a soft taper blends gradually and hides them.
This is the best pick for wavy fine hair because the natural texture adds body while the taper keeps it neat.
How to Style It
- Work a dime-sized amount of lightweight cream through damp hair.
- Blow-dry with a small round brush, directing sides downward.
- Use your fingers to soften the nape rather than flattening it.
- Skip heavy products — they kill the gentle taper.
11. Pixie With Micro Bangs
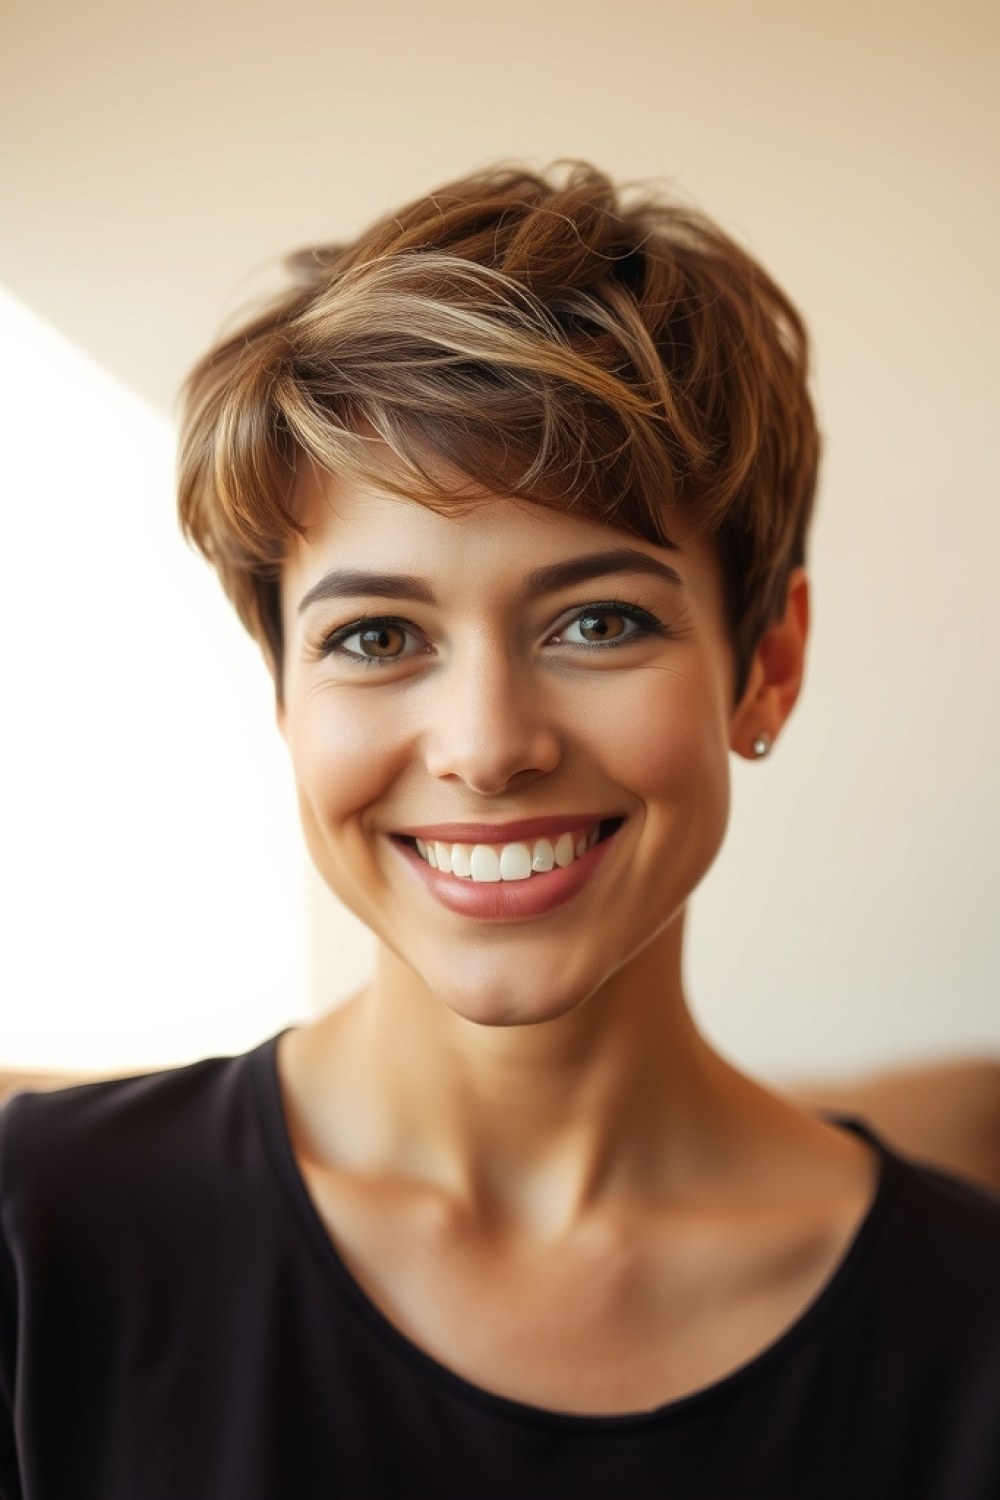
Micro bangs run 1-2 inches long and pull the eye upward, away from sparse sides. The key is texture — solid, blunt micro bangs look heavy and highlight thin areas.
They suit oval and heart face shapes best, but anyone can wear them if the rest of the cut is layered.
How to Style It
- Keep bangs textured, not solid, when your stylist cuts them.
- Rub a tiny dab of pomade between your fingertips.
- Pinch and separate the bang strands piece by piece.
- Leave the rest of the hair mostly untouched for contrast.
12. Short Pixie With Undone Texture
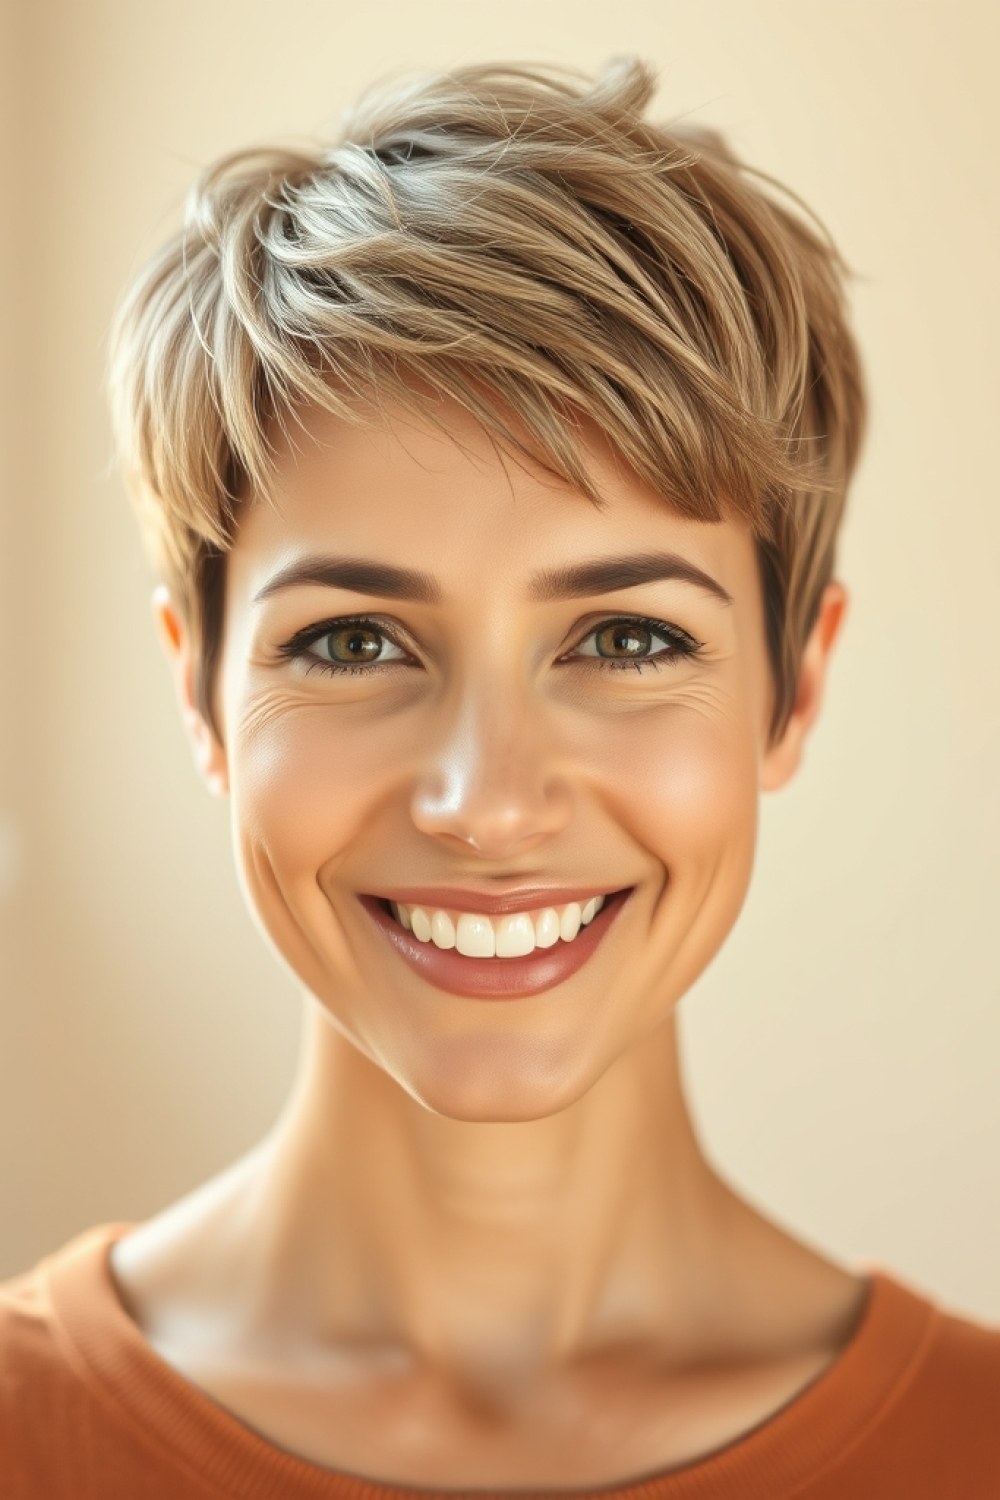
Sea salt spray on damp hair, scrunch, and air-dry for a lived-in finish that looks thicker than sleek styling. The rougher surface hides scalp and adds grip.
Skip heavy creams — they weigh down fine hair and undo the whole effect.
How to Get the Look
- Mist sea salt spray through damp hair from roots to ends.
- Scrunch with your hands to build texture.
- Air-dry, or use a diffuser on low if you’re in a hurry.
- Don’t brush afterward — it flattens the volume.
13. Pixie With Stacked Back
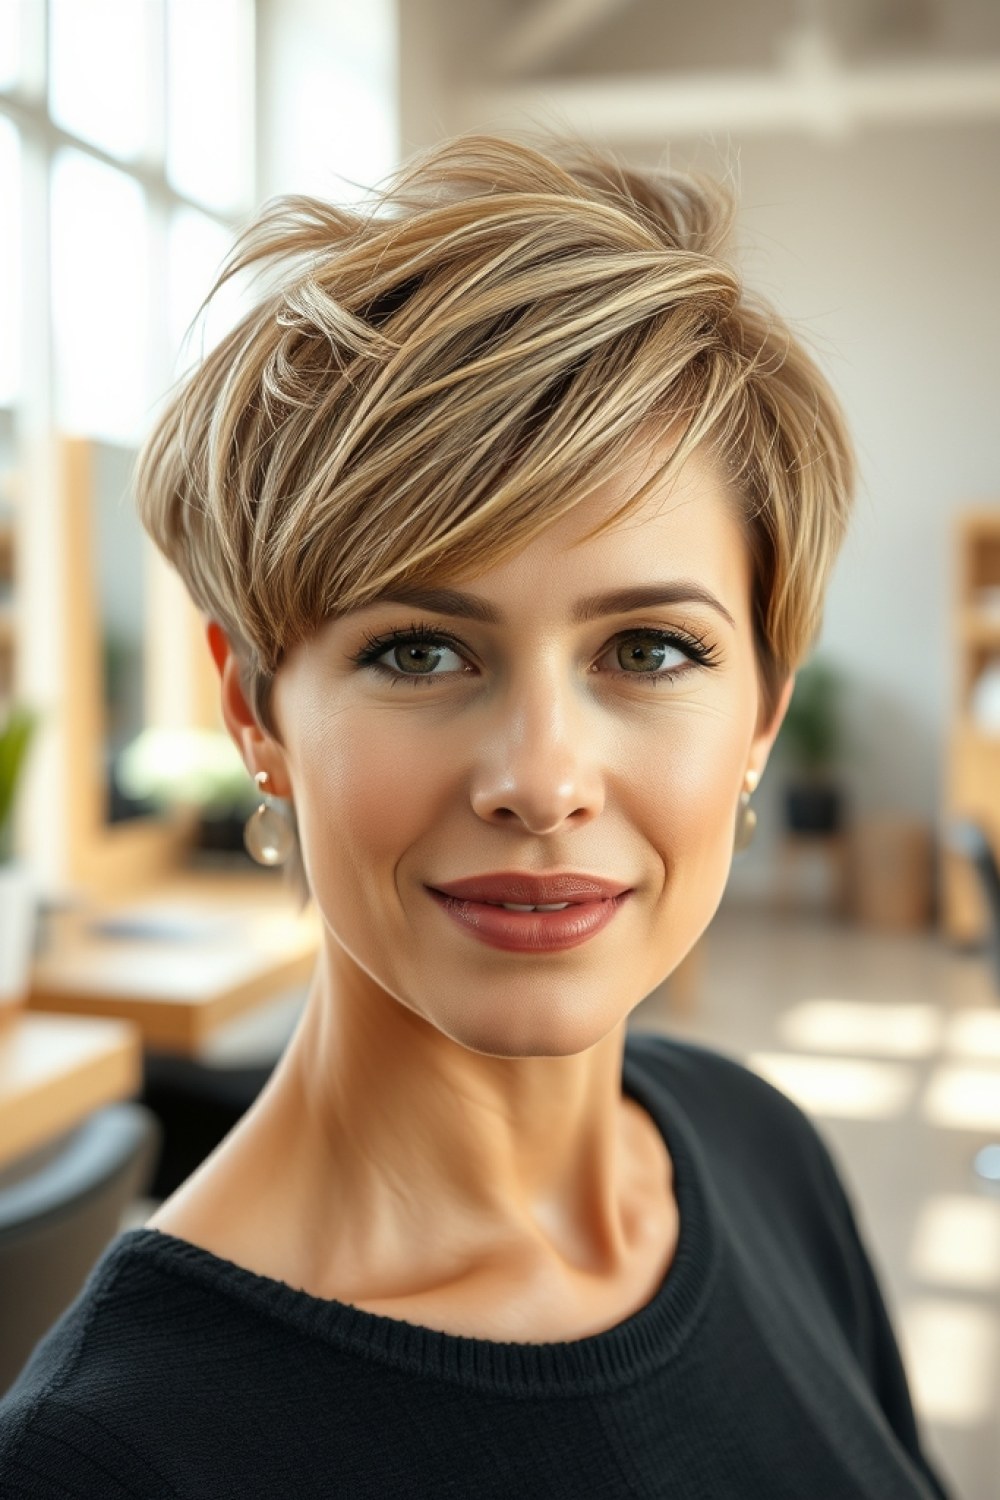
Stacked layers at the back build a rounded silhouette, so the style reads as full from every angle. Your stylist cuts the back section 2–3 inches shorter and graduates it upward toward the crown.
It’s one of the most reliable pixie haircuts for thin fine hair because the density sits exactly where flat hair shows most.
How to Style It
- Apply a volumizing mousse to damp roots at the back.
- Blow-dry the back section upward with a small round brush, lifting at the root.
- Set with a light-hold spray and pinch the ends for texture.
14. Side-Swept Pixie
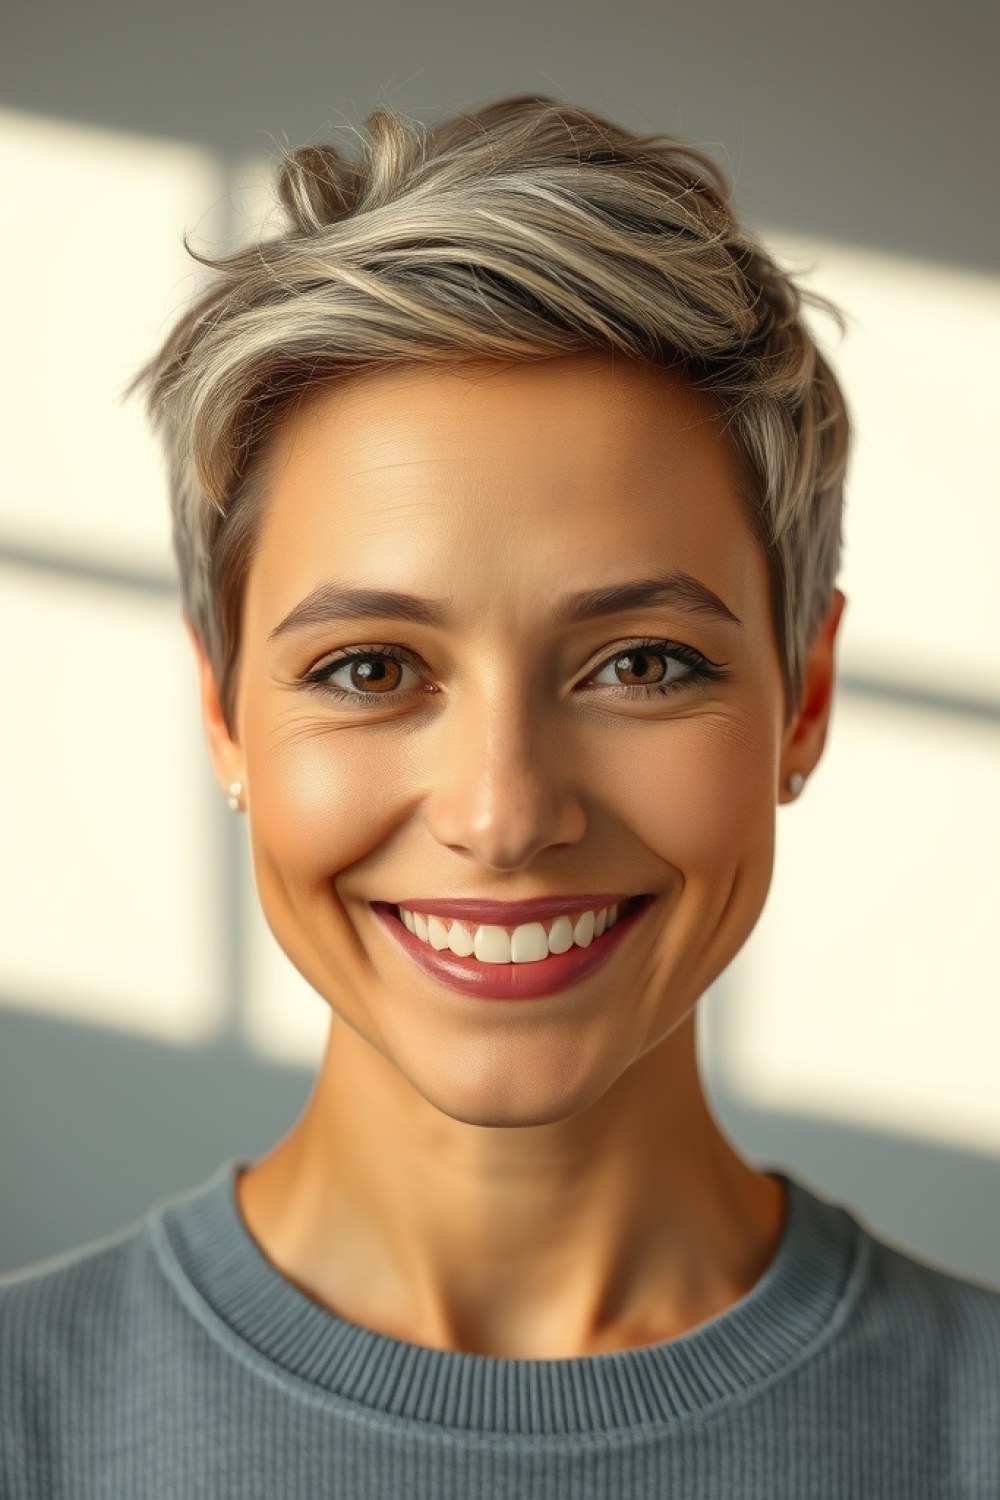
All the length sweeps to one side over a clean, tapered nape. That diagonal line adds width across the forehead and breaks up any see-through spots on top.
Ask for a deep side part and enough length on the heavy side to comb across — about 3–4 inches.
How to Style It
- Work a medium-hold gel through damp hair with a fine-tooth comb.
- Comb everything toward your chosen side, following the part line.
- Air-dry or use a diffuser on low, then smooth the surface with your palm.
15. Curly Pixie With Shrinkage
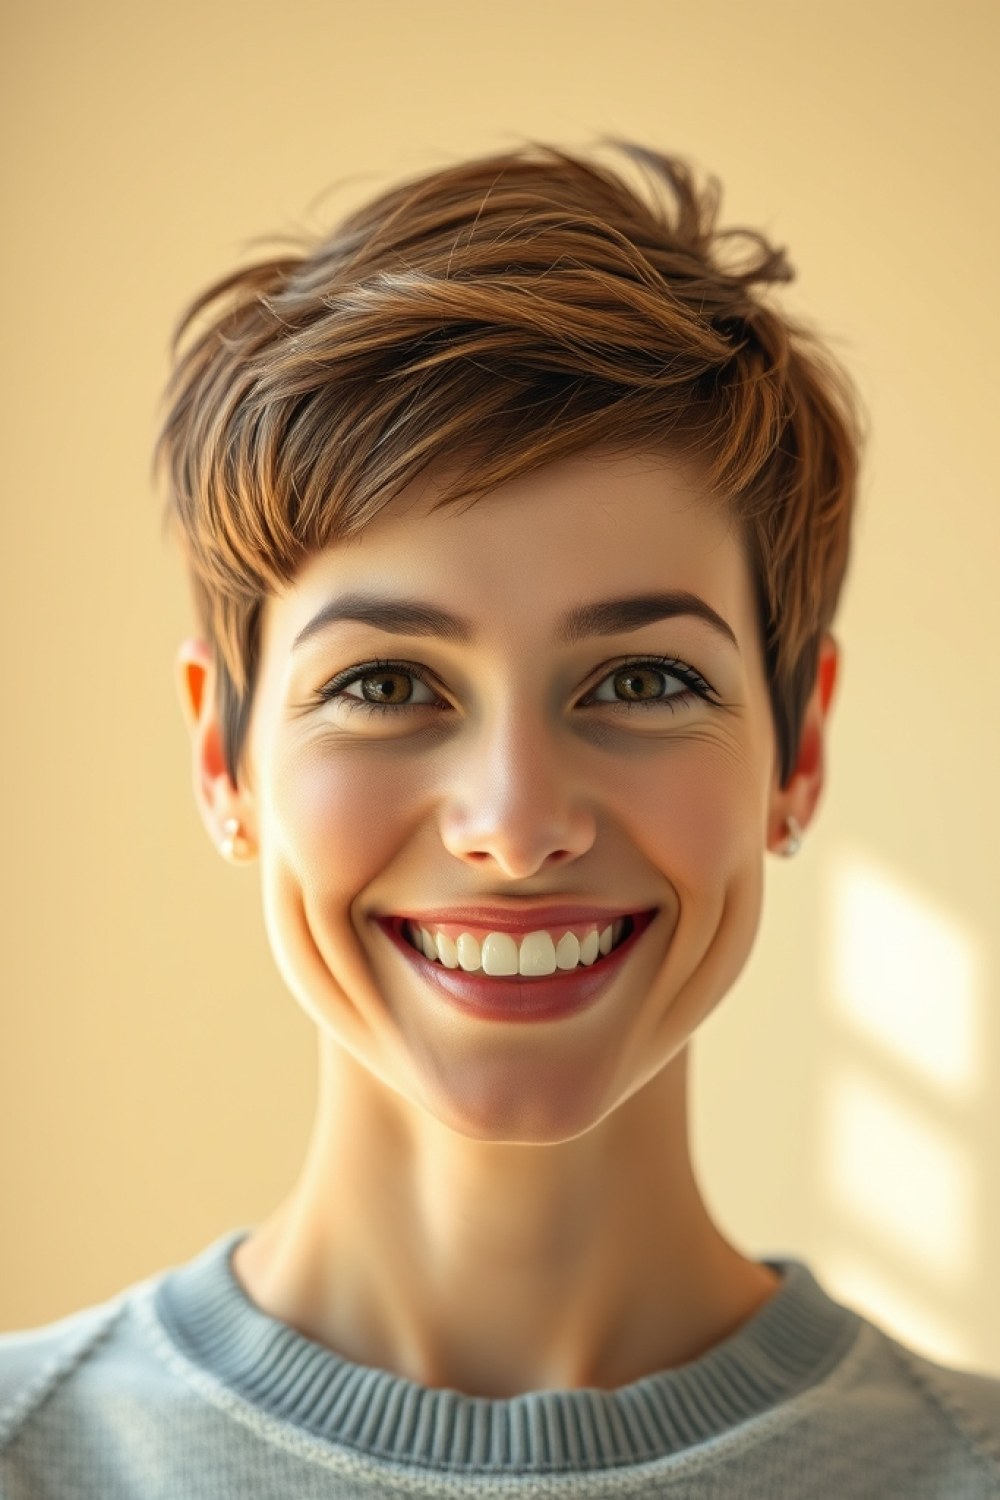
For natural curls, a dry cut — curl by curl — is the only way to guarantee the shape survives shrinkage. Leave 2–3 inches on top with tapered sides so the volume sits high.
Cut wet, curls spring up 30–50% shorter, and you lose the shape you paid for.
How to Style It
- Apply leave-in conditioner to soaking-wet hair.
- Define with finger coils, twirling small sections around your finger.
- Let it air-dry or diffuse on low heat without touching the curls.
- Fluff at the root once fully dry for lift.
16. Pixie With Baby Lights
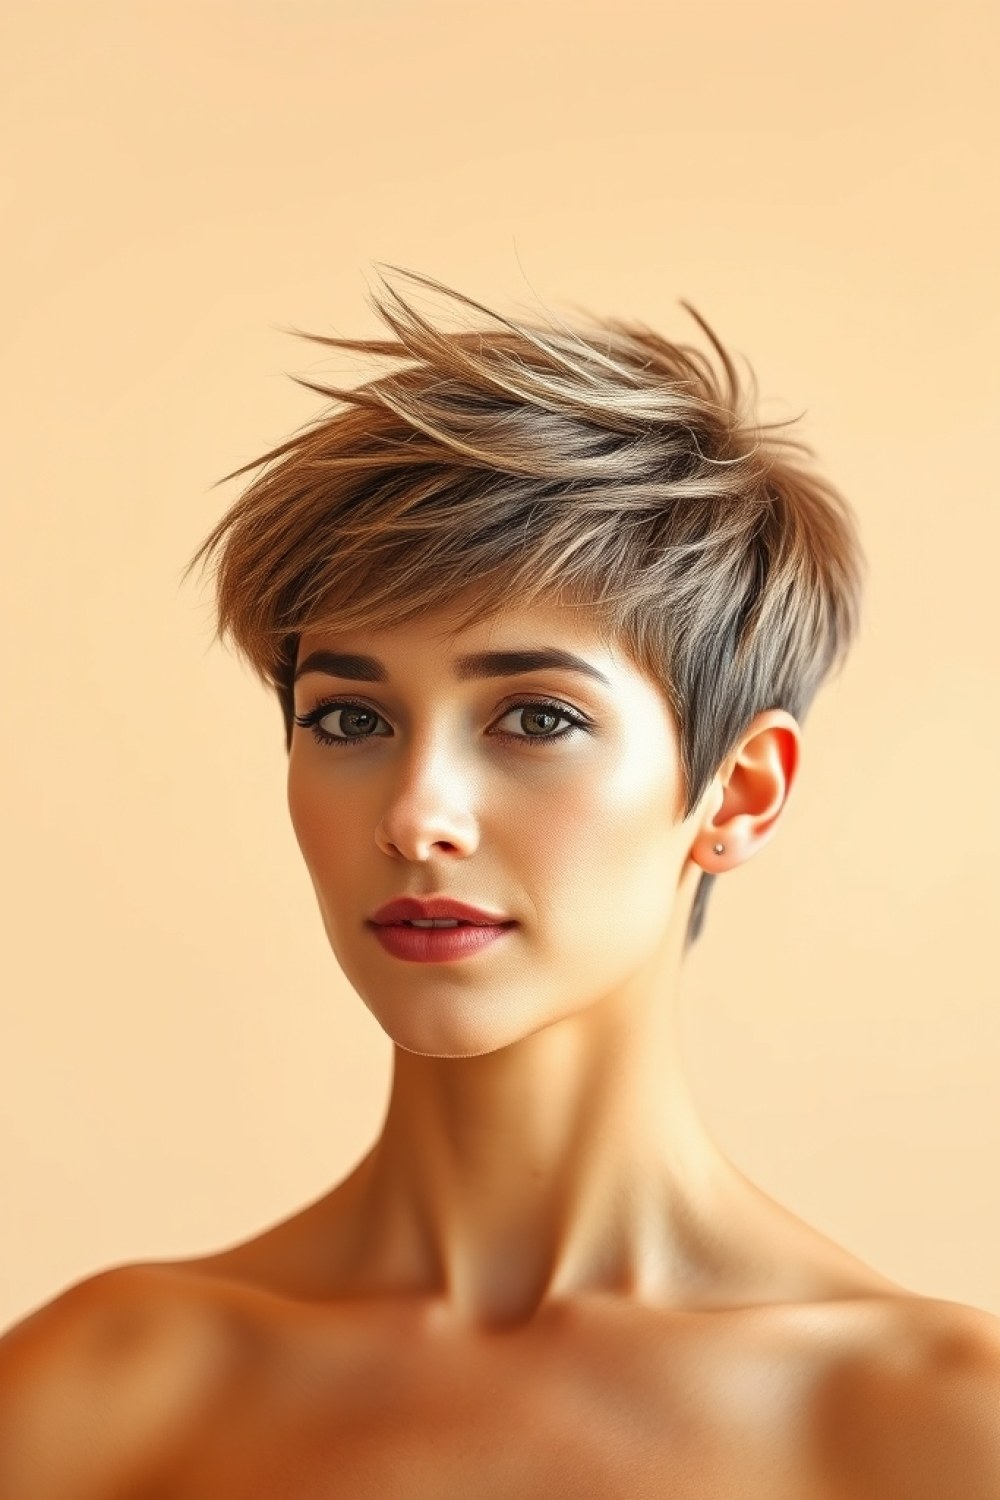
Fine baby lights woven throughout add dimension and bounce light around, so the hair reads denser than it is. Keep the highlights within two shades of your base color to avoid a striped look.
Pair them with a gloss — shine is what sells the illusion of thickness.
How to Style It
- Ask your colorist for baby lights plus a clear or tinted gloss in one visit.
- Wash with a sulfate-free shampoo to protect the tone.
- Style with a texturizing spray and rough-dry with your fingers.
17. Platinum Pixie
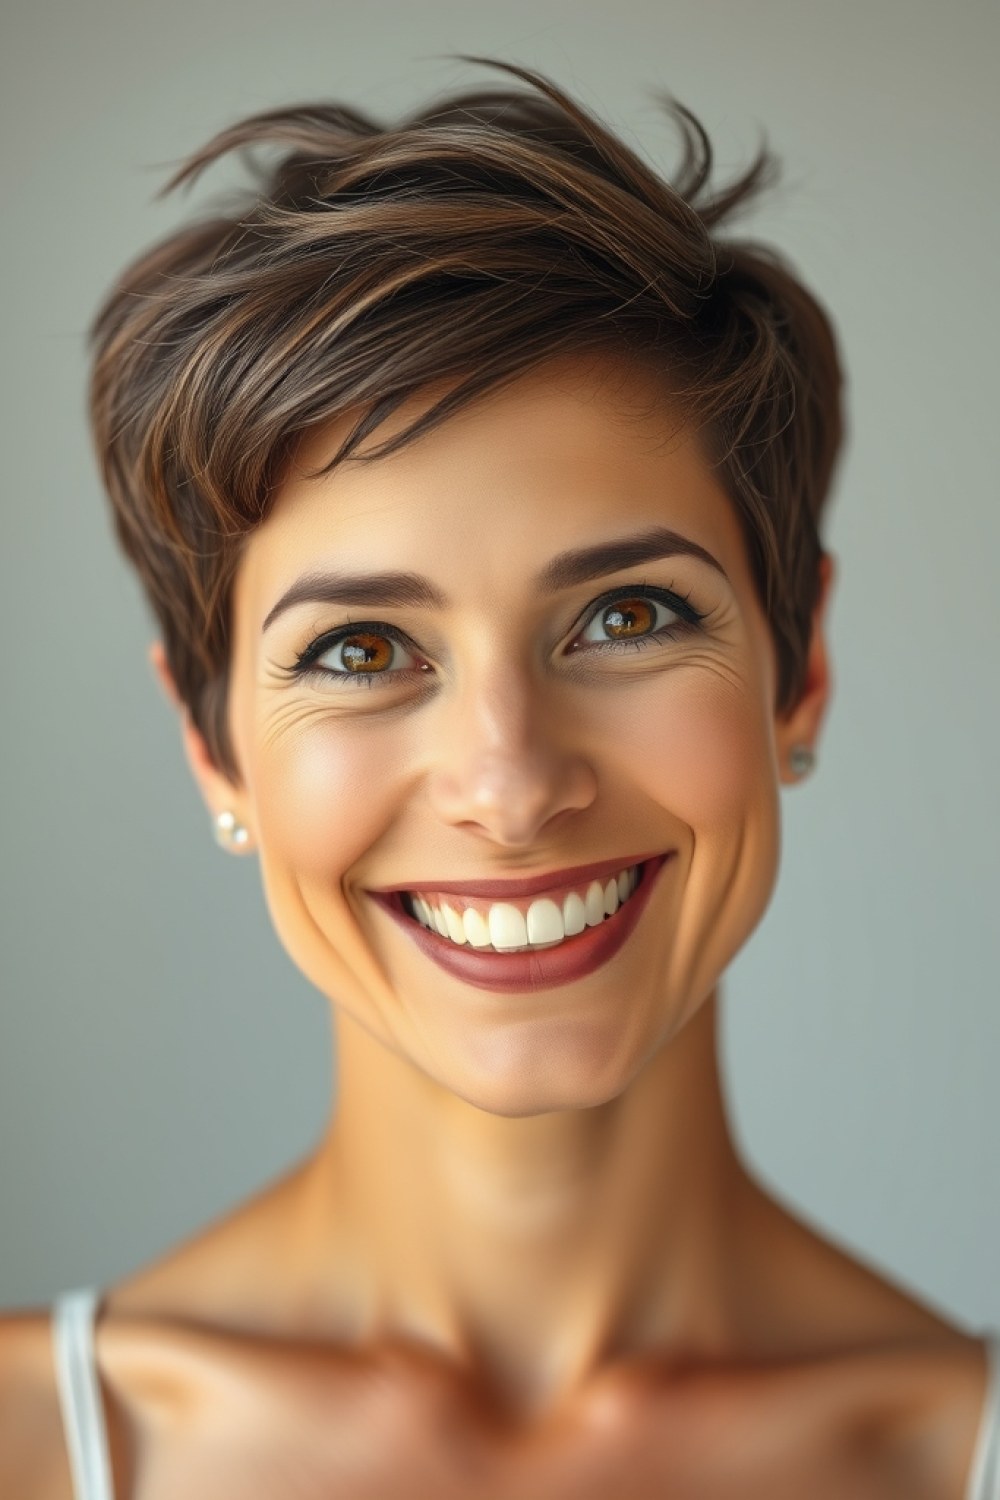
Lightening to platinum lifts the cuticle slightly, which swells each strand and adds real bulk. It has to be done gradually — expect two or three sessions rather than one.
Going platinum in a single sitting on fine hair risks breakage that no cut can fix.
How to Style It
- Space lightening sessions 4–6 weeks apart and use bond-building treatments between them.
- Wash with purple shampoo once a week to keep brass out — more often dries the hair.
- Skip heavy oils; use a lightweight leave-in and a heat protectant before any tool.
18. Pixie With Shadow Root
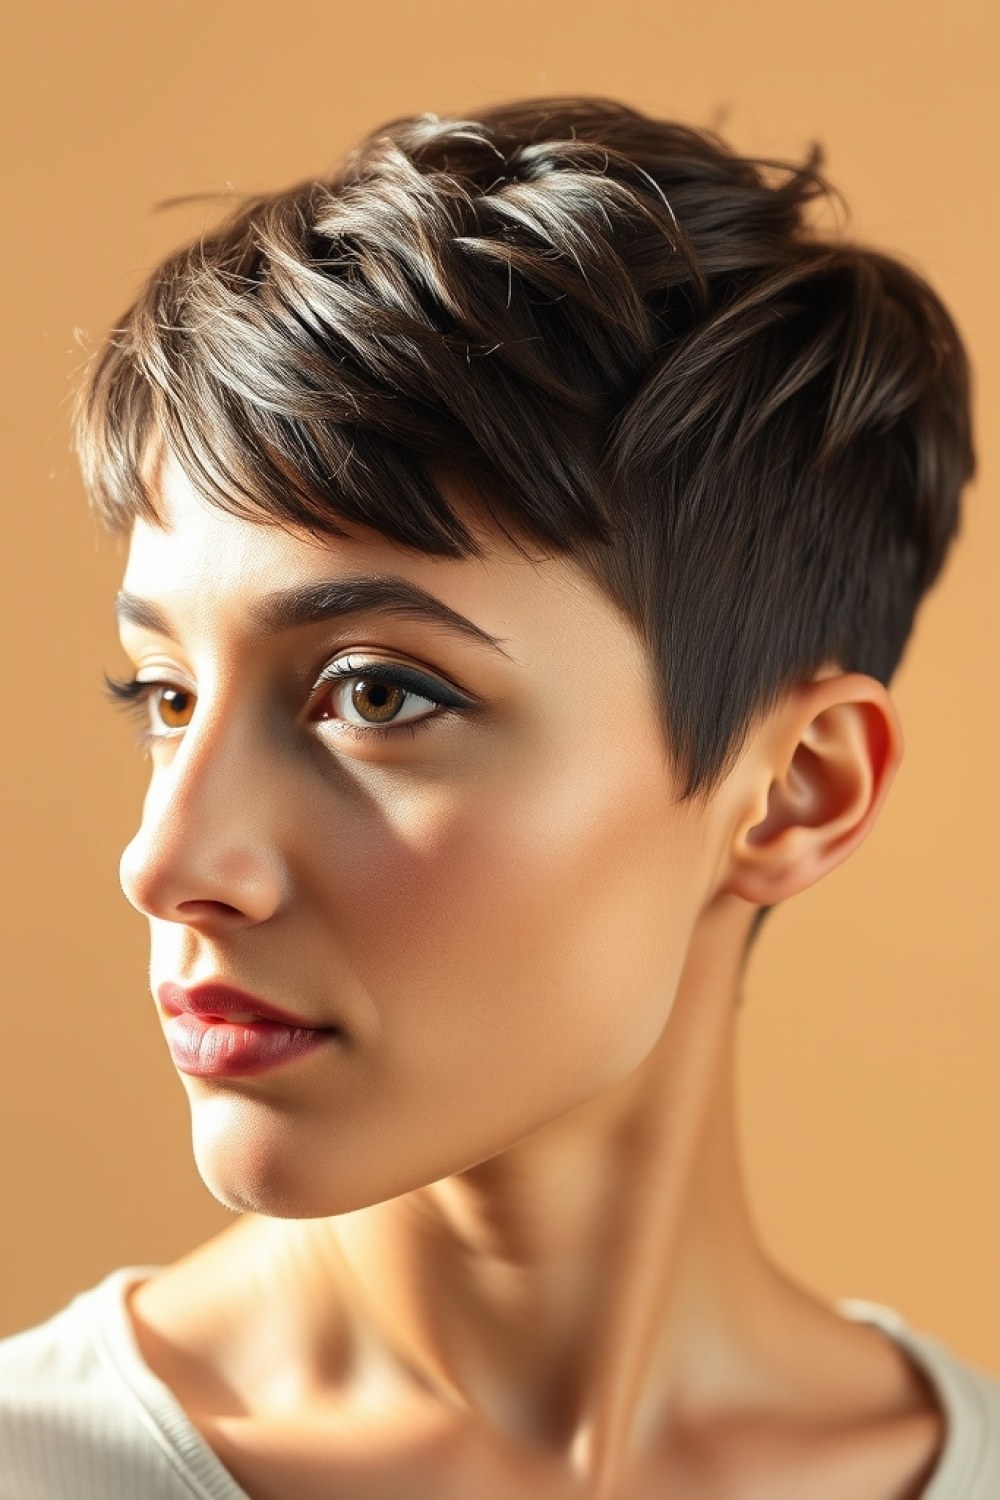
A shadow root keeps the first inch or two at the scalp darker, creating depth right where thin hair exposes the most scalp. Lighter ends give contrast that makes the color look intentional.
It’s low-maintenance — regrowth blends in instead of forming a hard line.
How to Style It
- Ask for a root smudge or shadow melt, not a solid base color.
- Book a refresh every 6–8 weeks to keep the depth from growing out.
- Style with a root-lift powder at the crown for extra height.
19. Angular Pixie
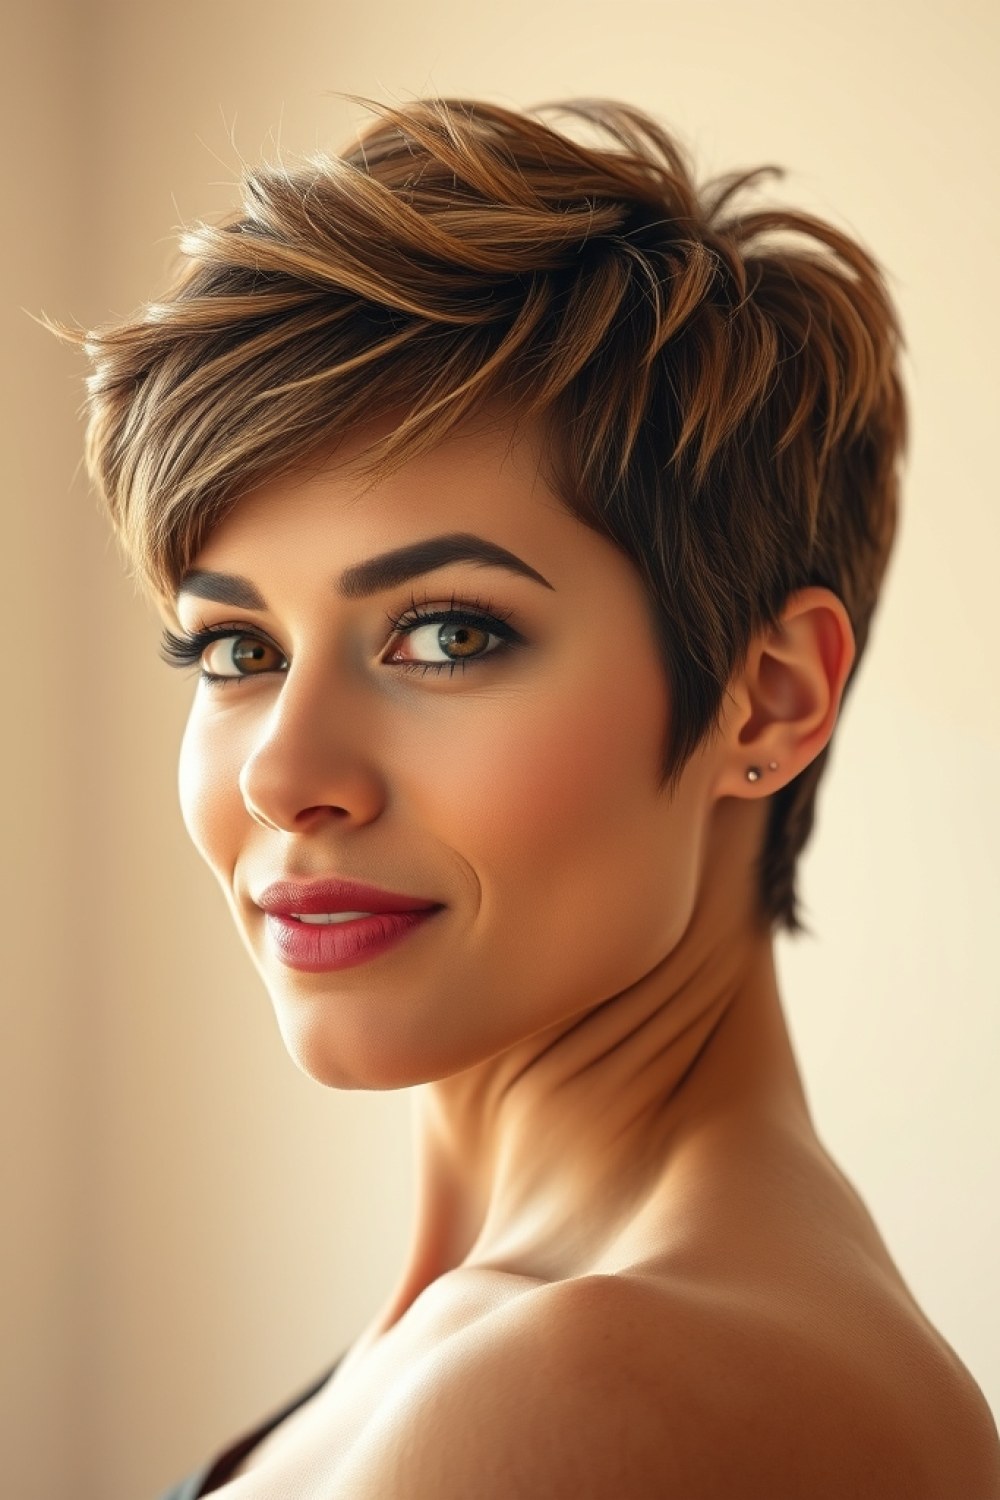
Sharp angles around the face add structure and width where fine hair needs it most. Ask for a razor cut — it softens hard lines so the shape reads modern rather than severe.
The point is optical: cutting corners at the jaw and temples builds a wider frame that makes hair look fuller.
How to Style It
- Blow-dry with a paddle brush, directing hair forward and slightly up at the roots.
- Run a flat iron along each angled section, clamping at the root and turning the wrist outward at the ends.
- Finish with a pea-sized drop of texture paste, worked between fingertips, to keep the angles crisp.
- Avoid heavy pomades — they drag fine hair down and flatten the shape within an hour.
20. Pixie With Hidden Undercut
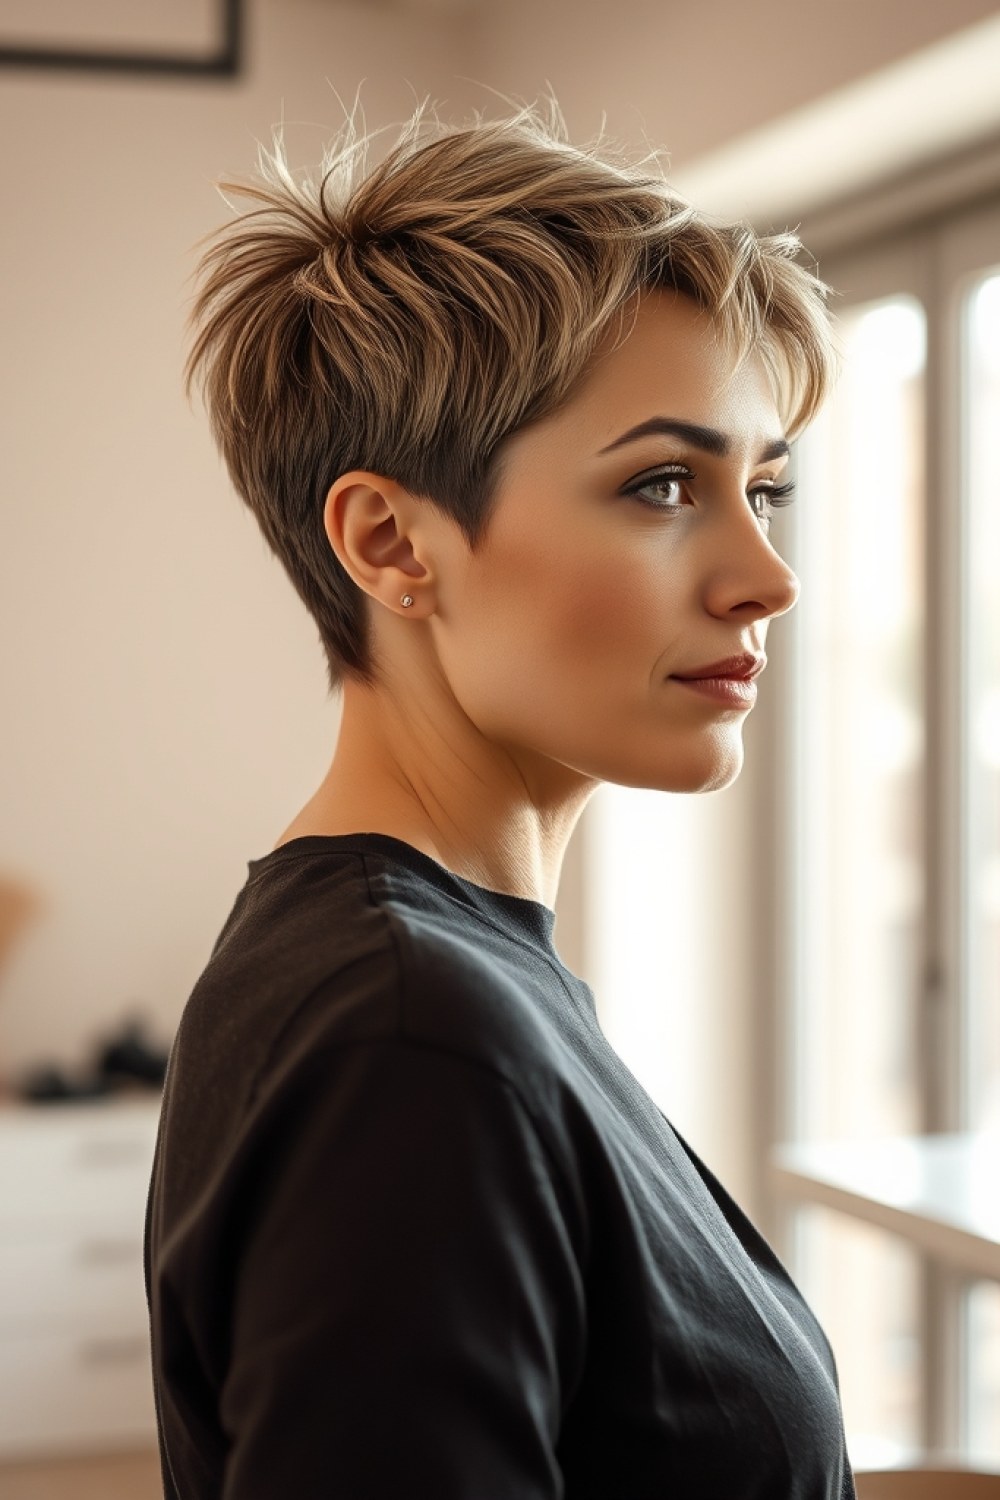
A hidden undercut at the nape removes bulk underneath while the top layers cover it completely. Top hair sits higher and fuller because there is less weight competing with it.
This cut suits thick-to-medium fine hair best. Very fine hair may look sparse once the undercut is exposed.
How to Recreate It
- Ask your stylist to undercut only the nape, leaving a clear line of top layers to drape over it.
- Keep the top length at 3–4 inches so it still covers the shaved section when styled.
- Style with a round brush at the crown and leave the undercut to air-dry.
- If you change your mind, the undercut grows back in six to eight weeks without an awkward phase.
21. 70s-Inspired Shag Pixie
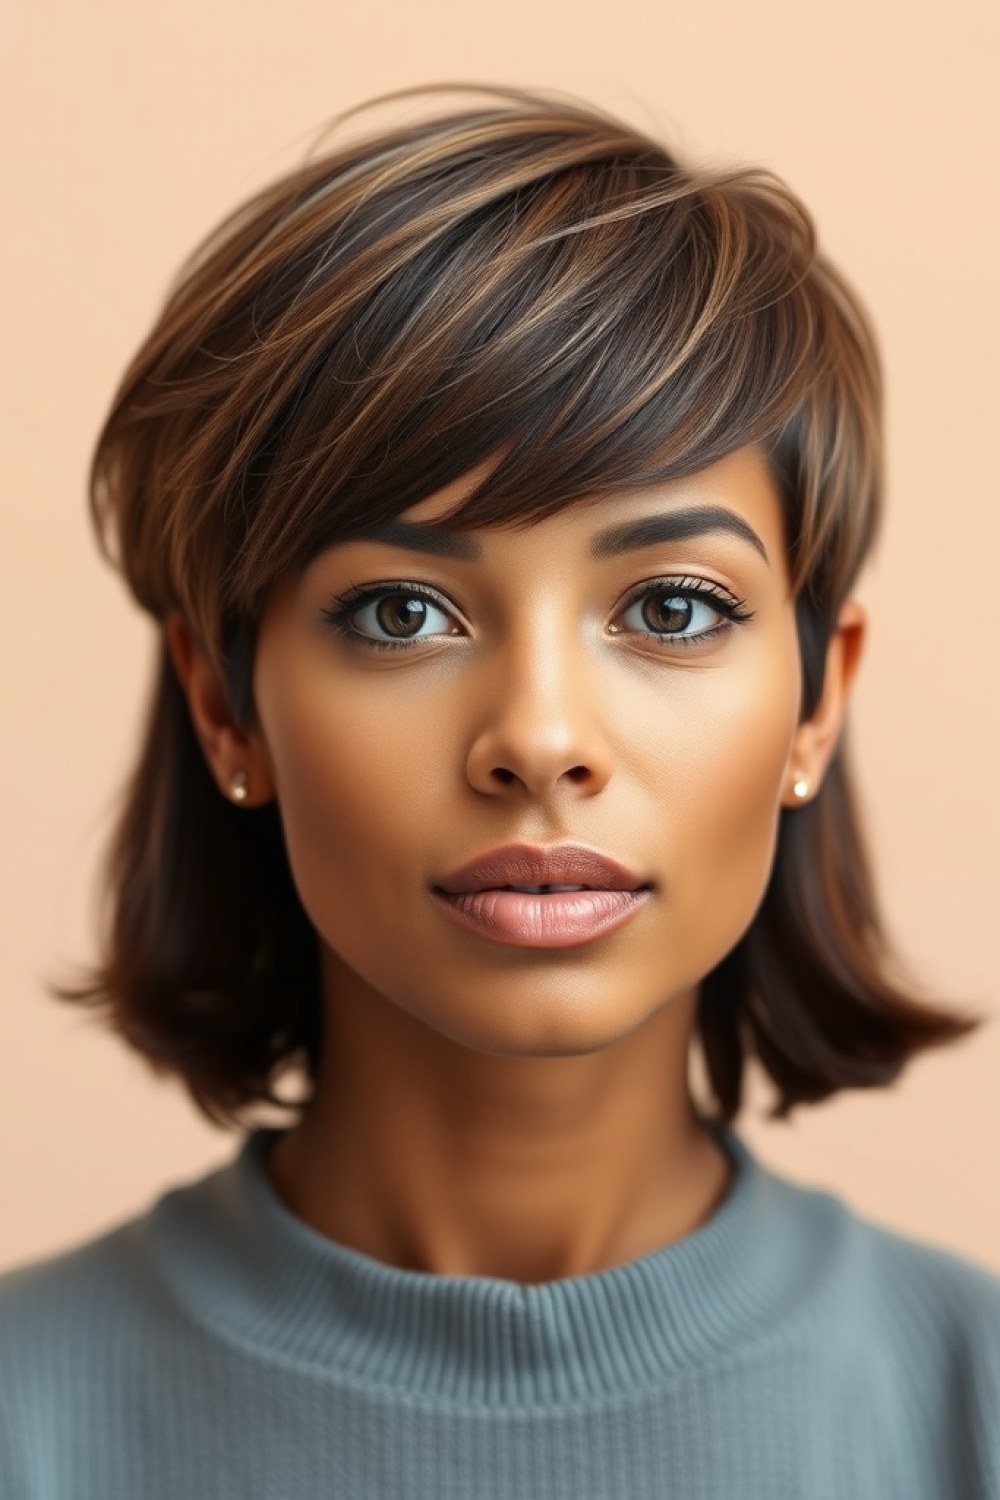
Longer, shaggy layers with a retro, feathered edge. A razor cut gives that soft, undone finish where the ends taper instead of falling blunt.
It works on fine hair because the layers are cut to move, not sit flat against the head.
How to Style It
- Spray texturizing spray through damp mid-lengths and ends, not the roots.
- Blow-dry with your head tipped upside down for two minutes, then flip back and rough-dry the rest.
- Shake with your fingers to break up the layers — no brush needed.
- Scrunch a small amount of sea salt spray into the ends for extra grip and separation.
22. Pixie With Fringe and Layers
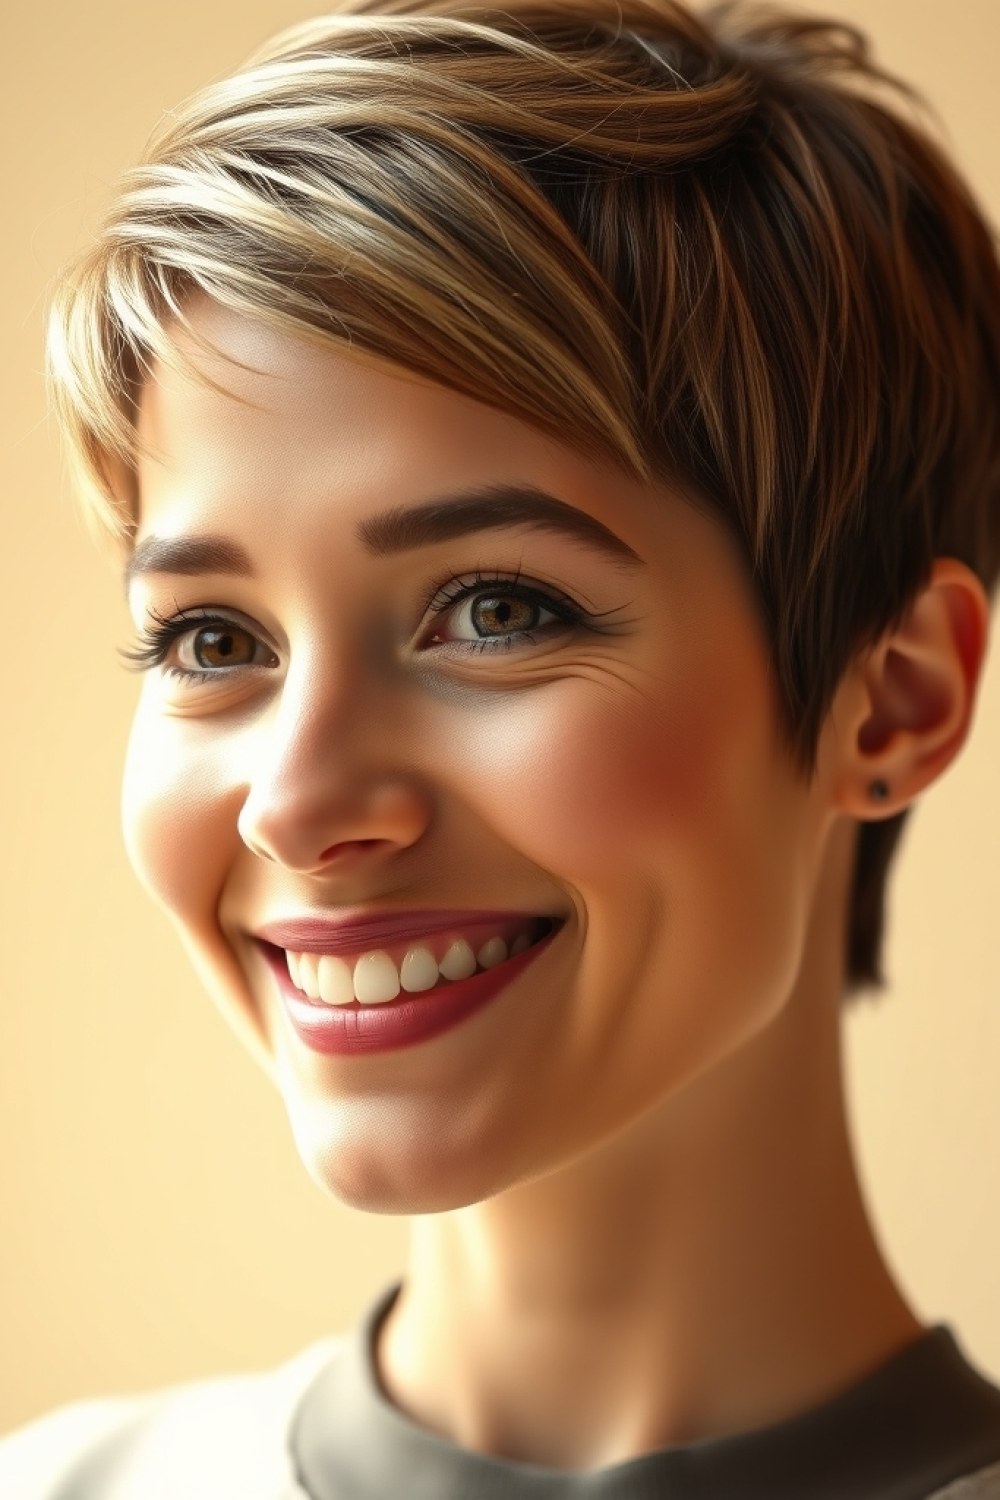
Piecey fringe plus choppy layers throughout. The fringe should be point-cut with the tips of the scissors, never sliced straight across, so it does not form a solid block over a fine forehead.
Layers carry the volume up top while the fringe frames the eyes.
How to Style It
- Blow-dry the fringe side to side with a small round brush to stop it clumping.
- Lift the crown layers with the same brush, rolling upward and holding for a few seconds to set the bend.
- Tap a matte texture clay into the fringe ends to separate the pieces.
- Skip conditioner at the roots on fringe days — it weighs the hair down and kills the lift.
23. Buzz Cut Pixie
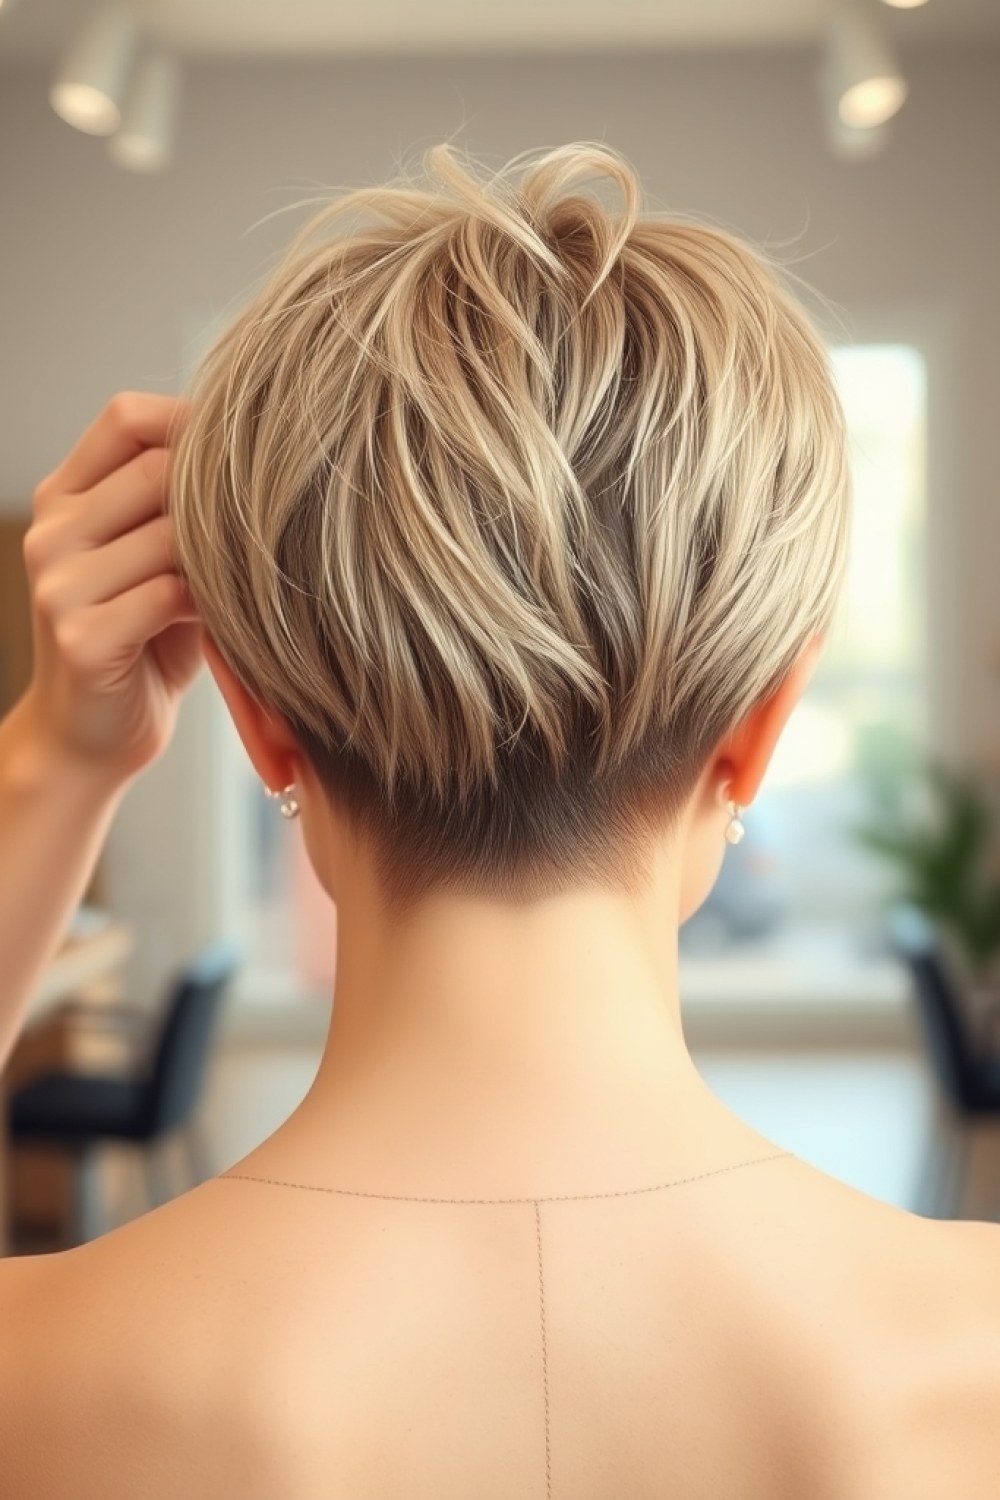
For very fine hair, a buzz cut can look intentional and chic rather than sparse. With no length to thin out, fine hair reads as even and healthy.
This one requires confidence and almost zero styling time — a real option if you are tired of fighting your texture.
How to Make It Work
- Ask for a #3 or #4 guard on the sides, slightly longer on top to keep some shape.
- Have the hairline and neckline edged cleanly — a sharp outline is what makes it look styled.
- Moisturize the scalp daily; short hair exposes skin that long hair used to protect.
- Refresh the cut every four to five weeks to keep the edges sharp.
24. Pixie With Highlights at Ends

Concentrated highlights at the tips draw the eye outward and create an illusion of thickness. Keeping the roots natural means no harsh grow-out lines and less damage at the scalp.
Ask for a balayage-style tip lightening rather than full highlights — it is gentler on fine strands.
How to Style It
- Blow-dry normally, lifting the ends with a round brush so the lightened tips catch the light.
- Finish with two to three drops of lightweight oil, warmed between your palms.
- Press the oil only onto the ends, not the roots, to avoid greasy separation.
- Use a purple-toning shampoo once a week to keep the highlights from turning brassy.
25. Bridal Pixie With Veil
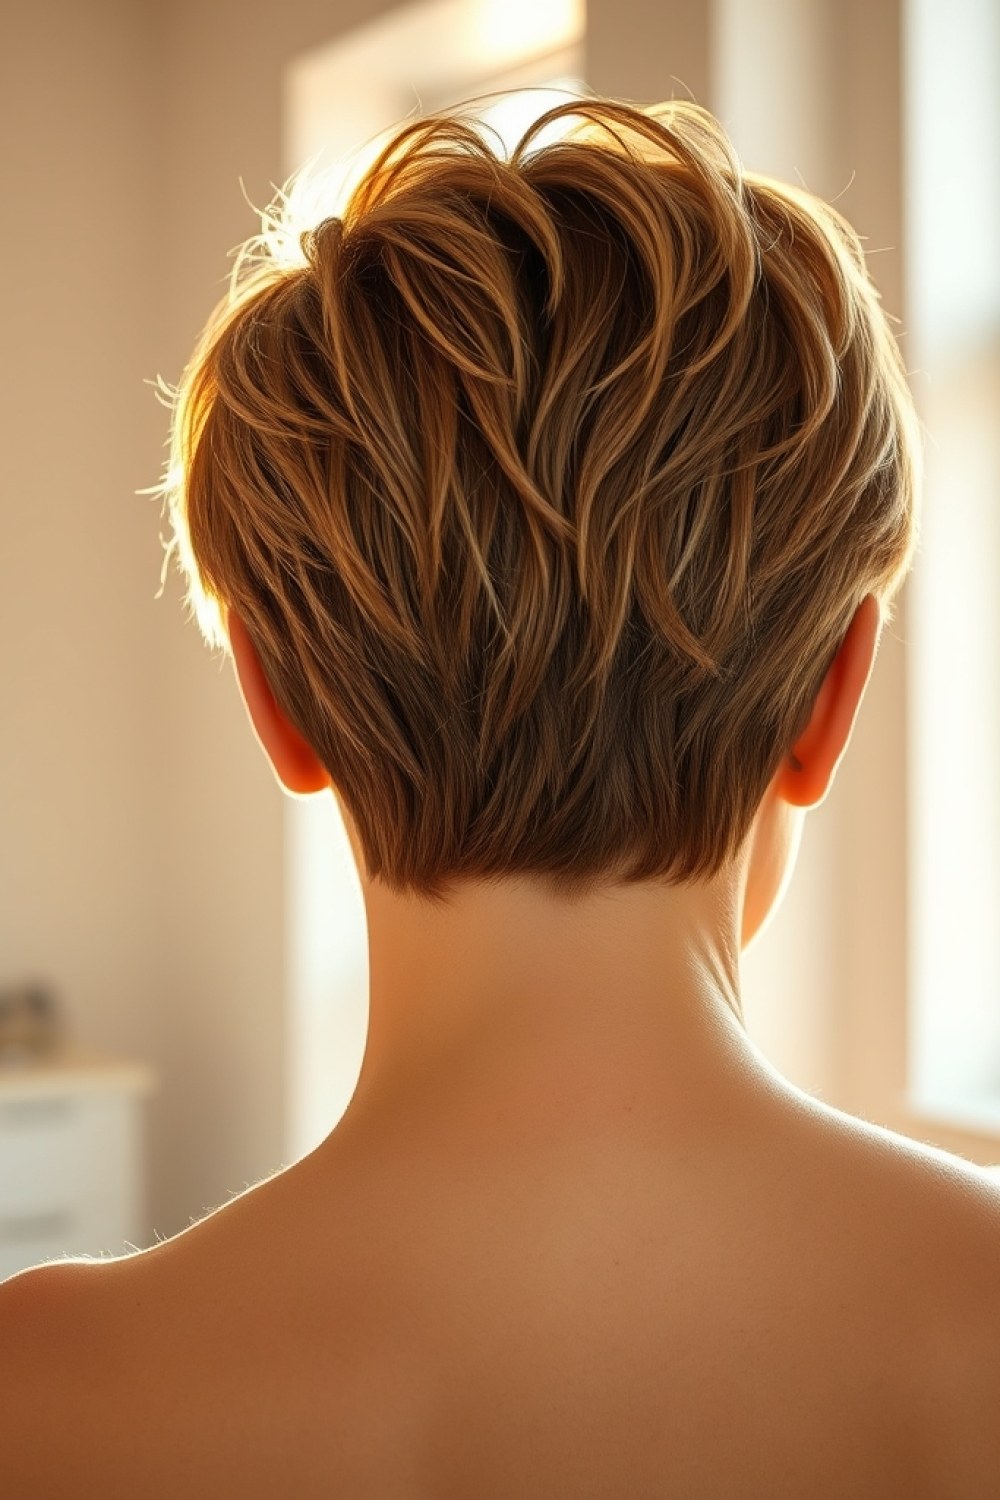
A polished pixie with a delicate veil is a modern, elegant choice — no updo required. Ask your stylist for a smooth, rounded shape with a soft side part so the veil has a clean line to sit against.
Book a trial run and wear the veil for an hour to check it holds without denting the cut.
How to Style It
- Apply strong-hold gel to damp roots and blow-dry upward with a round brush for lift.
- Pin the veil at the crown with two crisscrossed bobby pins, then tuck in a small crystal hairpiece or pin above one temple.
- Mist with flexible-hold spray and smooth flyaways with a dab of pomade on your fingertips.
26. Pixie With Volume Powder
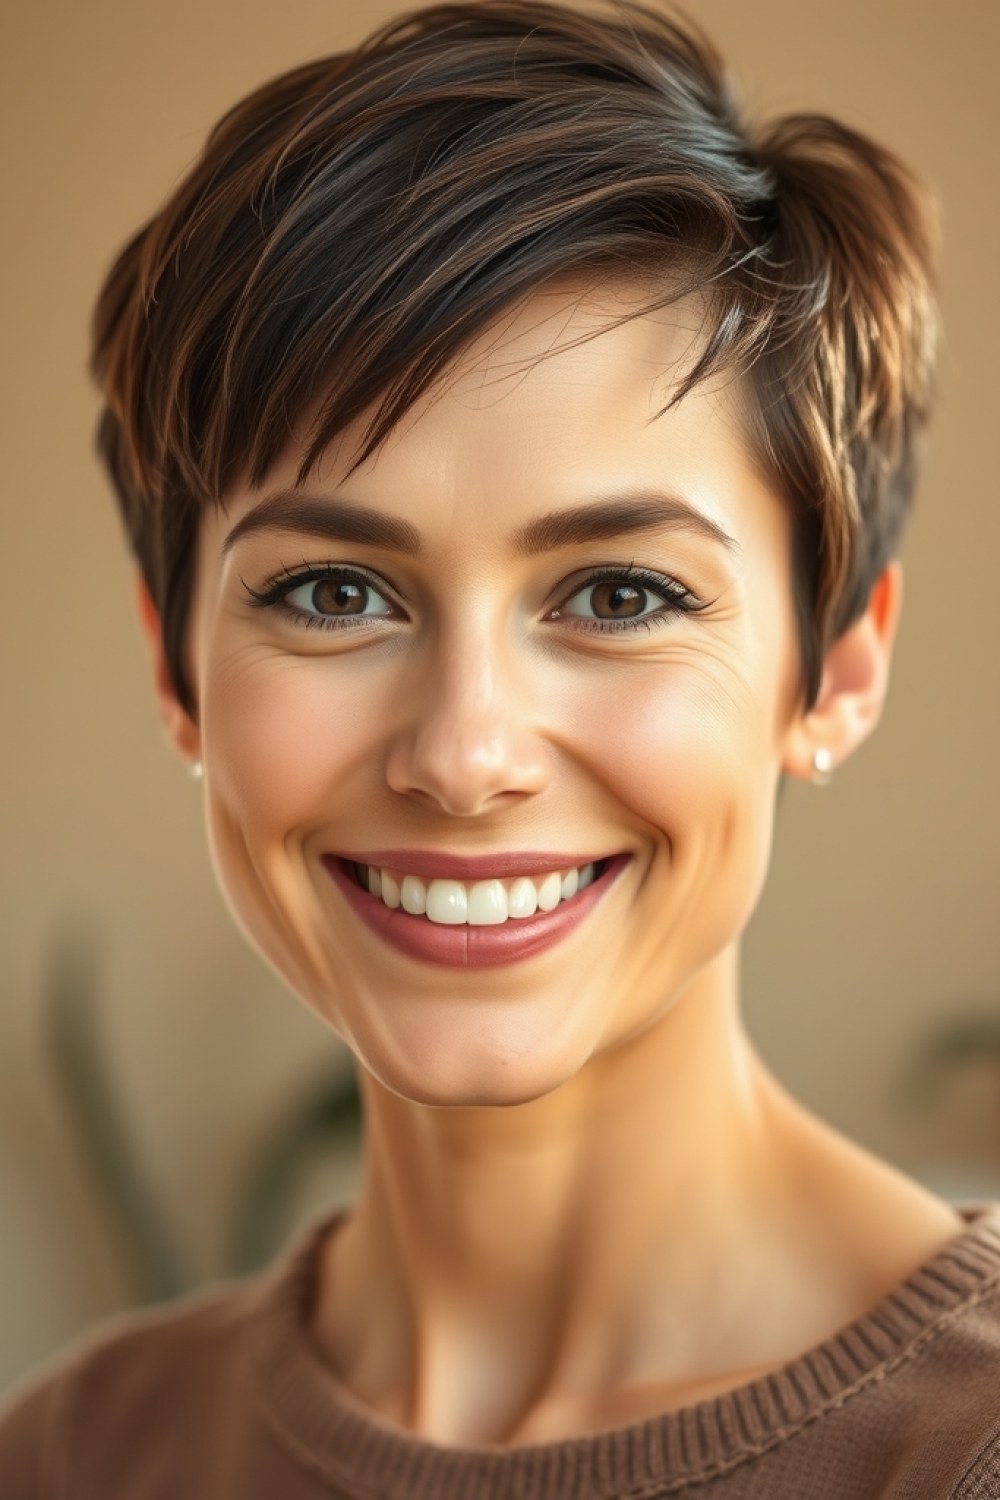
Volume powder is the fastest fix for fine pixies. Sprinkle a light dusting at the roots, massage with fingertips for 30 seconds, and the hair lifts with instant grit and no weight.
It works best on second-day hair, when natural oils give the powder something to cling to.
How to Use It
- Shake a small amount onto the crown and part line — start with less than you think you need.
- Massage in circular motions with your fingertips, then flip hair upside down and shake through.
- Set with a light mist of hairspray if you need hold past midday.
- Shampoo it out at night, since buildup can dull fine hair and flatten the next day’s lift.
Quick Questions
Will a pixie cut make my thin hair look thinner?
No—when it’s cut correctly, a pixie removes the weight that drags fine hair flat against your scalp. Layers and point-cut texture create lift at the root, which makes hair read as fuller. What to avoid: blunt, one-length bobs disguised as pixies, and any cut where every strand ends at the same line. Those compress fine hair into a flat curtain.
What’s the best way to style a pixie for thin hair?
Start with a volumizing mousse on damp roots—a golf-ball-sized amount is plenty. Blow-dry upside down for two minutes, then flip upright and use a small round brush (about 1 inch) to lift sections at the crown. Finish with a light texturizing spray. Skip heavy creams and oils; they coat fine strands and pull them down within an hour.
How often should I trim a pixie cut?
Every 4–6 weeks. Fine hair loses its shape fast—what looks sharp on day one can read as overgrown by week seven. Regular trims keep the cut looking intentional and full rather than straggly. Book your next appointment before you leave the salon.
Can I wear a pixie if my hair is curly?
Yes—and it’s one of the best cuts for fine curls because shrinkage does half the volumizing work for you. Ask for a dry cut so your stylist can account for shrinkage. Leave more length on top, keep sides tapered, style with a leave-in conditioner, and define with finger coils. Diffuse on low heat instead of air-drying flat.
What hair color makes a pixie look thicker?
Highlights or balayage add dimension and reflect light, which makes hair appear denser. A shadow root—a slightly deeper tone at the scalp—creates the illusion of depth where hair meets skin. Avoid single-process dark colors, especially blue-black; they absorb light and make fine hair look flatter.
Choosing Your Pixie: Key Questions for Your Stylist
Before you book, bring photos—three or four, not fifteen. Point out exactly what you like in each: the length at the temple, how the crown sits, where the nape falls. Then ask your stylist to talk through your growth pattern and density. Fine hair often has cowlicks or thinning spots at the crown or hairline, and a good cut works with those, not against them.
Be direct about your volume goals and your daily routine. If you won’t blow-dry for ten minutes every morning, say so—your stylist can cut for air-drying and still build lift. Ask which layering technique they’ll use and which products they recommend for your texture. A great pixie is a collaboration, so speak up. You’ll walk out with a cut that actually works for your hair, not just the photo on your phone.