
29 Lob Hairstyles for Fine Hair You Can Actually Wear


Ever pinned a gorgeous bob only to wonder if your fine hair can pull it off? Yes, it absolutely can—you just need the right cut and styling tricks. These 29 bob hairstyles are proof that fine hair can look full, chic, and effortlessly wearable.
Fine hair has two problems: it falls flat, and it shows every uneven line. The fix isn’t more product—it’s a cut built with blunt ends, invisible layers, and a length that sits above your collarbone so weight doesn’t drag it down. A stylist who understands fine hair will cut it dry and check the shape as it dries.
Below are 29 bobs you can actually wear, with the details that matter: what to ask your stylist for, how to blow-dry for lift, and which swaps to make when your hair won’t cooperate. No wasted volume tricks that don’t last past noon.
What You’ll Need for a Full-Looking Bob
- Blunt-cut shears — for clean, fuller-looking ends
- Volumizing mousse — applied at the roots on damp hair
- Small round brush — 1 to 1.5 inch barrel for lift
- Dry shampoo or texture spray — for grip at the crown
- Clipless rollers — 3/4 inch, for setting volume
- Lightweight hairspray — flexible hold, no crunch
1. Blunt Collarbone Bob

A one-length cut that lands right at the collarbone gives fine hair its strongest silhouette. Because every strand ends at the same point, the eye reads one solid mass instead of wispy see-through tips. Ask your stylist for a blunt line with no layers and no razoring, and keep the perimeter crisp on every trim.
Why it works: A blunt hemline is the single fastest way to fake density — layers thin out fine hair, while a solid edge makes the whole shape look heavier and wider.
Pro tip: Blow-dry with a round brush, lifting at the roots with a volumizing spray, then blast the ends with cool air to seal the line flat and shiny.
2. Invisible Layer Lob

Internal layers are cut inside the shape, not on the surface, so the outline stays blunt while hidden weight comes out. You get swing and movement without the stringy, choppy look that surface layers cause in fine hair. It suits medium-density fine hair best — very thin hair can lose too much bulk.
Why it works: Removing interior weight lets fine hair move freely, so it doesn’t collapse into a flat sheet by mid-afternoon.
Pro tip: Skip heavy oils and use a texturizing spray on the ends only — it adds grip and separation so the invisible layers actually show up.
3. Micro Bob with Stacked Back

Short at the nape and softly longer toward the front, this wedge builds real bulk where fine hair needs it most. The stacked back creates rounded volume, while the slightly longer front keeps it wearable and feminine. It’s the go-to shape for genuinely thin, low-density hair.
Why it works: Stacking piles hair onto itself at the back, so the crown and nape look dense instead of flat against the head.
Pro tip: Use a small round brush — about 1 inch — at the back and blow-dry upward and outward to pump up the stack; go bigger at the front to keep it smooth.
4. Angled Lob with Soft Waves

An A-line cut that’s shorter in back and longer in front adds width across the jaw and cheekbones. Pair it with loose waves rather than tight curls — bend, don’t coil. The diagonal line plus soft movement fools the eye into seeing more hair than there is.
Why it works: Waves push hair away from the head, creating air and width where fine hair usually lies flat.
Pro tip: Wrap a 1-inch curling iron on medium heat, alternating the direction of each section, then shake out with fingers — never brush — so the waves stay full.
5. Chin-Length Blunt Bob
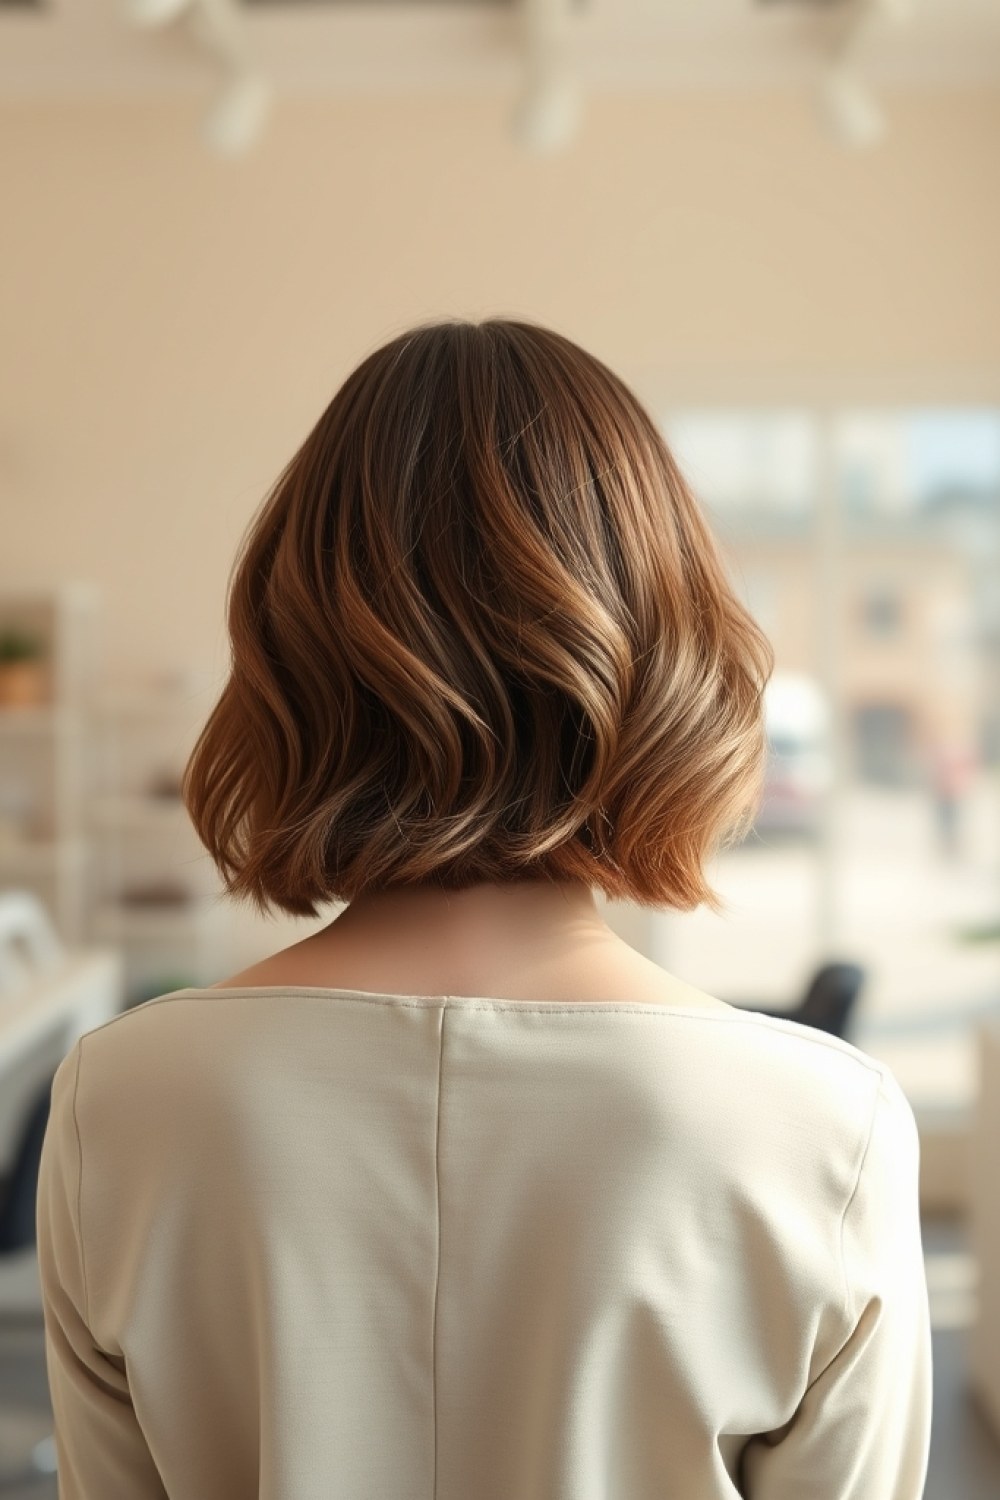
Ending exactly at the jawline, this cut is bold and deliberate — and brutal on see-through ends, which is the point. Keep the perimeter blunt and resist thinning shears. The jaw-length line frames the face while making the hair itself look twice as thick.
Why it works: A short, solid line concentrates all your hair’s density into one strong shape, so nothing tapers or thins out at the bottom.
Pro tip: Apply root-lift foam, then blow-dry upside down for two minutes before finishing right-side up for maximum root height.
6. Textured Lob with Choppy Ends

Point-cut ends — snipped at an angle rather than straight across — create a piecey, lived-in finish that reads as fuller. It’s a smart choice when you want the lob length but find blunt edges too severe. The choppiness also hides any uneven density along the ends.
Why it works: Point cutting breaks up the thin bottom edge into varied lengths, so light passes through unevenly and the ends look denser.
Pro tip: Spritz sea salt spray through damp ends and scrunch with your hands, then air-dry or diffuse — the grit is what holds the texture up.
7. A-Line Lob with Side Part

An A-line lob is cut shorter in back, longer toward the front, and a deep side part pushes most of that length to one side for instant asymmetry. Ask your stylist to keep the perimeter angled rather than blunt. Blow-dry hair away from the part so roots lift off the scalp.
Why it works: The uneven lengths break up a flat silhouette, and concentrating weight on one side makes the other side read as fuller.
Pro tip: Clip the heavy side up while you dry the thinner side first—roots set fastest when nothing’s weighing them down.
8. Soft Undercut Bob

A soft undercut removes a strip of hair at the nape, so the remaining top layers sit fuller instead of being dragged flat. It suits hair that’s thick in density but fine in texture. Ask for a gentle taper, not a hard line, so it grows out cleanly.
Why it works: Less bulk at the bottom means the visible hair on top looks denser and moves more freely.
Pro tip: Work a golf-ball-size amount of mousse through damp roots before drying—the undercut needs hold up top or it collapses.
9. Wavy Lob with Babylights
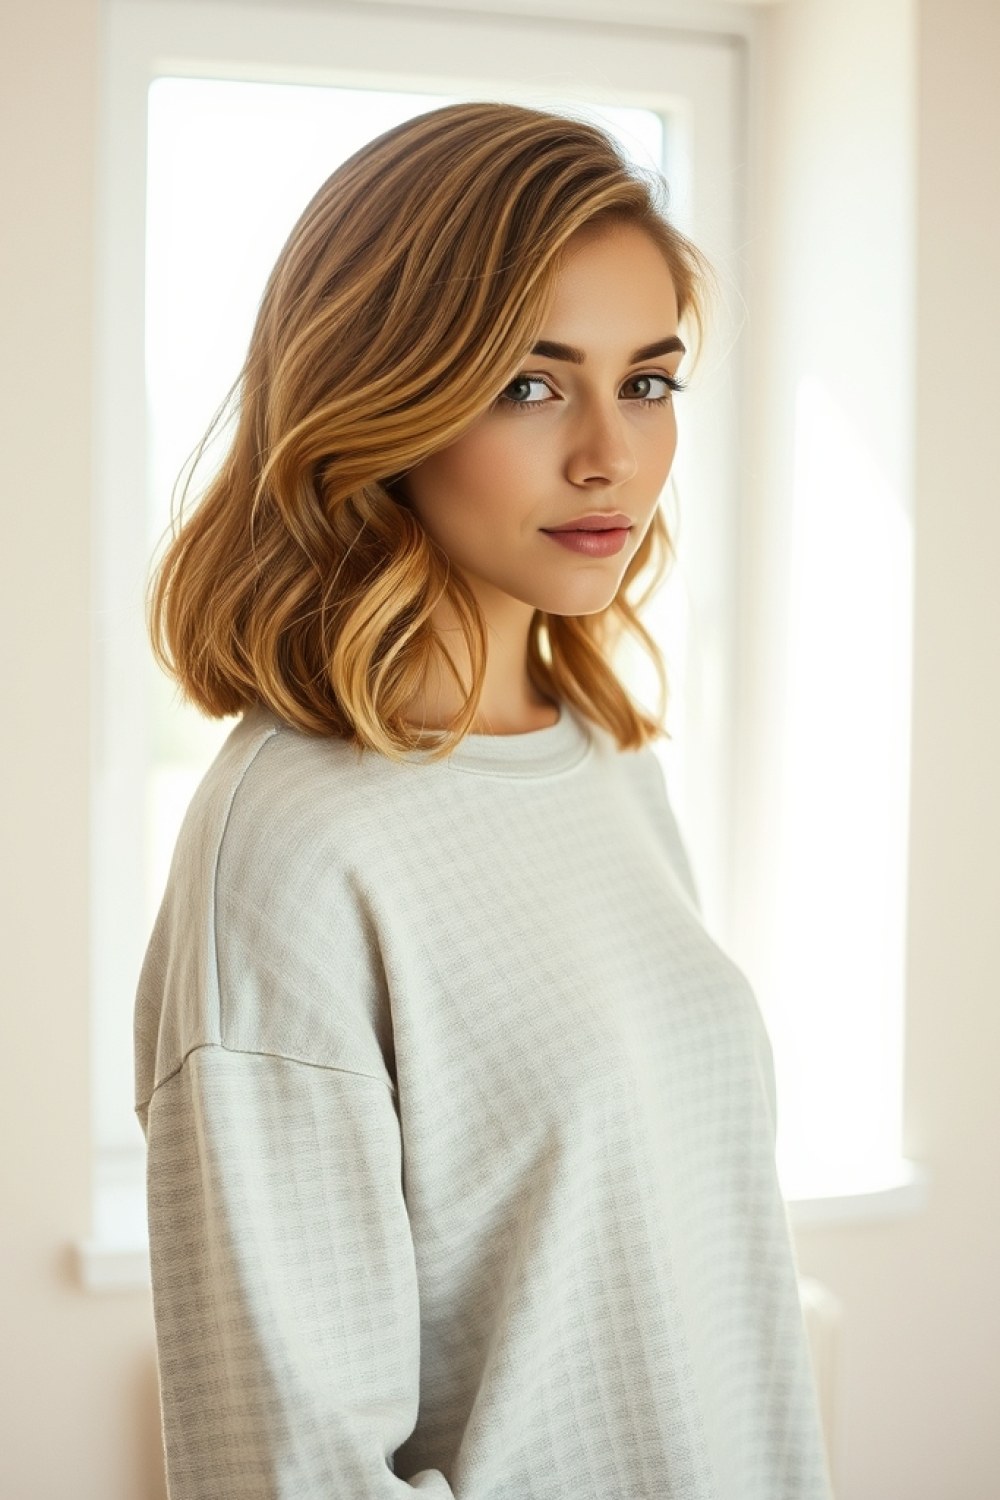
Babylights are ultra-fine highlights woven through the hair, adding tonal dimension without harsh contrast that exposes thin spots. Paired with a lob that sits at the collarbone, the texture reads denser. Wrap sections around a 1.25-inch wand, holding each for eight seconds.
Why it works: Subtle light-and-shadow variation gives the eye more to see, so the hair looks thicker than it is.
Pro tip: Keep babylights within two shades of your base—higher contrast actually highlights gaps in fine hair.
10. Blunt Bob with Middle Part
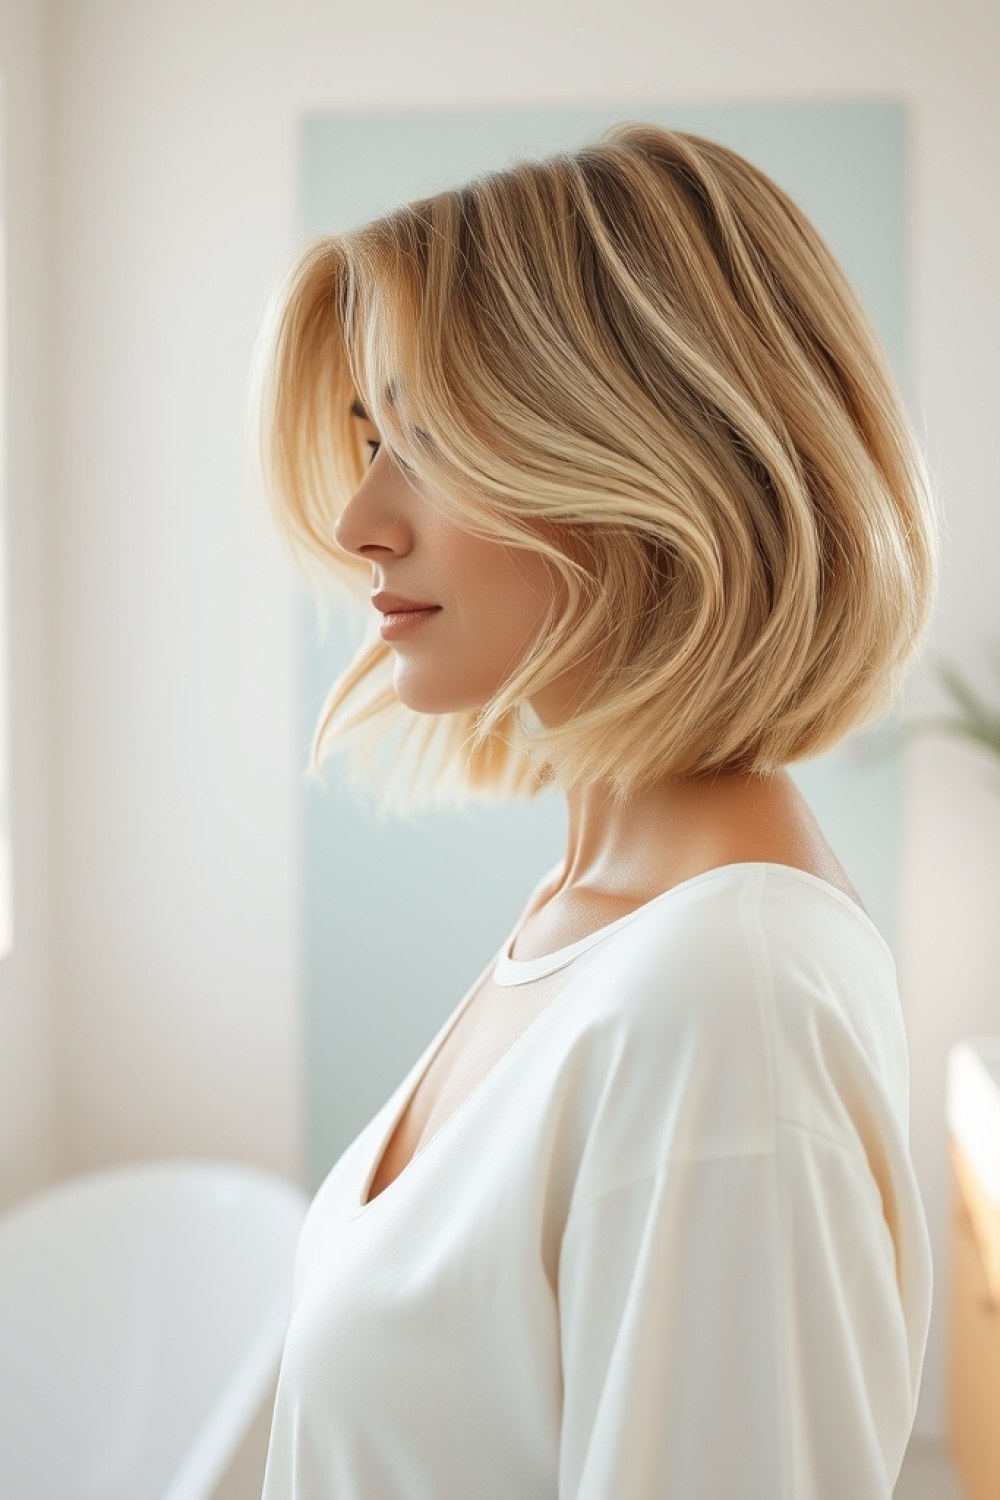
A blunt bob cut straight across at chin or jaw length, parted down the middle, creates balanced volume on both sides. The clean perimeter makes fine hair look deliberately full rather than wispy. Flat-iron each section with a slight bend at the ends instead of a hard curl.
Why it works: Symmetry distributes the hair evenly, and a blunt line gives fine strands a solid edge that reads as thicker.
Pro tip: Use the flat iron’s rounded edge to flick ends outward on the last pass—it looks modern and adds width at the jaw.
11. Shaggy Lob with Curtain Bangs

Shaggy layers throughout a lob create movement and lift, while curtain bangs add width across the forehead and cheekbones. Ask for point-cut layers rather than blunt ones so ends stay light. Dry the bangs with a round brush, rolling upward and outward.
Why it works: Curtain bangs widen the face’s top third, and choppy layers let fine hair move without falling flat.
Pro tip: Set bangs with a quick hit of cool air after the round brush—warm roots drop within minutes otherwise.
12. Curled Lob with Volume

Uniform curls through a lob build a full, bouncy shape that fine hair usually can’t hold on its own. Wrap one-inch sections around a one-inch curling iron, alternating direction each time. Let curls cool completely, then brush through with a paddle brush to soften them into waves.
Why it works: Curl pattern adds bulk and body, so the hair holds shape instead of collapsing by midday.
Pro tip: Always curl away from the face on the front sections—it opens up the face and adds lift at the roots.
13. Sleek Lob with Root Lift
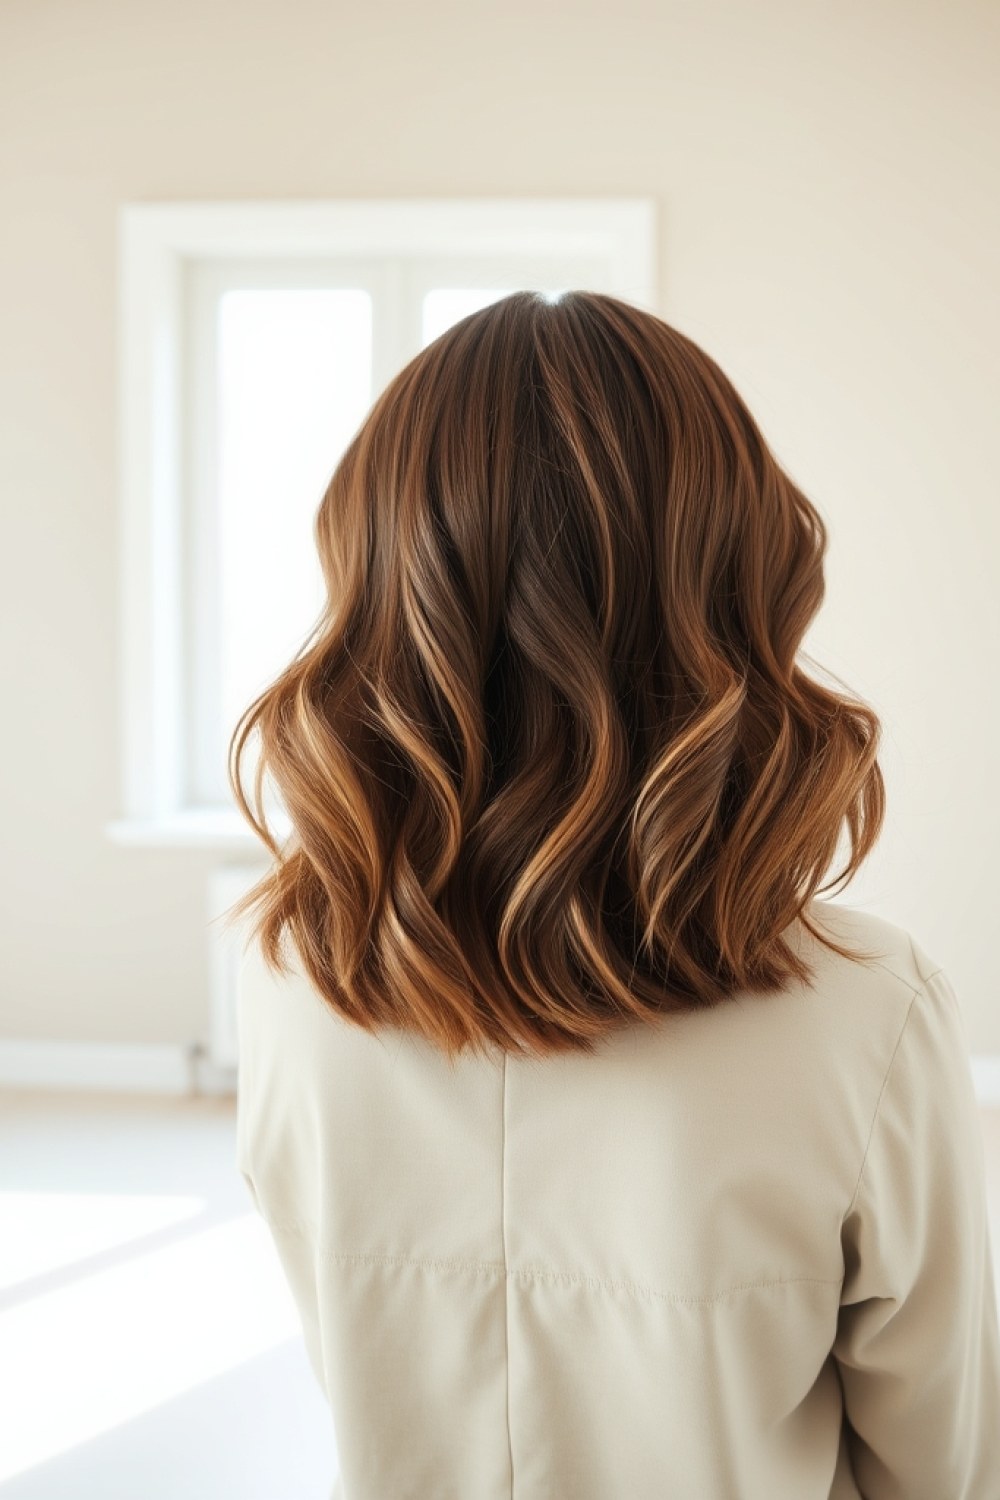
A sleek lob usually falls flat because fine hair has nothing holding it up. The fix is lifting just the roots while keeping the rest glossy and straight. Spray a volumizing root lift at the crown and part line, then blow-dry those sections upward using a round brush or your fingers.
Why it works: Separating root volume from smooth lengths gives you lift where flatness shows most without sacrificing the sleek finish you want.
Pro tip: Once roots are dry, flat-iron only from mid-lengths to ends — pressing irons to the scalp crushes the lift you just built.
14. Lob with Hidden Layers

Visible layers thin out fine hair at the surface. Hidden layers are cut underneath the top section, so they support the canopy and add movement without chopping up the outline. You keep one clean, blunt-looking length on top and all the volume lives beneath it.
Why it works: The underneath layers create internal structure and lift, so the surface hair sits fuller instead of collapsing against your head.
Pro tip: Ask your stylist to keep the top section blunt and only texturize from the mid-shaft down — hidden layers should never reach your ends or they’ll look stringy.
15. Shoulder-Length Flip Bob
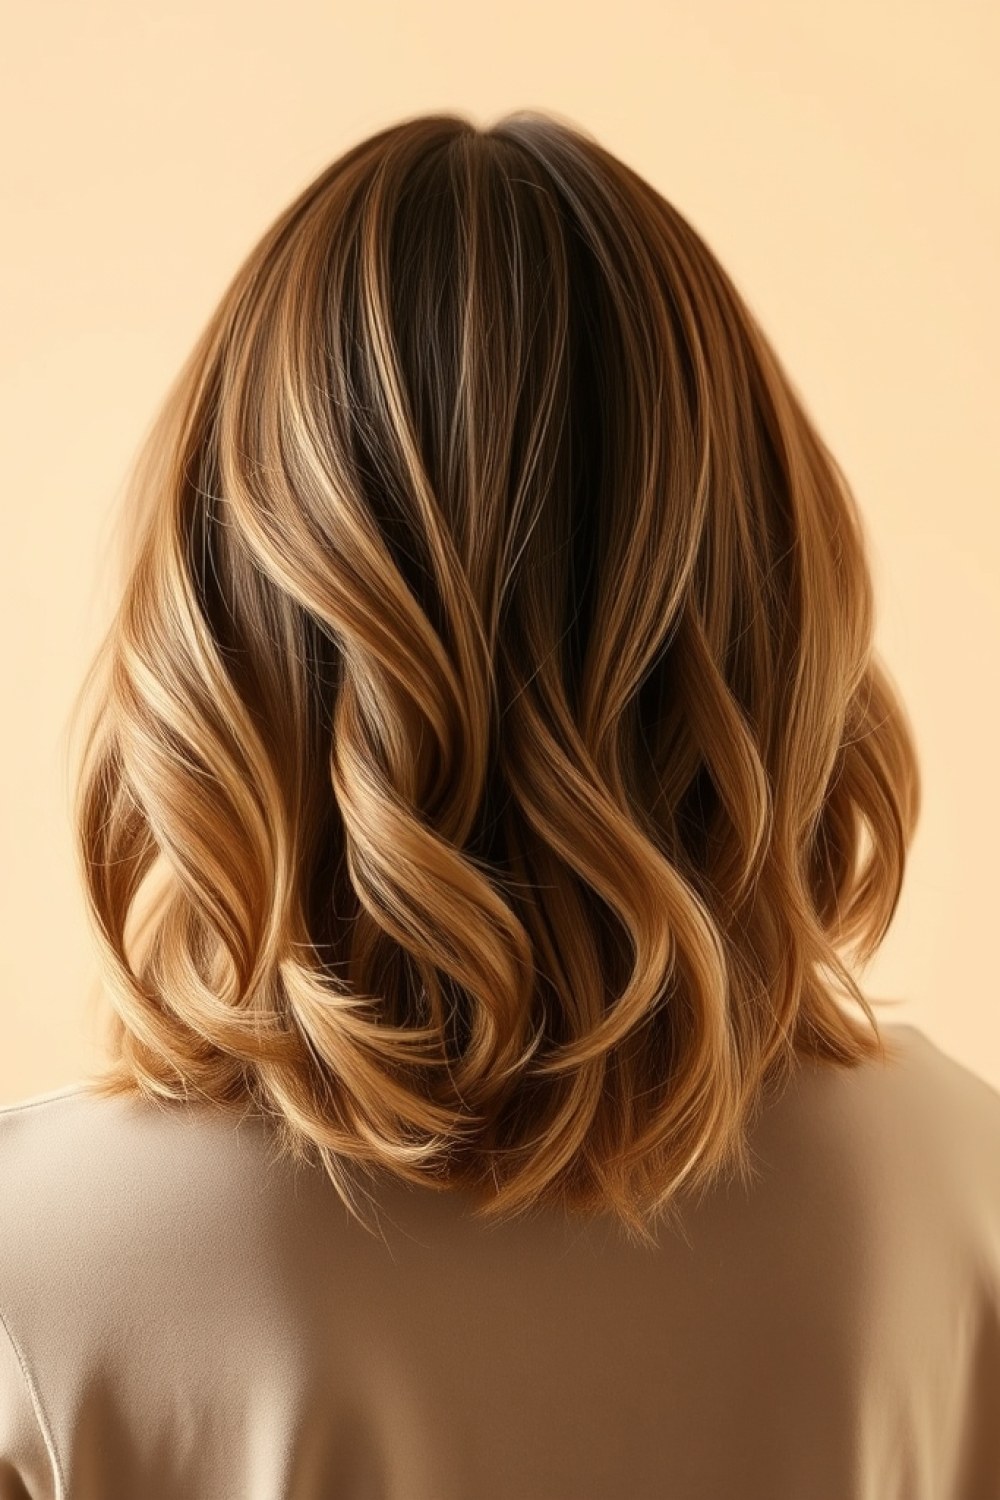
A flip bob lands right at the shoulders and kicks the ends outward, which adds width exactly where fine hair reads thinnest. It’s cut to a blunt-ish shoulder length, then styled so the ends curve away from your neck and jaw instead of tucking under.
Why it works: Flipped ends create horizontal width and bounce, making a narrow, flat silhouette look fuller and more intentional.
Pro tip: Use a large barrel brush, wrap the last two inches around it, and blow-dry outward and slightly up — hold the brush for a few seconds at the end to set the curl.
16. Choppy Bob with Bangs

A choppy bob uses jagged, point-cut layers to break up the surface so no single thin section is exposed. Paired with choppy bangs that graze the brow, it builds a rounded, fuller shape around the head and frames the face with soft texture.
Why it works: Uneven, textured ends overlap and cast tiny shadows, so light hits the hair at different angles and it looks denser than it is.
Pro tip: Warm a small dab of texturizing paste between your fingers and pinch the ends and bangs — skip the roots or you’ll weigh them down.
17. Lob with Face-Framing Pieces

This lob keeps the length simple and adds short pieces that start near your cheekbone or jaw and taper toward the face. Those front pieces act like built-in volume around the face, where fine hair often looks thinnest and most severe when pulled straight back.
Why it works: The pieces give the eye a fuller, softer frame and add width at the front, balancing a narrow or flat overall shape.
Pro tip: Blow-dry the face-framing pieces forward and down with a small round brush, rolling the ends slightly toward your face for a soft bend.
18. Stacked Lob with Graduation

A stacked lob is layered so the back is cut shorter and stacked, building weight and volume at the crown while the front stays longer. The graduation concentrates fullness up top rather than at the ends, which is where fine hair needs the help most.
Why it works: The stacked back creates a rounded, lifted shape at the crown, so the whole cut reads thicker and holds its shape longer between washes.
Pro tip: Use a vent brush and blow-dry the back upward and slightly forward — the vents push air through the layers so the roots dry lifted, not flat.
19. Wavy Bob with Sea Salt Spray
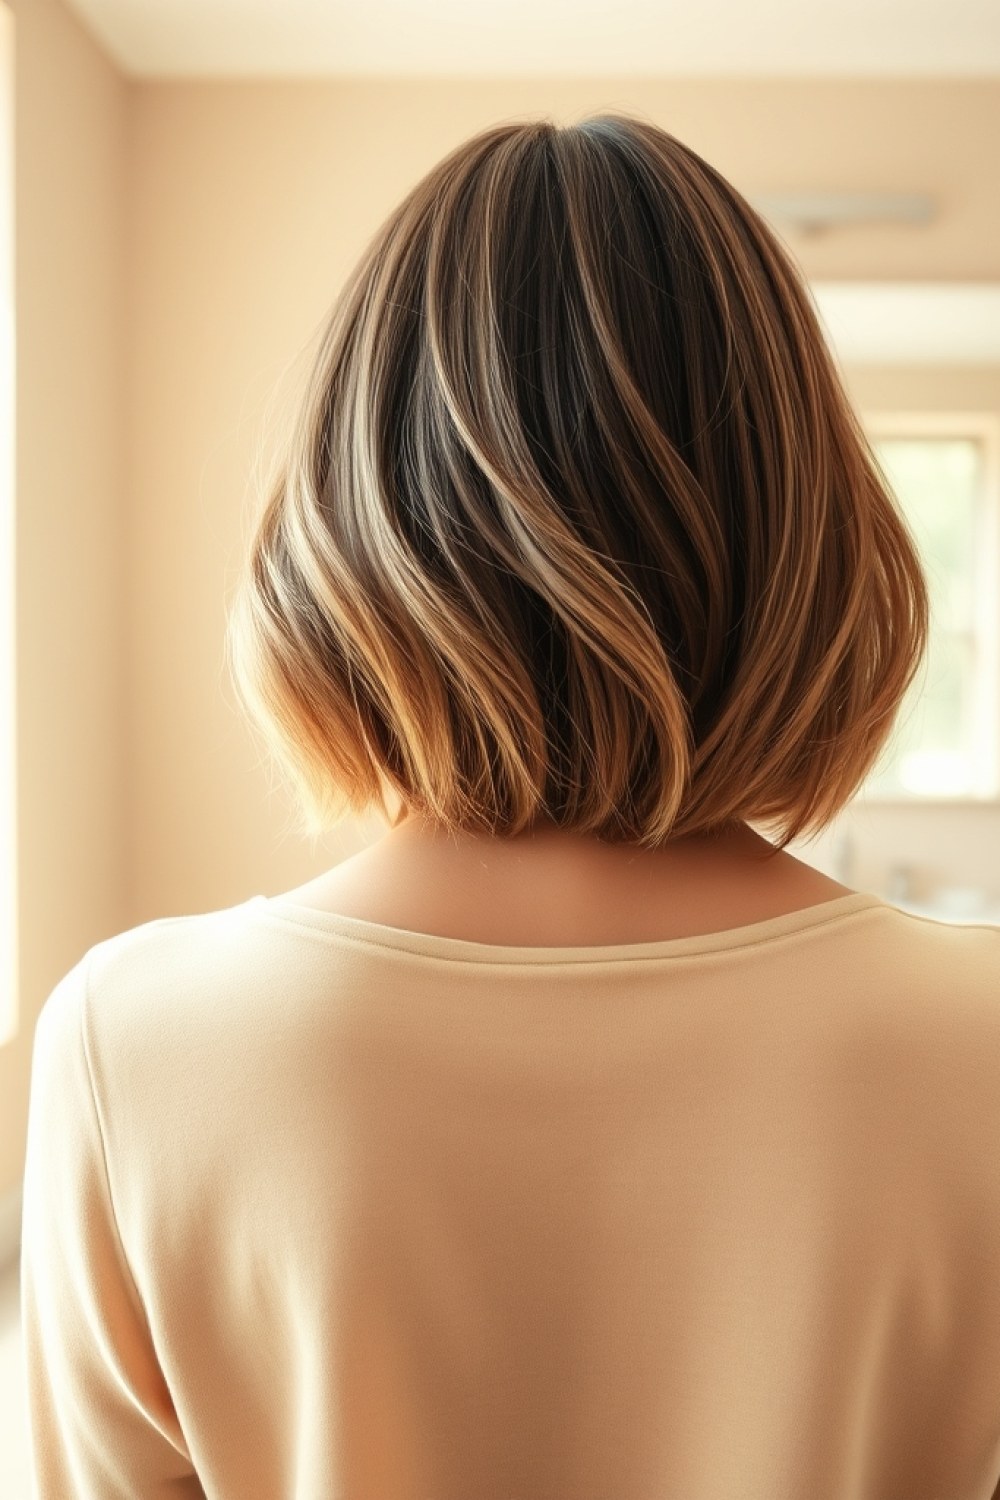
A wavy bob gives fine hair movement that straight styles can’t match, and texture is what tricks the eye into seeing more density. Spray sea salt spray into damp hair, scrunch handfuls upward toward the scalp, and let it air-dry. If you have two hours, walk away; if not, diffuse on low heat.
Why it works: Salt swells the hair shaft slightly and roughs up the cuticle, so each strand grips its neighbor and holds a bend instead of collapsing flat.
Pro tip: Skip sea salt spray if your hair is color-treated or already dry — it’s drying. Use a texturizing wave spray instead, and scrunch with a microfiber towel, never terry cloth.
20. Blunt Lob with Shadow Roots

A blunt cut means one length with no layers, which makes the ends look denser than a feathered finish. Shadow roots deepen the first inch or two at the scalp while the lengths stay lighter, and that contrast reads as thickness. Keep the color within two shades of your natural tone so regrowth stays invisible for months.
Why it works: Darker roots create a solid base the eye reads as mass, while the blunt hemline eliminates the see-through tips that make fine hair look thin.
Pro tip: Blow-dry with a round brush, pulling the ends under slightly for a clean line. Ask your stylist to cut blunt, not “lightly textured” — one wrong point-cut and you lose the density you came for.
21. Curtain Bangs Lob
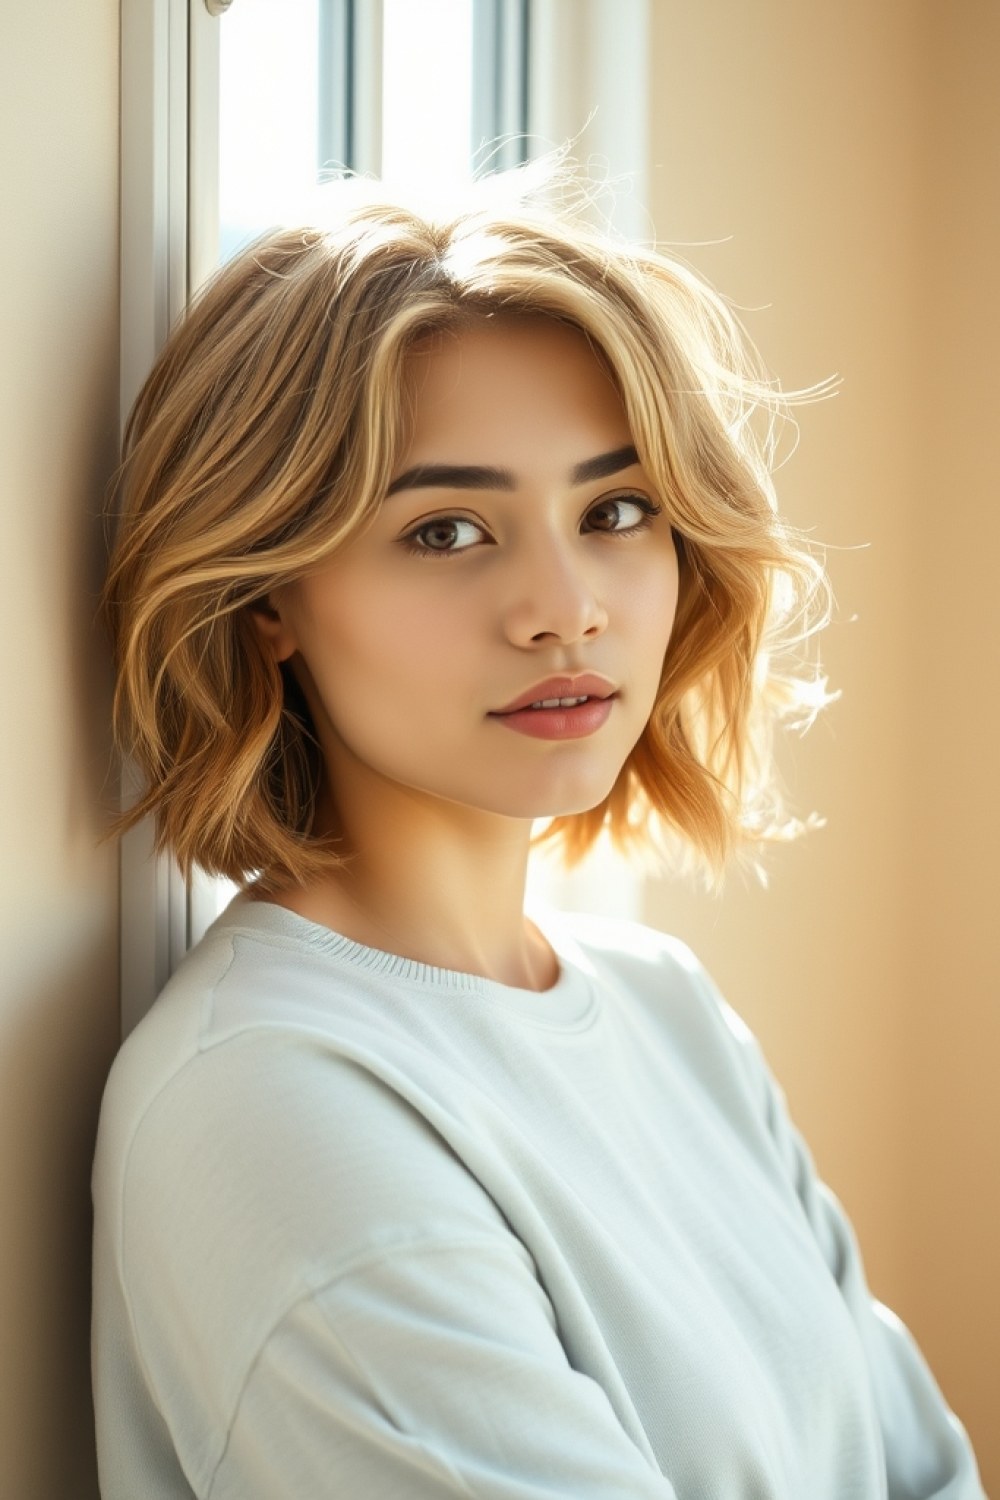
Curtain bangs part in the middle and sweep outward, which adds width across the forehead — exactly where fine hair looks flattest. Ask for bangs that start around the cheekbone, not the brow, so they blend into the lob instead of sitting on top of it. Blow-dry them with a round brush, directing each side away from your face.
Why it works: The outward sweep spreads hair horizontally across your face, breaking up the vertical lines that emphasize thinness.
Pro tip: Wrap each bang section around the brush and hit it with cool air for ten seconds. That sets the curve without heat damage, and the shape survives until your next wash.
22. Asymmetrical Lob

An asymmetrical lob runs longer on one side, usually with a diagonal line from front to back. The angle draws the eye across and down rather than straight down, and the shorter side lifts visually. Style with a flat iron, pressing the ends in one direction to sharpen the slant.
Why it works: Diagonal lines create the illusion of depth and movement, so the hair looks layered and full even though it’s one length.
Pro tip: Keep the difference to about one to one-and-a-half inches. Any more and styling gets fussy; any less and nobody sees the angle you paid for. Part it on the short side to amplify the effect.
23. Lob with Micro Bangs
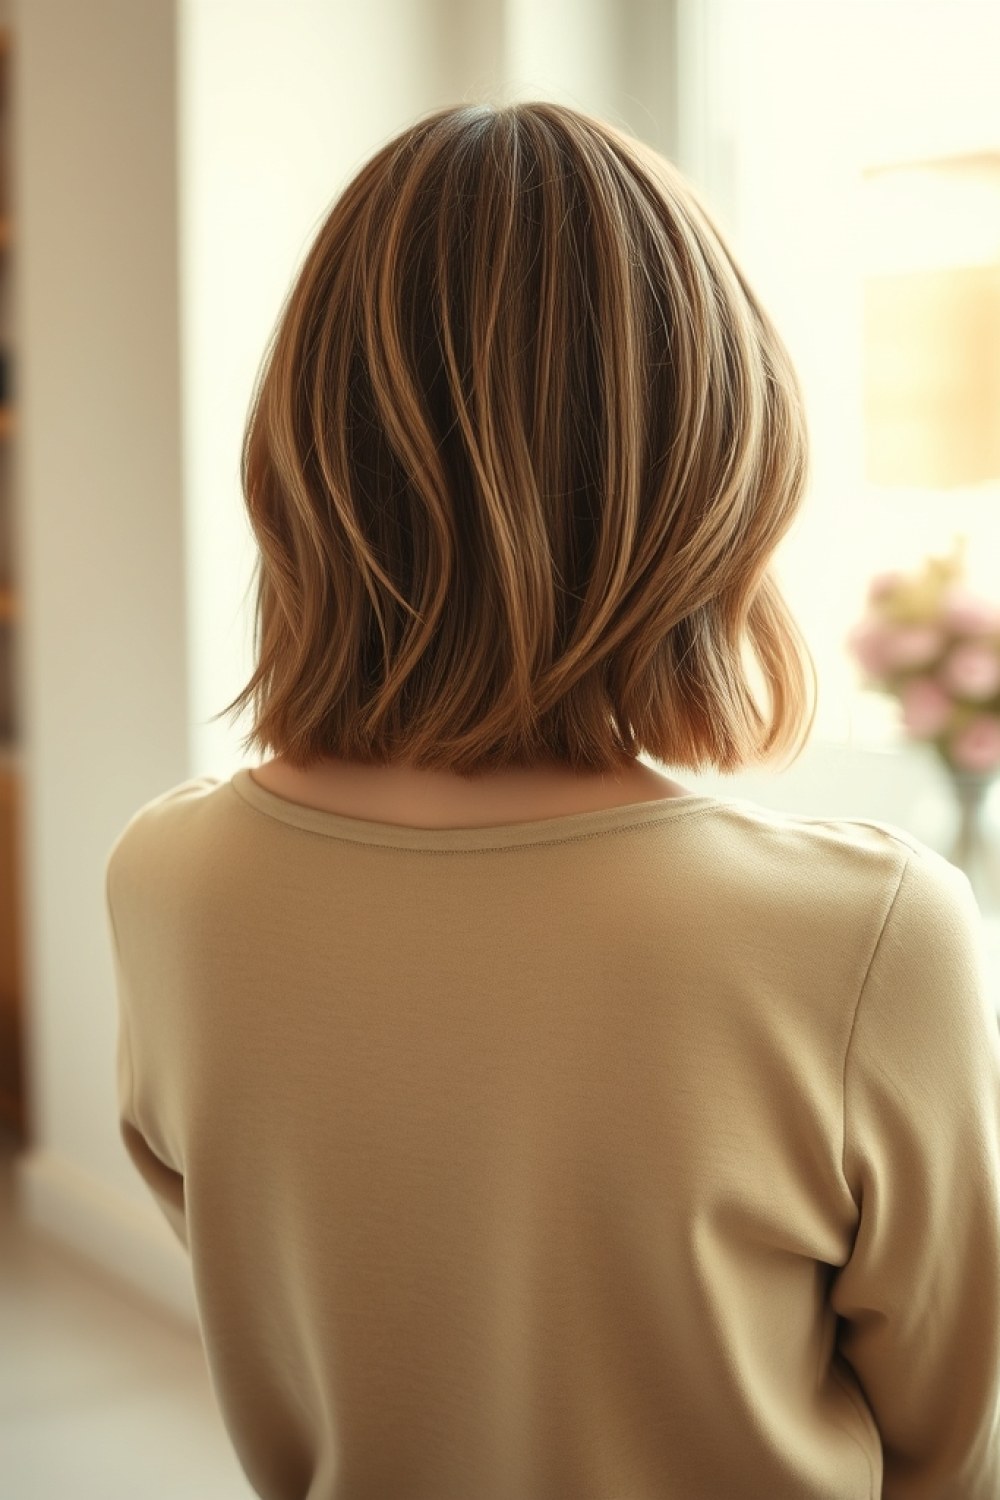
Micro bangs sit an inch or two below the hairline — short, blunt, and slightly uneven on purpose. They pull attention upward to your eyes and away from thin ends, and the blunt line adds a hit of density at the top of your head. Keep them short and cut straight across, never point-cut.
Why it works: Everything above the brows gets visually heavier, and that weight at the crown shifts the whole silhouette from thin to intentional.
Pro tip: Spray a root lifter at the crown and blow-dry upward before you touch the bangs. If the top of your head is flat, micro bangs will look pasted down instead of sharp.
24. Rounded Bob with Volume

A rounded bob curves out at the sides and tucks under at the ends, forming a soft C shape around the jaw. Blow-dry with a round brush, lifting at the roots and rolling the ends inward, and keep a medium-hold mousse in your routine. The shape needs body, not length.
Why it works: Side volume widens the silhouette, balancing the narrow, flat look fine hair gets when it hangs straight.
Pro tip: Dry the crown first, aiming the nozzle at the roots and lifting with the brush. Once the top is set, the rest of the bob falls into shape with half the effort.
25. Textured Lob with Waves

Texture turns a limp lob into something with real body. Ask your stylist to point-cut the ends so they aren’t heavy and blunt. Then wrap 1-inch sections around a 1-inch barrel wand, alternating the direction each time so the waves don’t fall into uniform rows.
Why it works: Alternating directions breaks up the pattern, which creates shadow and depth. That contrast is what reads as thickness, even on genuinely fine strands.
Pro tip: Curl away from your face on the front pieces only, then shake the whole thing out with your fingers instead of brushing. Brushing pulls the texture flat within minutes.
26. Blunt Bob with Underlights
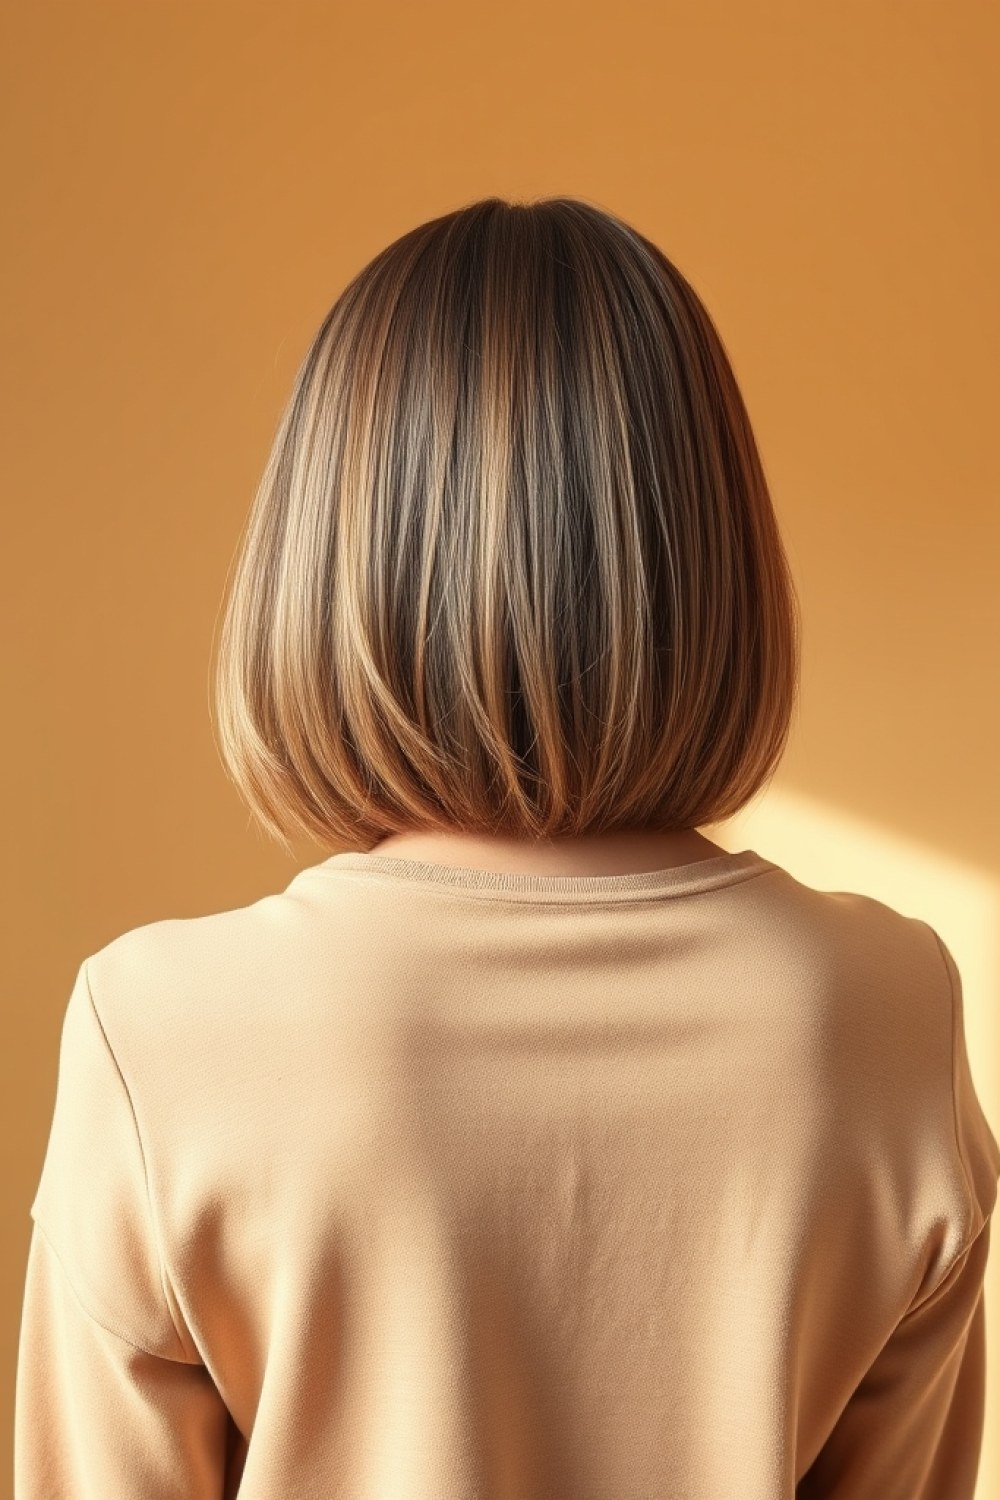
Underlights are hidden panels of color placed underneath the top layer, so they peek out only when you move. Your stylist lifts the top section, applies the color to the underneath, then drops it back down. The visible top layer stays your natural shade and stays light.
Why it works: The contrast between top and underside creates depth, which fine hair usually lacks. Because the color sits underneath, it never looks like a heavy full-head dye job.
Pro tip: Keep the cut itself blunt and one length. Pair underlights with choppy layers and the effect gets lost in the mess. Style sleek with a flat iron and a light gloss.
27. Lob with Soft Layers

Soft layers mean long, gradual ones, not short choppy pieces. Ask for them to start around your jaw and blend down to the ends, adding movement without stripping weight. Blow-dry with a round brush, lifting at the root, then set each section with volumizing mousse.
Why it works: Gradual layers let the hair bend and move as one piece, which gives the illusion of more density. Short layers do the opposite and thin out the ends.
Pro tip: Apply mousse to damp roots only, never the ends. Mousse on fine ends dries them out and makes them look stringy by midday.
28. Curled Bob with Volume

This is the full, glamorous version. Wrap 1-inch sections around a 1-inch curling iron, holding each for about eight seconds, and work from the back forward. Keep the curls slightly loose, then set the whole head with a flexible-hold hairspray.
Why it works: All-over curl creates roundness, and roundness makes hair look fuller from every angle. It also hides a thin hemline because the ends curl under and blend in.
Pro tip: Let each curl cool in your palm before releasing it. Curls set as they cool, so rushing this step means they drop within an hour.
29. Sleek Bob with Middle Part

A center part is the boldest move here and it works because it’s symmetrical. Comb a shine serum through damp hair, blow-dry it smooth against the head, then flat-iron in thin sections with a single pass. Finish with a light mist of gloss spray.
Why it works: Sleek hair shows off the cut’s lines and your hair’s natural shine. A middle part divides the hair evenly on both sides, so no single section looks thin.
Pro tip: Flat-iron on low to medium heat only. Fine hair scorches fast, and singed ends look thin and frizzy, which defeats the whole point.
Frequently Asked Questions
Will a bob make my fine hair look thinner?
No, not if it’s cut correctly. Blunt lines and stacked layers are your best friends here because they create the illusion of density — a straight, solid perimeter makes the ends look fuller than they are. The real culprit is excessive layering. When a stylist thins out your ends with too many short layers, fine hair goes wispy and stringy fast. Ask for a blunt or lightly stacked cut and leave the razor and thinning shears alone.
What’s the best bob length for fine hair?
Chin to collarbone is the sweet spot. It’s short enough that your hair doesn’t have the length to weigh itself down, but long enough that you still have something to wrap around a round brush and build volume with. Going shorter than your jawline can work, but only with a stacked or graduated back to keep the shape. Going much past your collarbone and gravity takes over — the roots flatten and the whole cut loses its lift.
How can I add volume to my bob?
Start in the shower with a volumizing shampoo, then apply a mousse or root-lift spray to damp roots before you touch a dryer. Blow-dry upside down for the first few minutes to get the roots moving in the opposite direction, then flip upright and finish with a round brush, lifting at the crown and overdirecting the sides away from your face. A quick pass of texturizing spray or dry shampoo at the roots on day two revives the whole thing without a full re-style.
Should I get bangs with a bob for fine hair?
Yes — bangs can be a real volume trick because they add visual weight and mass right where you want it, around the face. Curtain bangs and choppy, piecey bangs work beautifully on fine hair because they don’t sit flat against the forehead. Skip heavy, blunt, solid bangs; they press down on fine roots and can make the front of your hair look thinner than it is. Bring a photo of the exact bang shape you want, since “bangs” means ten different things.
Can I wear a bob if my hair is very fine?
Absolutely — very fine hair is actually one of the best candidates for a blunt or stacked bob, because the cut does the volume work that your natural density can’t. Stick to a solid perimeter or a graduated back, keep the layers minimal, and lean on styling technique and the right products to lift the roots. The one thing to avoid is over-layering, which makes fine hair separate and look stringy instead of full.
How often should I trim my bob?
Every six to eight weeks. Bobs live and die by their shape, and fine hair shows every uneven end and split tip, so regular trims keep the perimeter clean and the ends looking thick. Stretch it to ten weeks and you’ll notice the cut going limp and shapeless long before anyone else says anything. Book the next appointment before you leave the salon so it doesn’t slip.